Our Aidez knit-along kicks off on January 1st and to help everyone get ready, I’m sharing my project notes as I plan my Aidez with modifications.
Aidez is a really easy sweater to make in-the-round. In some patterns you have to add or subtract stitches for selvages, but in this case converting a seamed sweater to seamless is easy as pie. I’ll walk through the process for the body and sleeves this week to give everyone time before the KAL kicks off on New Years. I’ll post again in a few weeks to go over the yoke in more detail.
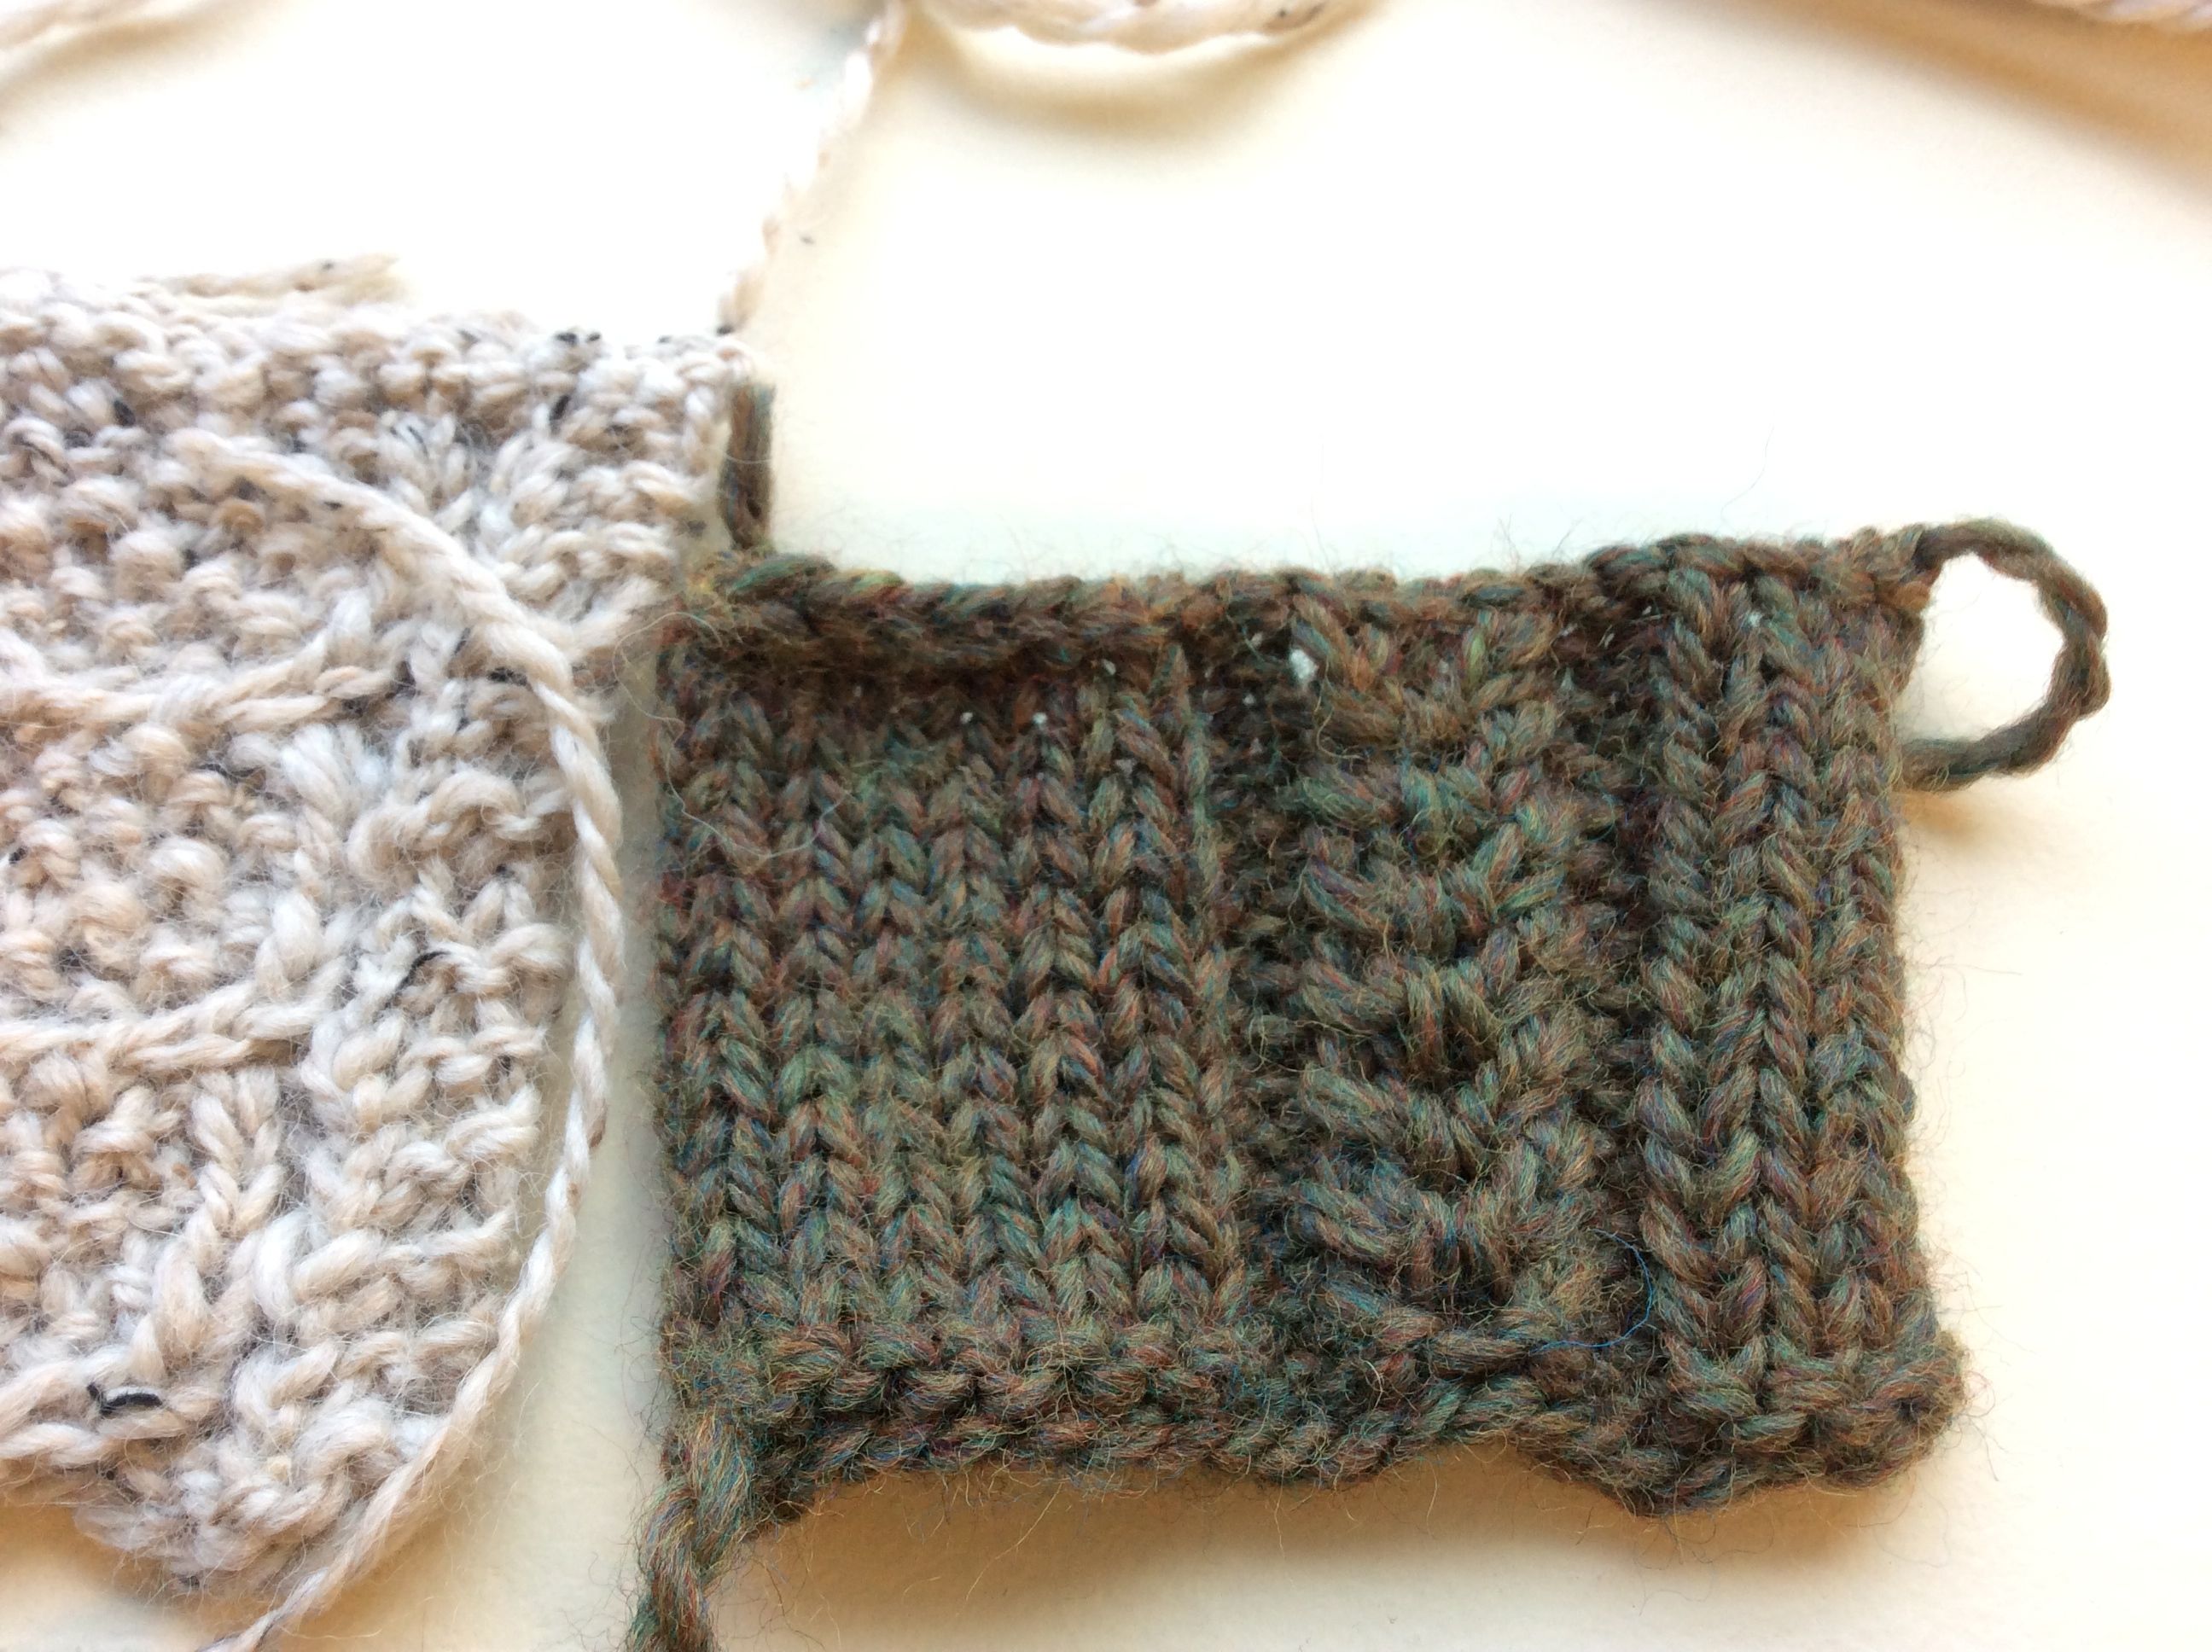
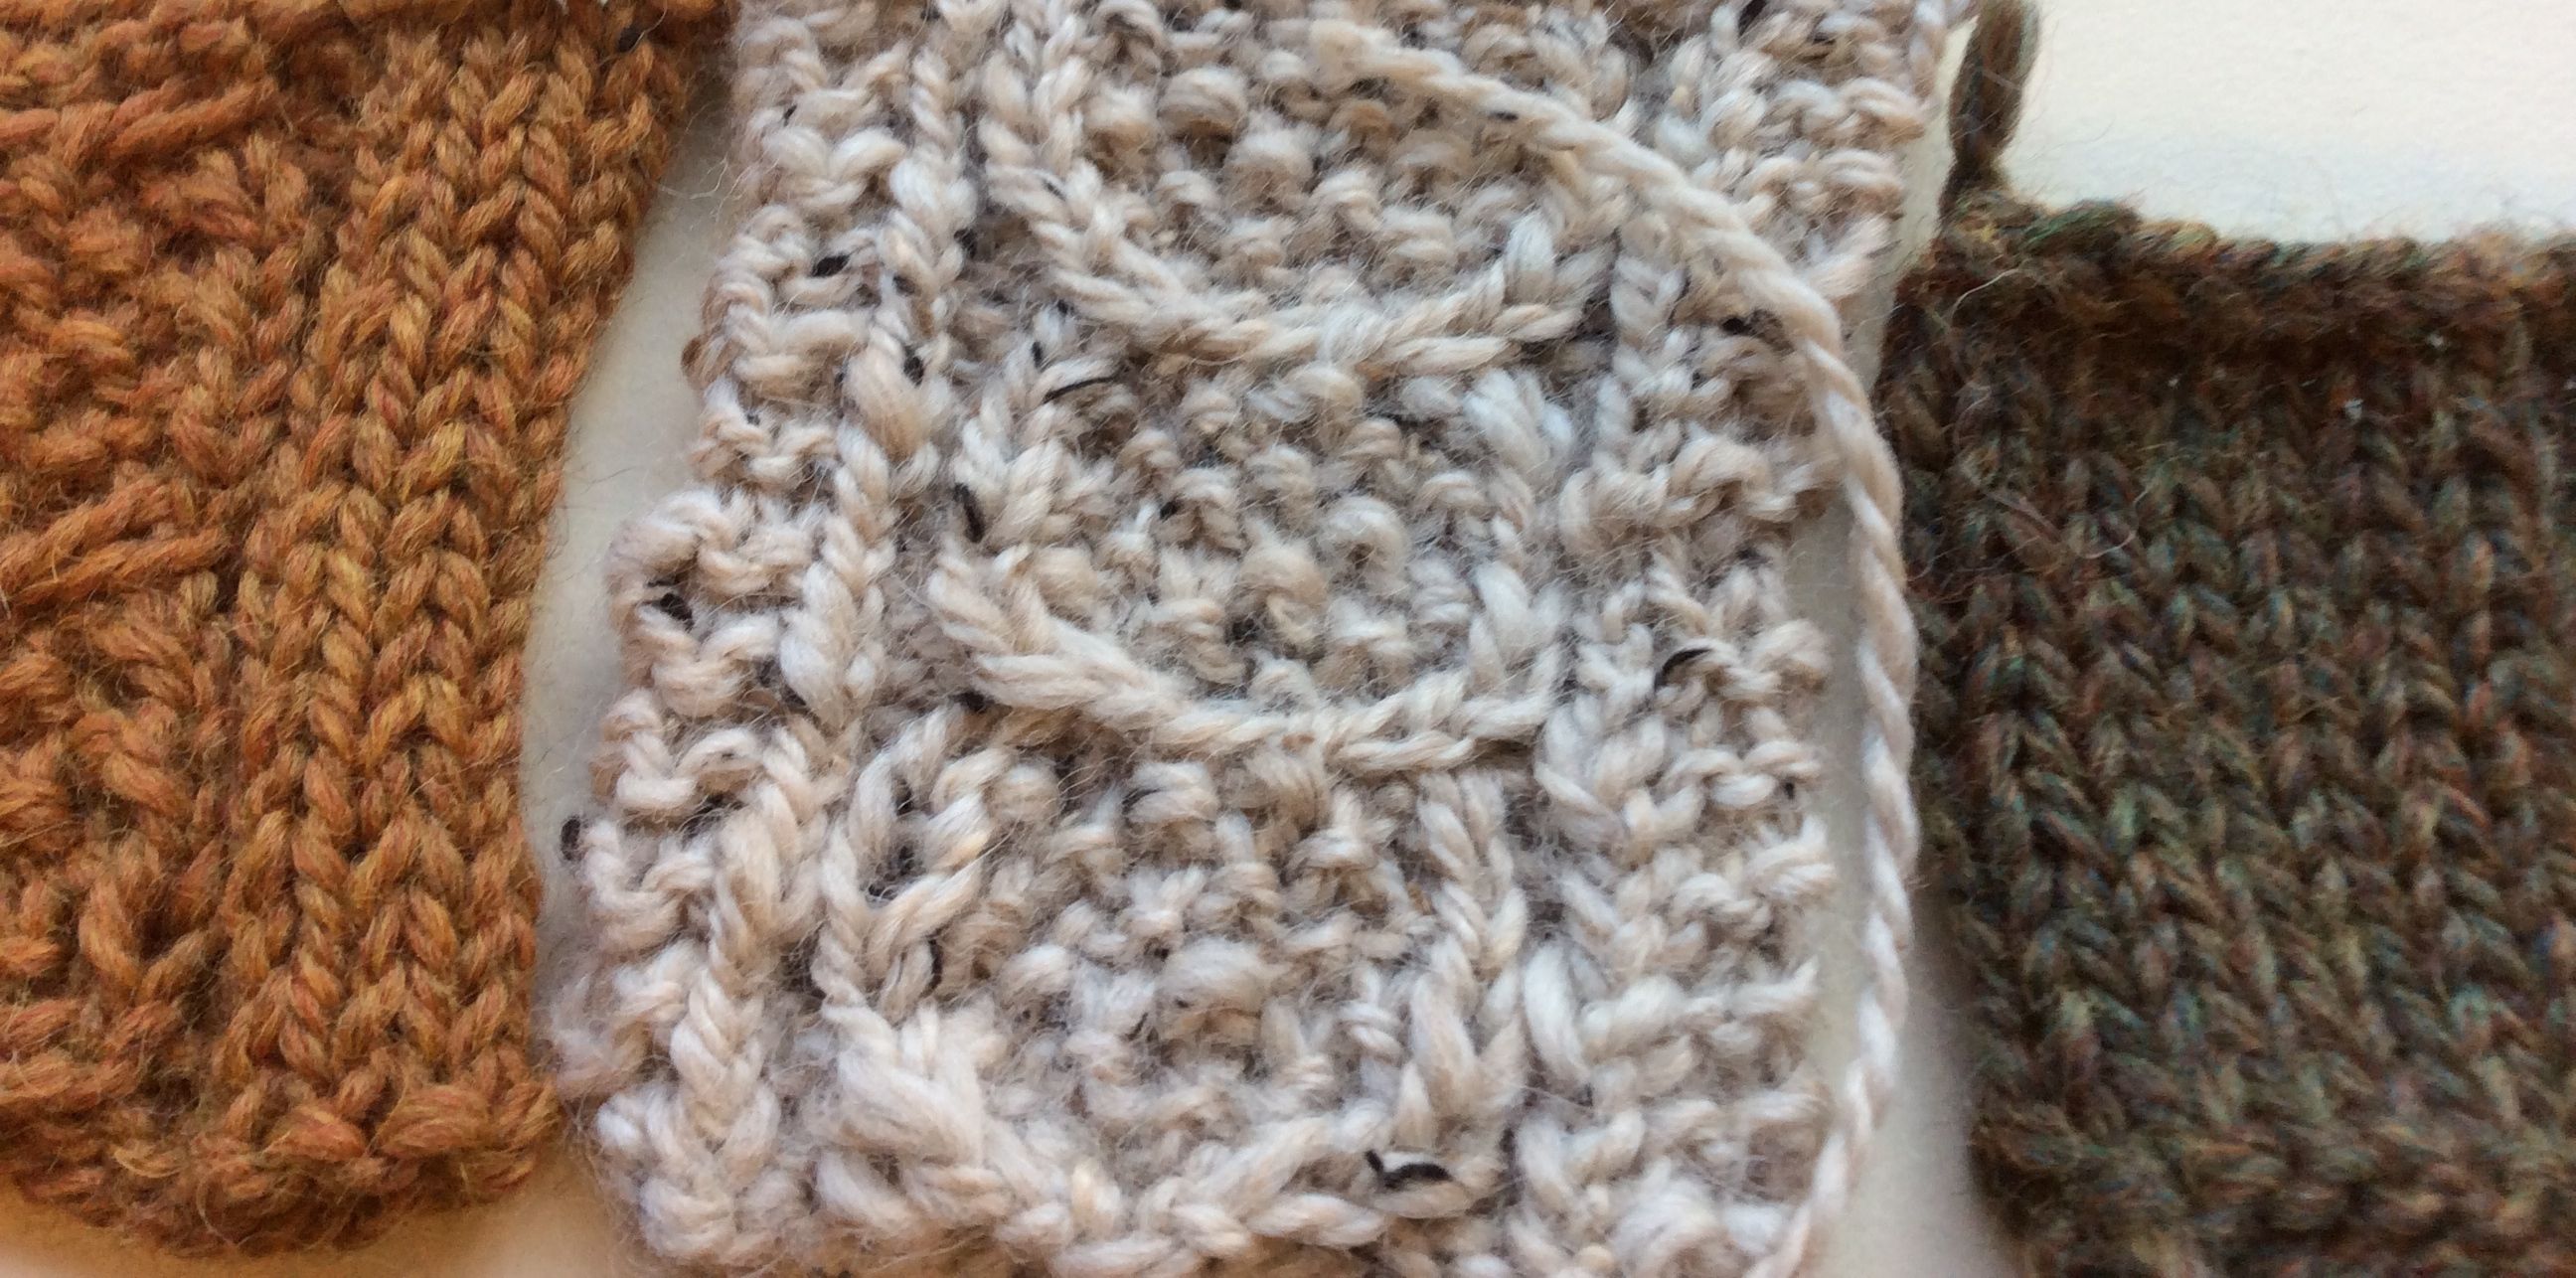
1. SWATCH!! When knitting in the round swatching is even more important. When you knit a sweater in pieces, it’s much easier to measure as you go and confirm that your knitting is the right size – knitting in the round with all those stitches on the needles makes it much harder to accurately measure, and if we’re talking about the body of the sweater, there is a lot more to unravel. After you knit a swatch, measure it, then wash the swatch exactly the way you will wash your finished sweater. Don’t block the swatch unless you always block your clothes, too. I like to lay my just-washed-sweaters on a clean towel or drying rack and gently pat them gently back to the shape and let them dry so this is how I treat my swatch. Then I measure again after its completely dry.
2. Start with the sleeves, this gives you a chance to double/triple check your gauge, because you really don’t want to get half through the body of the sweater and realize that the gauge is just a tiny bit off. Converting sleeves to in the round is easy as pie. 
The new, in-the-round sleeve instructions will begin:
Cast on 34 sts. Divide evenly over 3 or 4 double pointed needles (or 2 circular needles), place marker and join for working in the round. Set up rib: * knit 1, purl 1, repeat from the * to the end. Work in 1×1 ribbing as established for 3”… Purl the next round omitting the increase 1 stitch. Continue working the pattern as written remembering that every row will be a RS row until you get to the instructions to shape the raglan cap.
Shape Raglan Cap: Place 3(3-4-4-5-6) sts from the beginning and 3(3-4-4-5-6) from the end of the round onto a waste yarn holder for the under arms, place the remaining stitches on a spare needle or waste yarn and set aside.
3. The Body. The back and fronts of Aidez have different patterns, so working the set up rows for this pattern will require a bit of concentration, but once set they are very easy to keep track of.

Cast on 37(39-43-45-49-51)sts for the right front, place a marker for the side seam, cast on 65(71-77-83-89-95)sts for the back, place marker, cast on 37(39-43-45-49-51)sts for the left front – there will be a total of 139(149, 163, 173, 187, 197)sts on the needles. Set up rib: * knit 1, purl 1, repeat from the * to the last stitch, knit 1. Work in 1×1 ribbing as established for 3”ending with a RS row. Next row: Purl across all the stitches, increasing 1 (3, 1, 3, 1, 3) stitch(es) evenly across the row – there will now be 140(152, 164, 190, 200)sts on the needles.
Set up patterns:
(Please refer to the charts in the pattern PDF for more specific information)
Row 1 (RS): K2, k1TBL, place marker, work Row 1 of Ear of Corn Pat over 8 sts, place marker, k1TBL, work Row 1 of Seed Wishbone over 12 sts, k1TBL, place marker, work Row 1 of Ear of Corn Pat over 8 sts, place marker, k1TBL, k3(5-9-11-15-17), slip side marker, k4(7-10-13-16-19), k1TBL, place marker, work Row 1 of Right Cross-St Cable over 8 sts, place marker, k1TBL, k3, k1TBL, place marker, work Row 1 of Trellis Pat over 30 sts, place marker, k1TBL, k3, k1TBL, place marker, work Row 1 of Left Cross-St Cable over 8 sts, place marker, k1TBL, k3(5-9-11-15-17) to the marker, slip the side marker, k3(6-9-12-15-18), k1TBL, place marker, work Row 1 of Ear of Corn Pat over 8 sts, place marker, k1TBL, work Row 1 of Seed Wishbone over 12 sts, k1TBL, place marker, work Row 1 of Ear of Corn Pat over 8 sts, place marker, k1TBL, k2.
Now that the patterns have been established you work as written to the underarm (don’t forget the decrease at the side seams for waist shaping!). When you get to the armhole shaping, slip the 3(3-4-4-5-6) from either side of the side markers onto waste yarn for the underarms on the last WS row.
That’s the easy part. Now the hard part: I have to choose a yarn and color. Will you join us? I would love to hear about how you’re planning to knit your Aidez in the comments.

One thought on “Amy’s Thread: Knitting a Seamed Sweater in the Round”