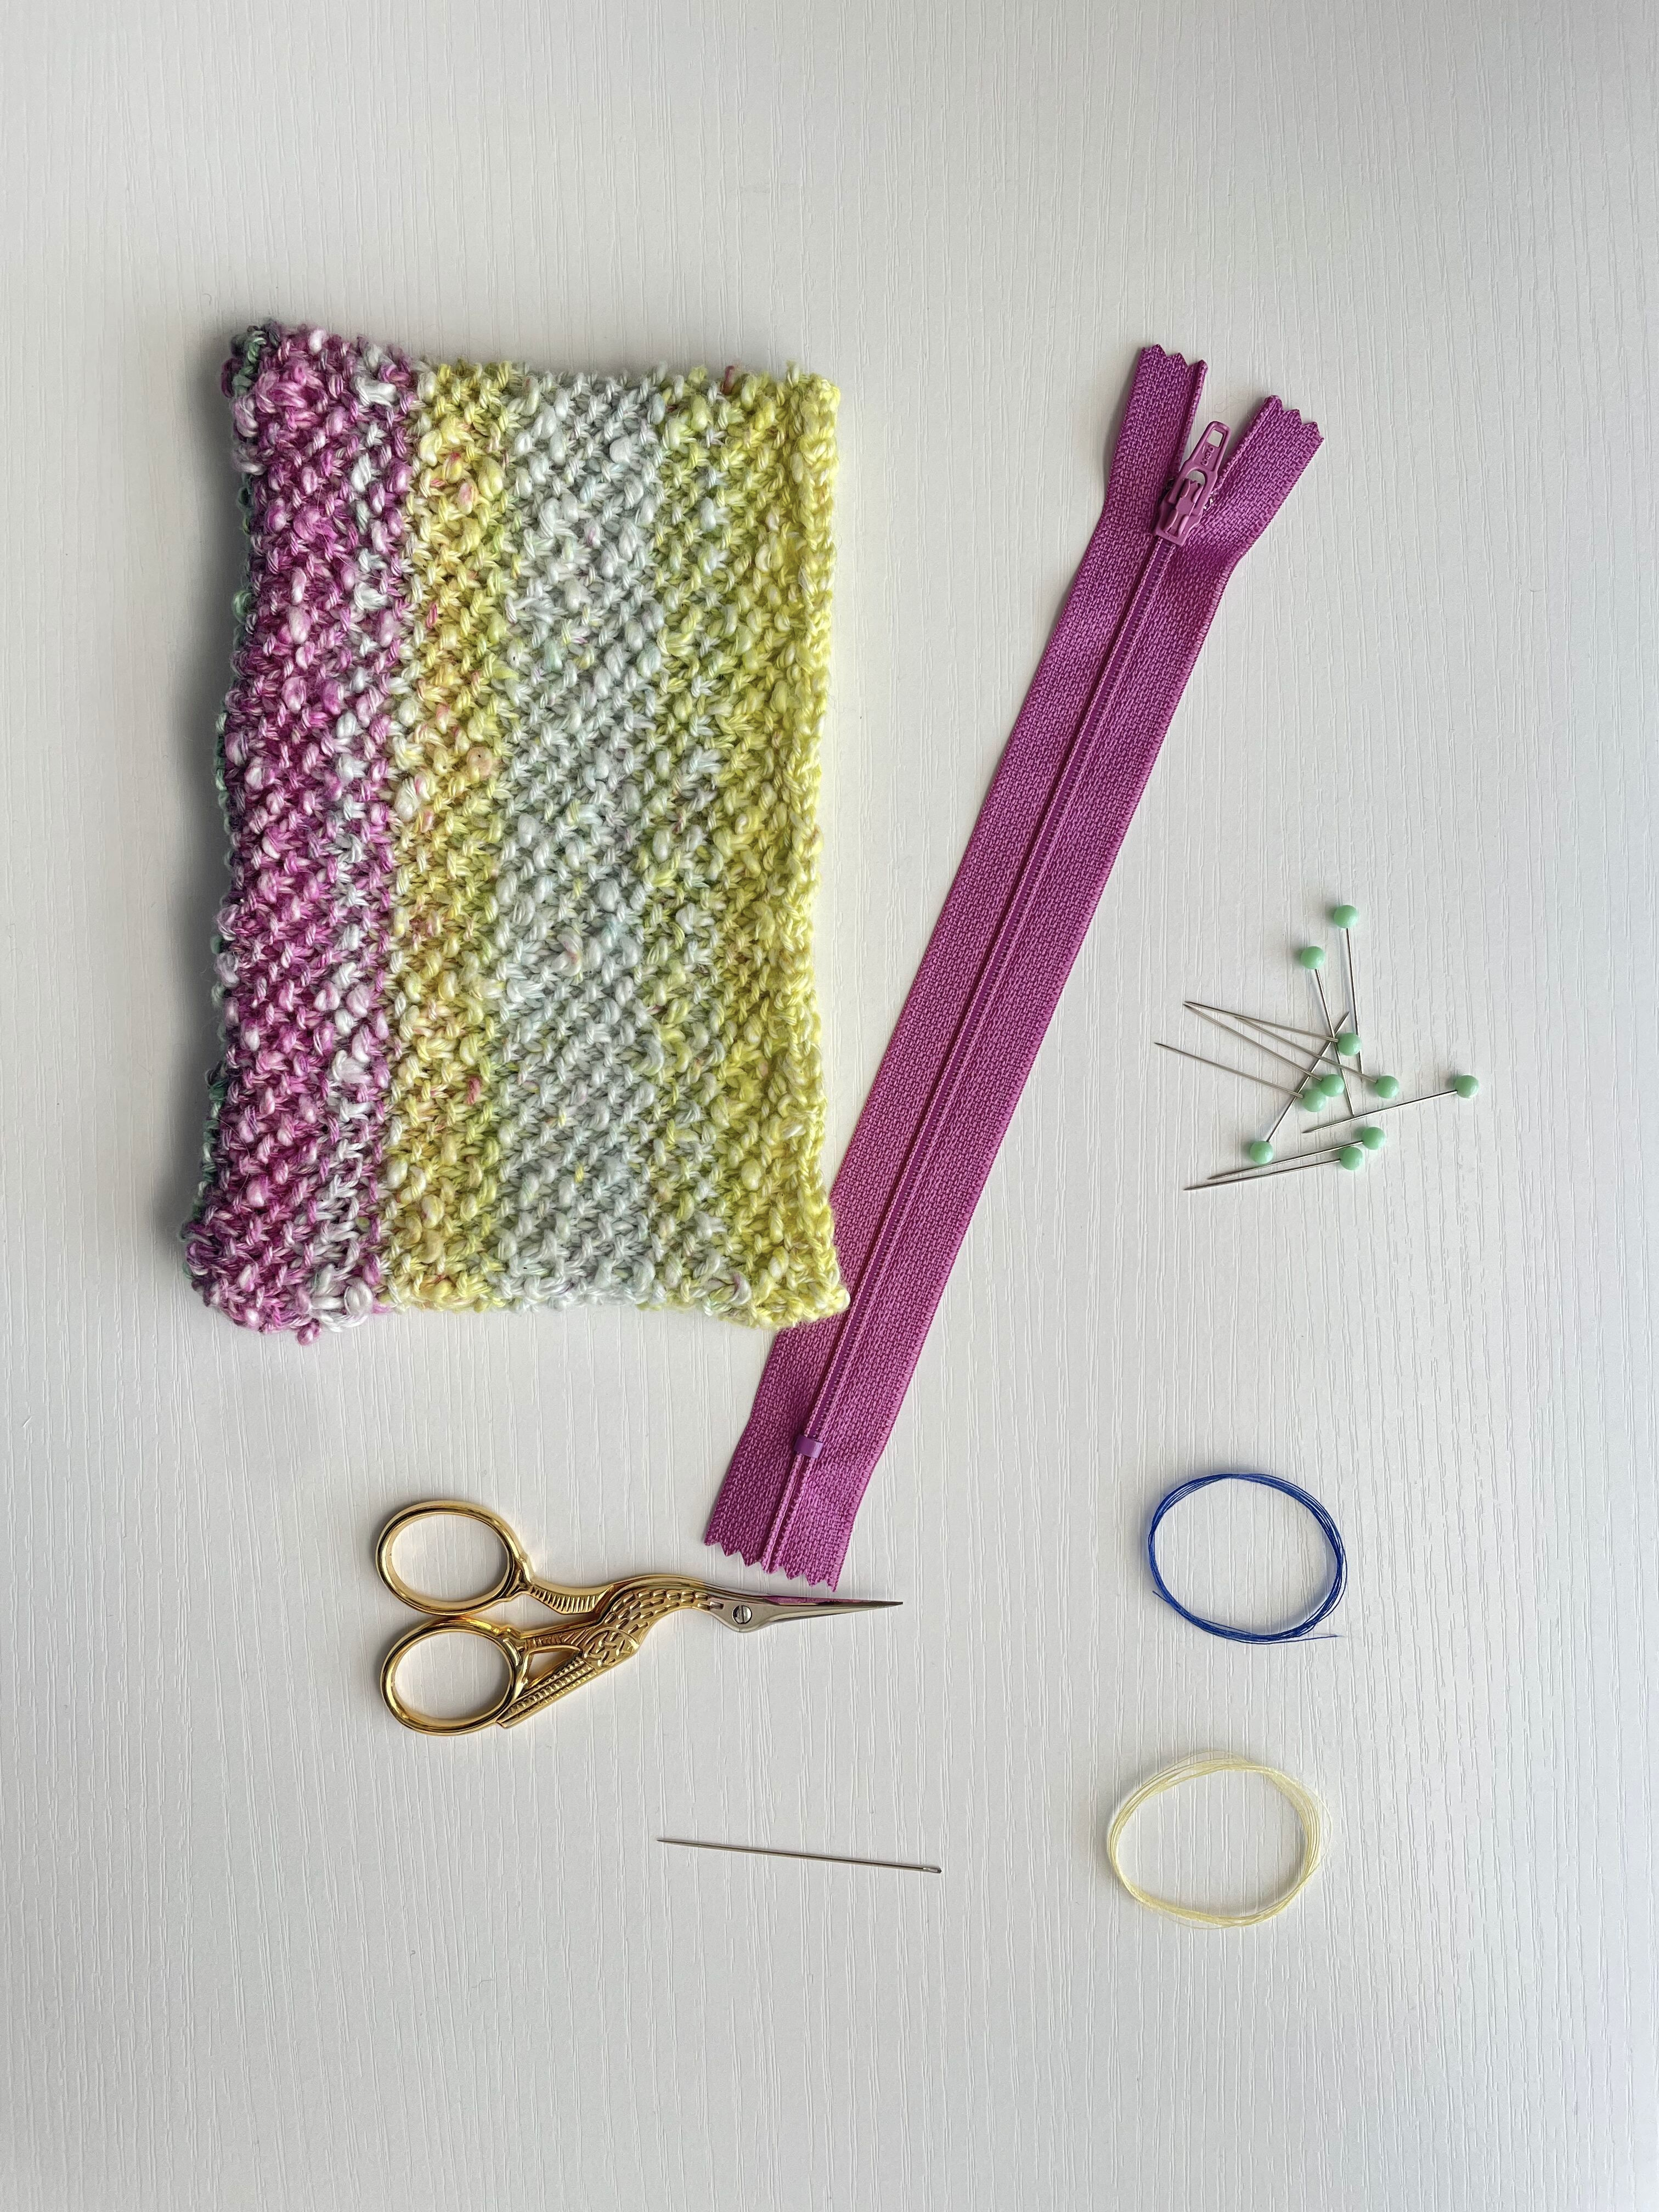
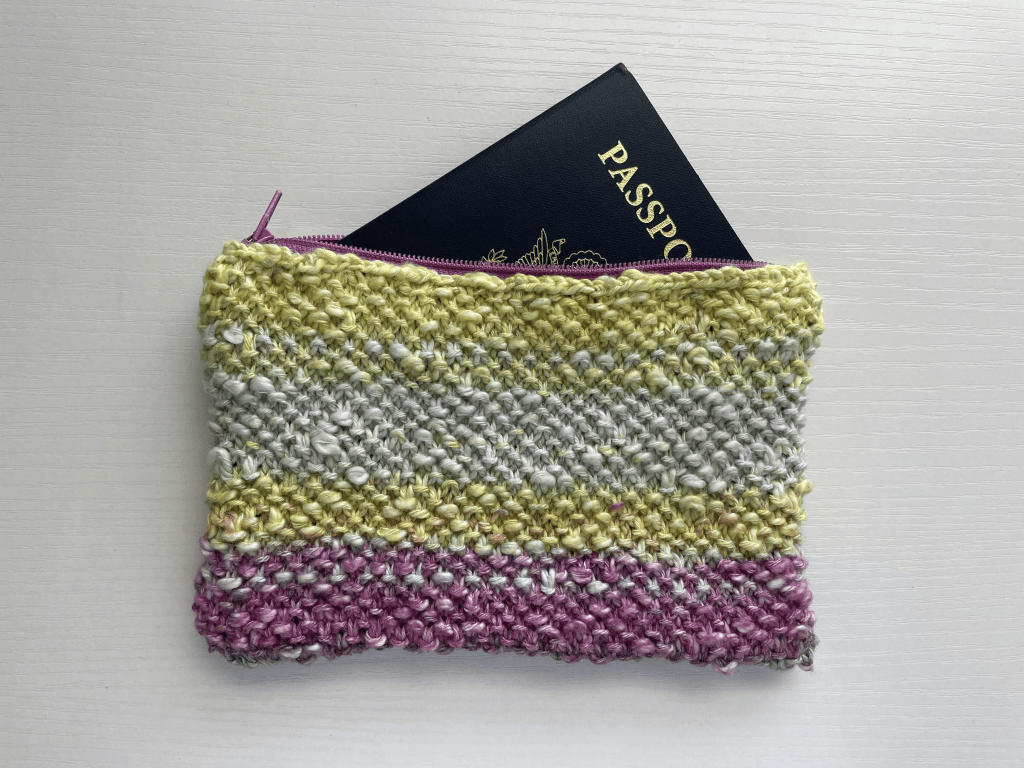
I made myself the Bar Harbor zipper pouch from the Collect and Gather collection, and thought I’d share some tips for sewing in the zipper. The pouch itself is very simple to make, and if you’ve ever felt intimidated by adding zippers to your hand knits this is the perfect low-stake way to try it out. Make this pouch and you’ll feel ready to tackle a bigger zipper project (perhaps our classic Peary vest?) next.
The bag itself is made up of a rectangle, seamed along two sides, with an opening along the top for the zipper. You will need a zipper the length of your pouch, matching and contrasting thread, a sharp sewing needle, pins and scissors. A medium weight all-purpose zipper works well for this project. If using a contrasting zipper like I did, you could match the thread to the yarn or the zipper.
Steps:
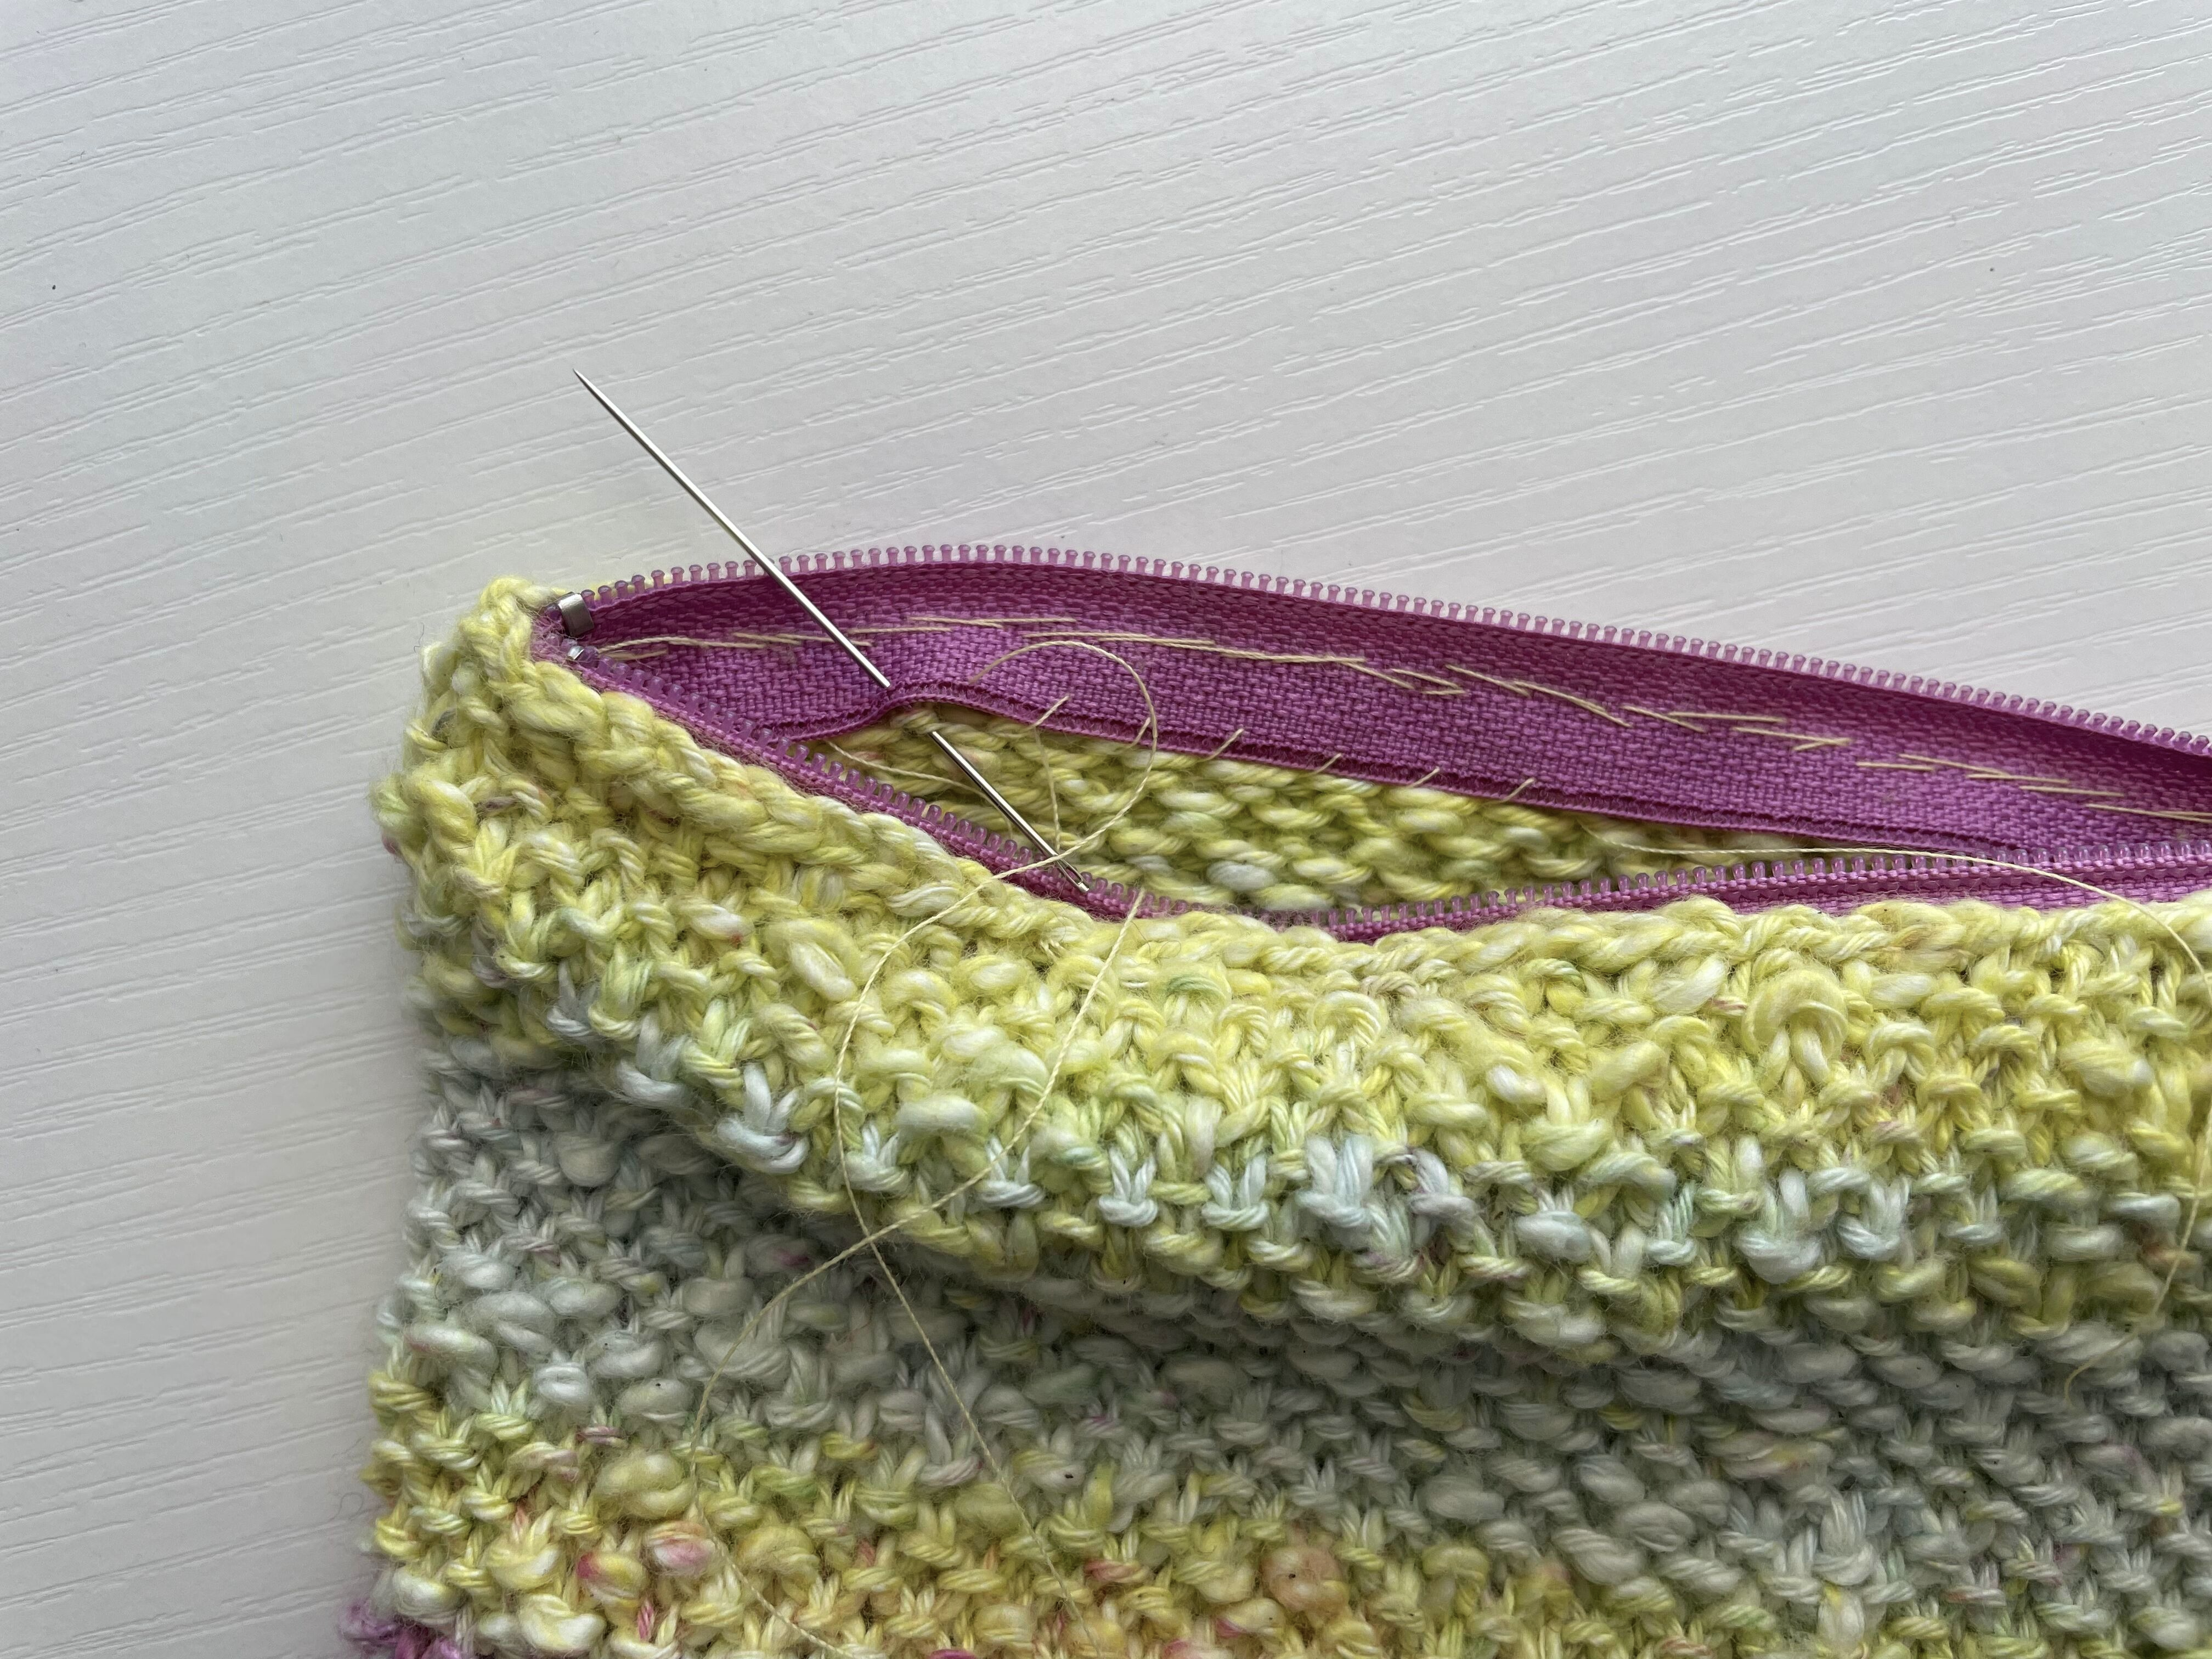
1. With the zipper closed, pin it to the opening of the pouch.
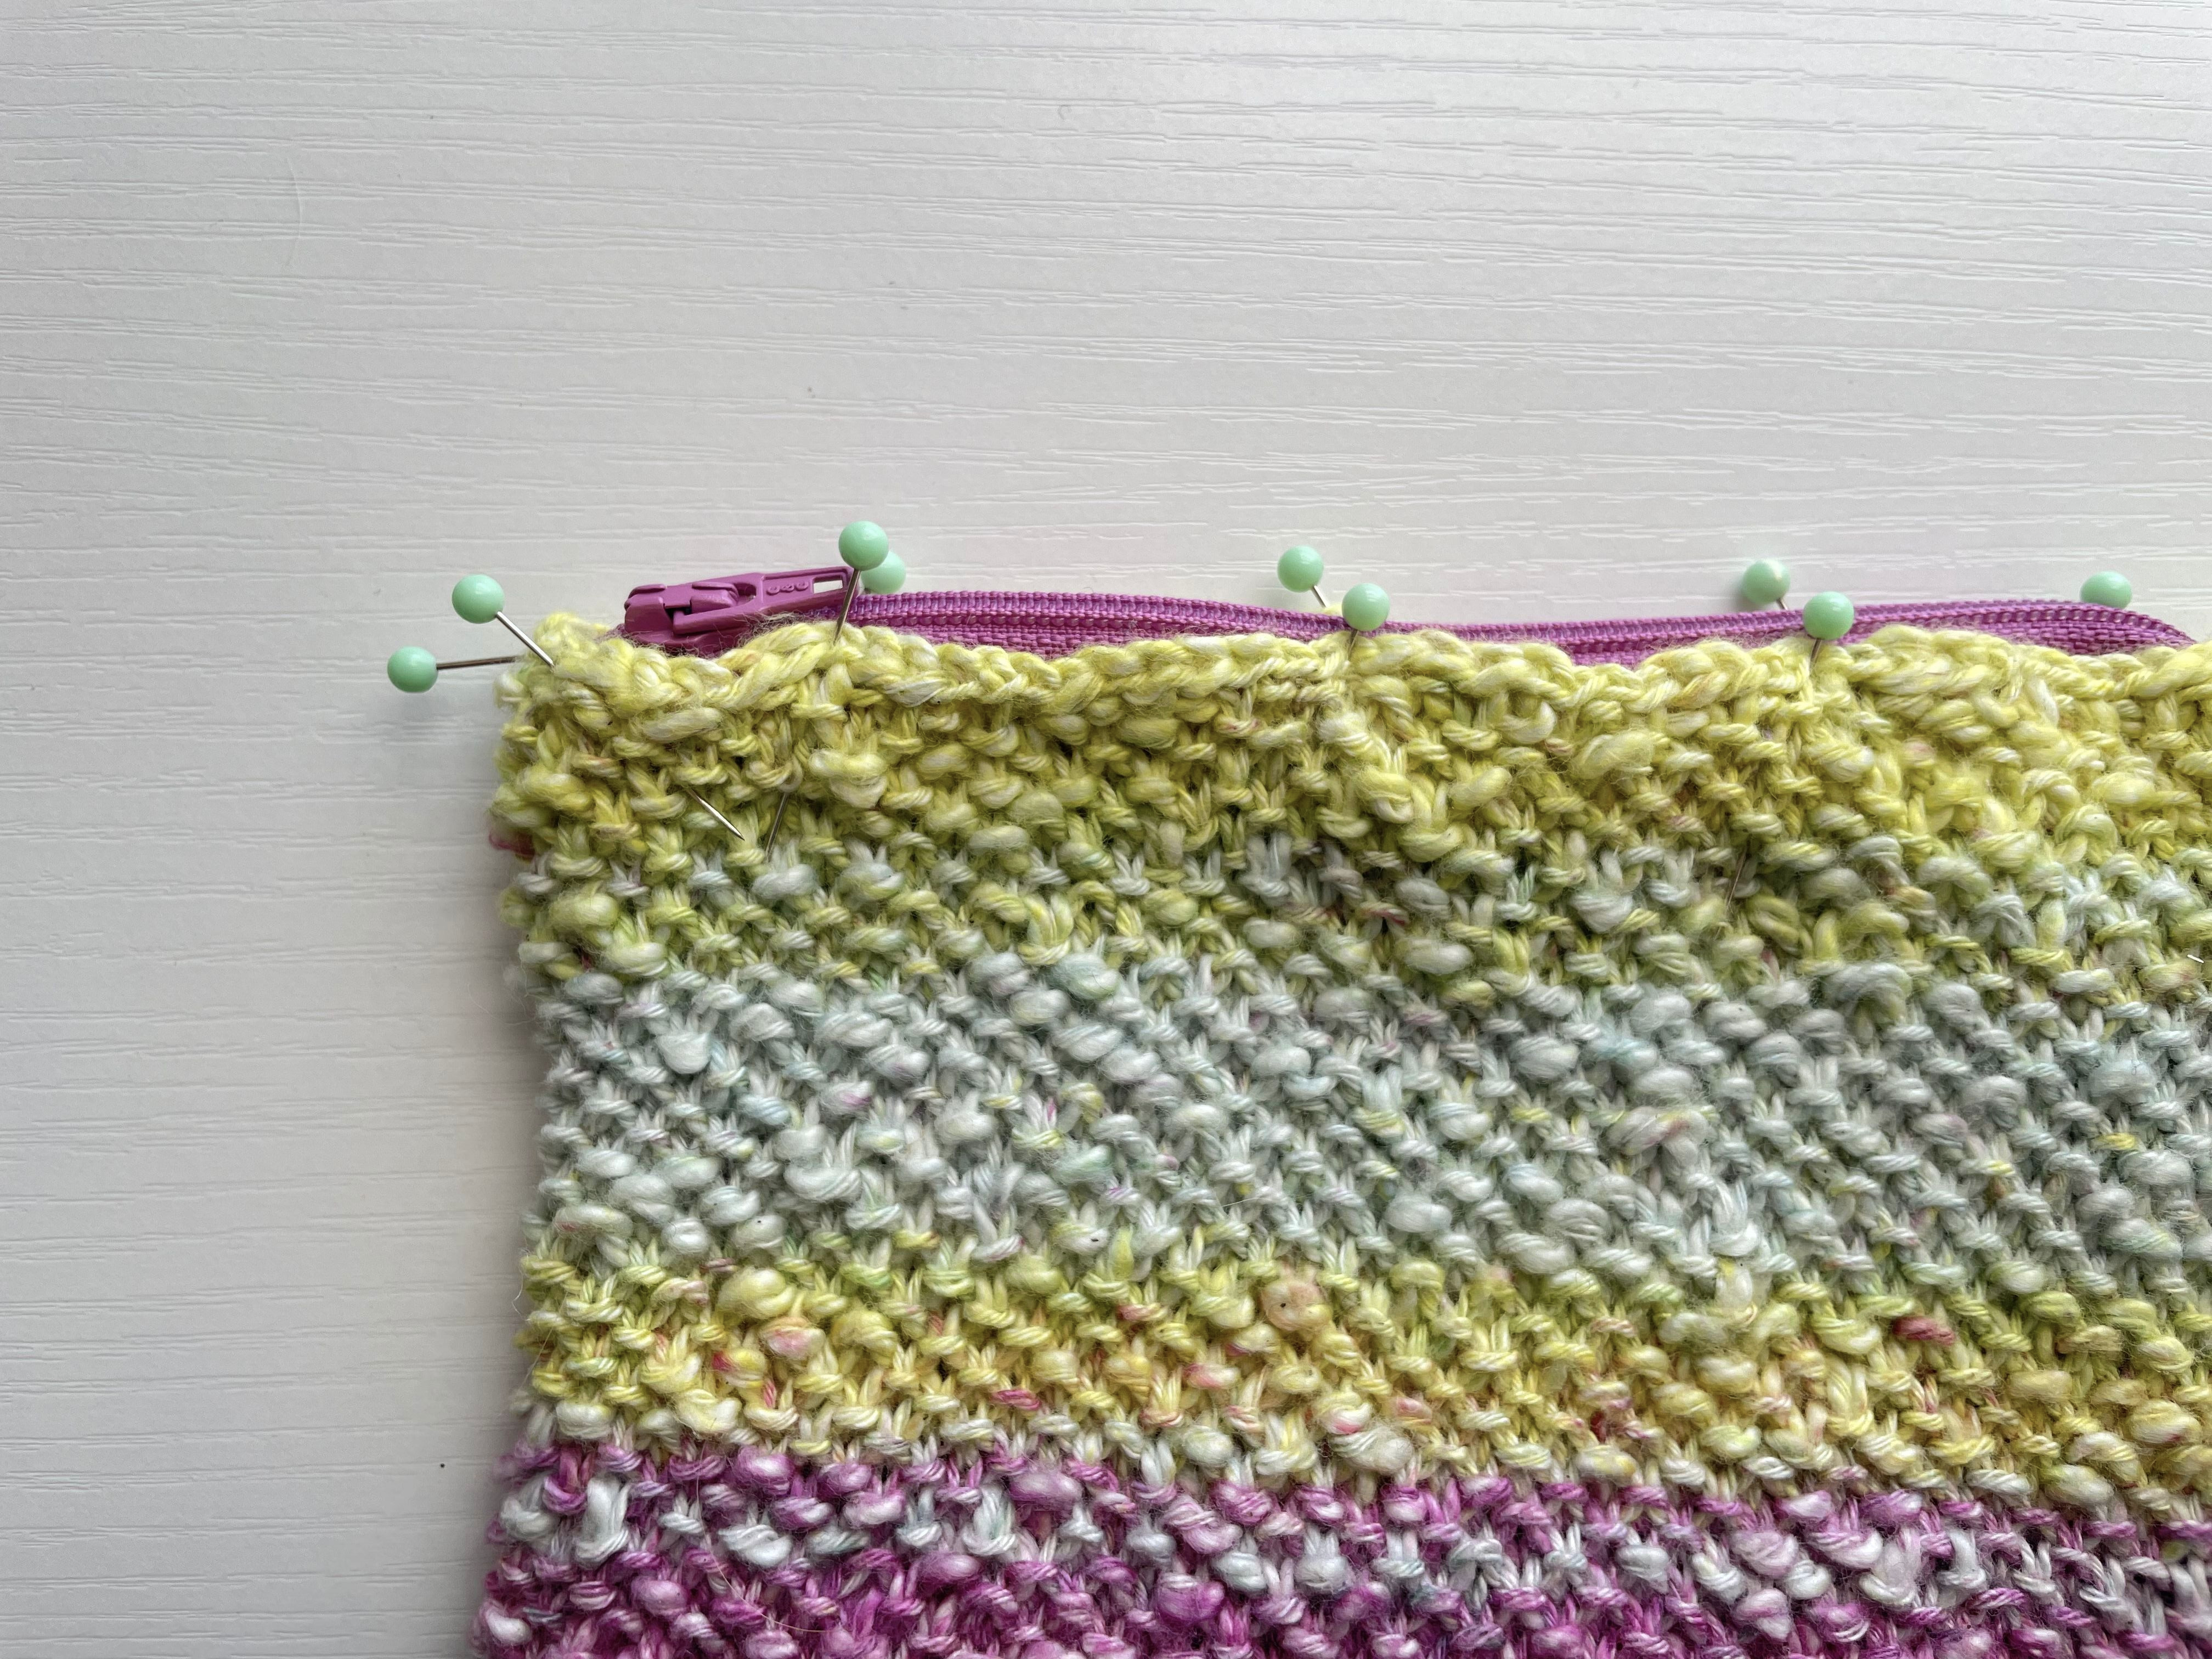
2. Use the contrasting thread and long stitches to baste zipper in place. Try opening and closing the zipper. This step is quick and easy to redo, so take the time to make sure the zipper fits nicely without puckering!
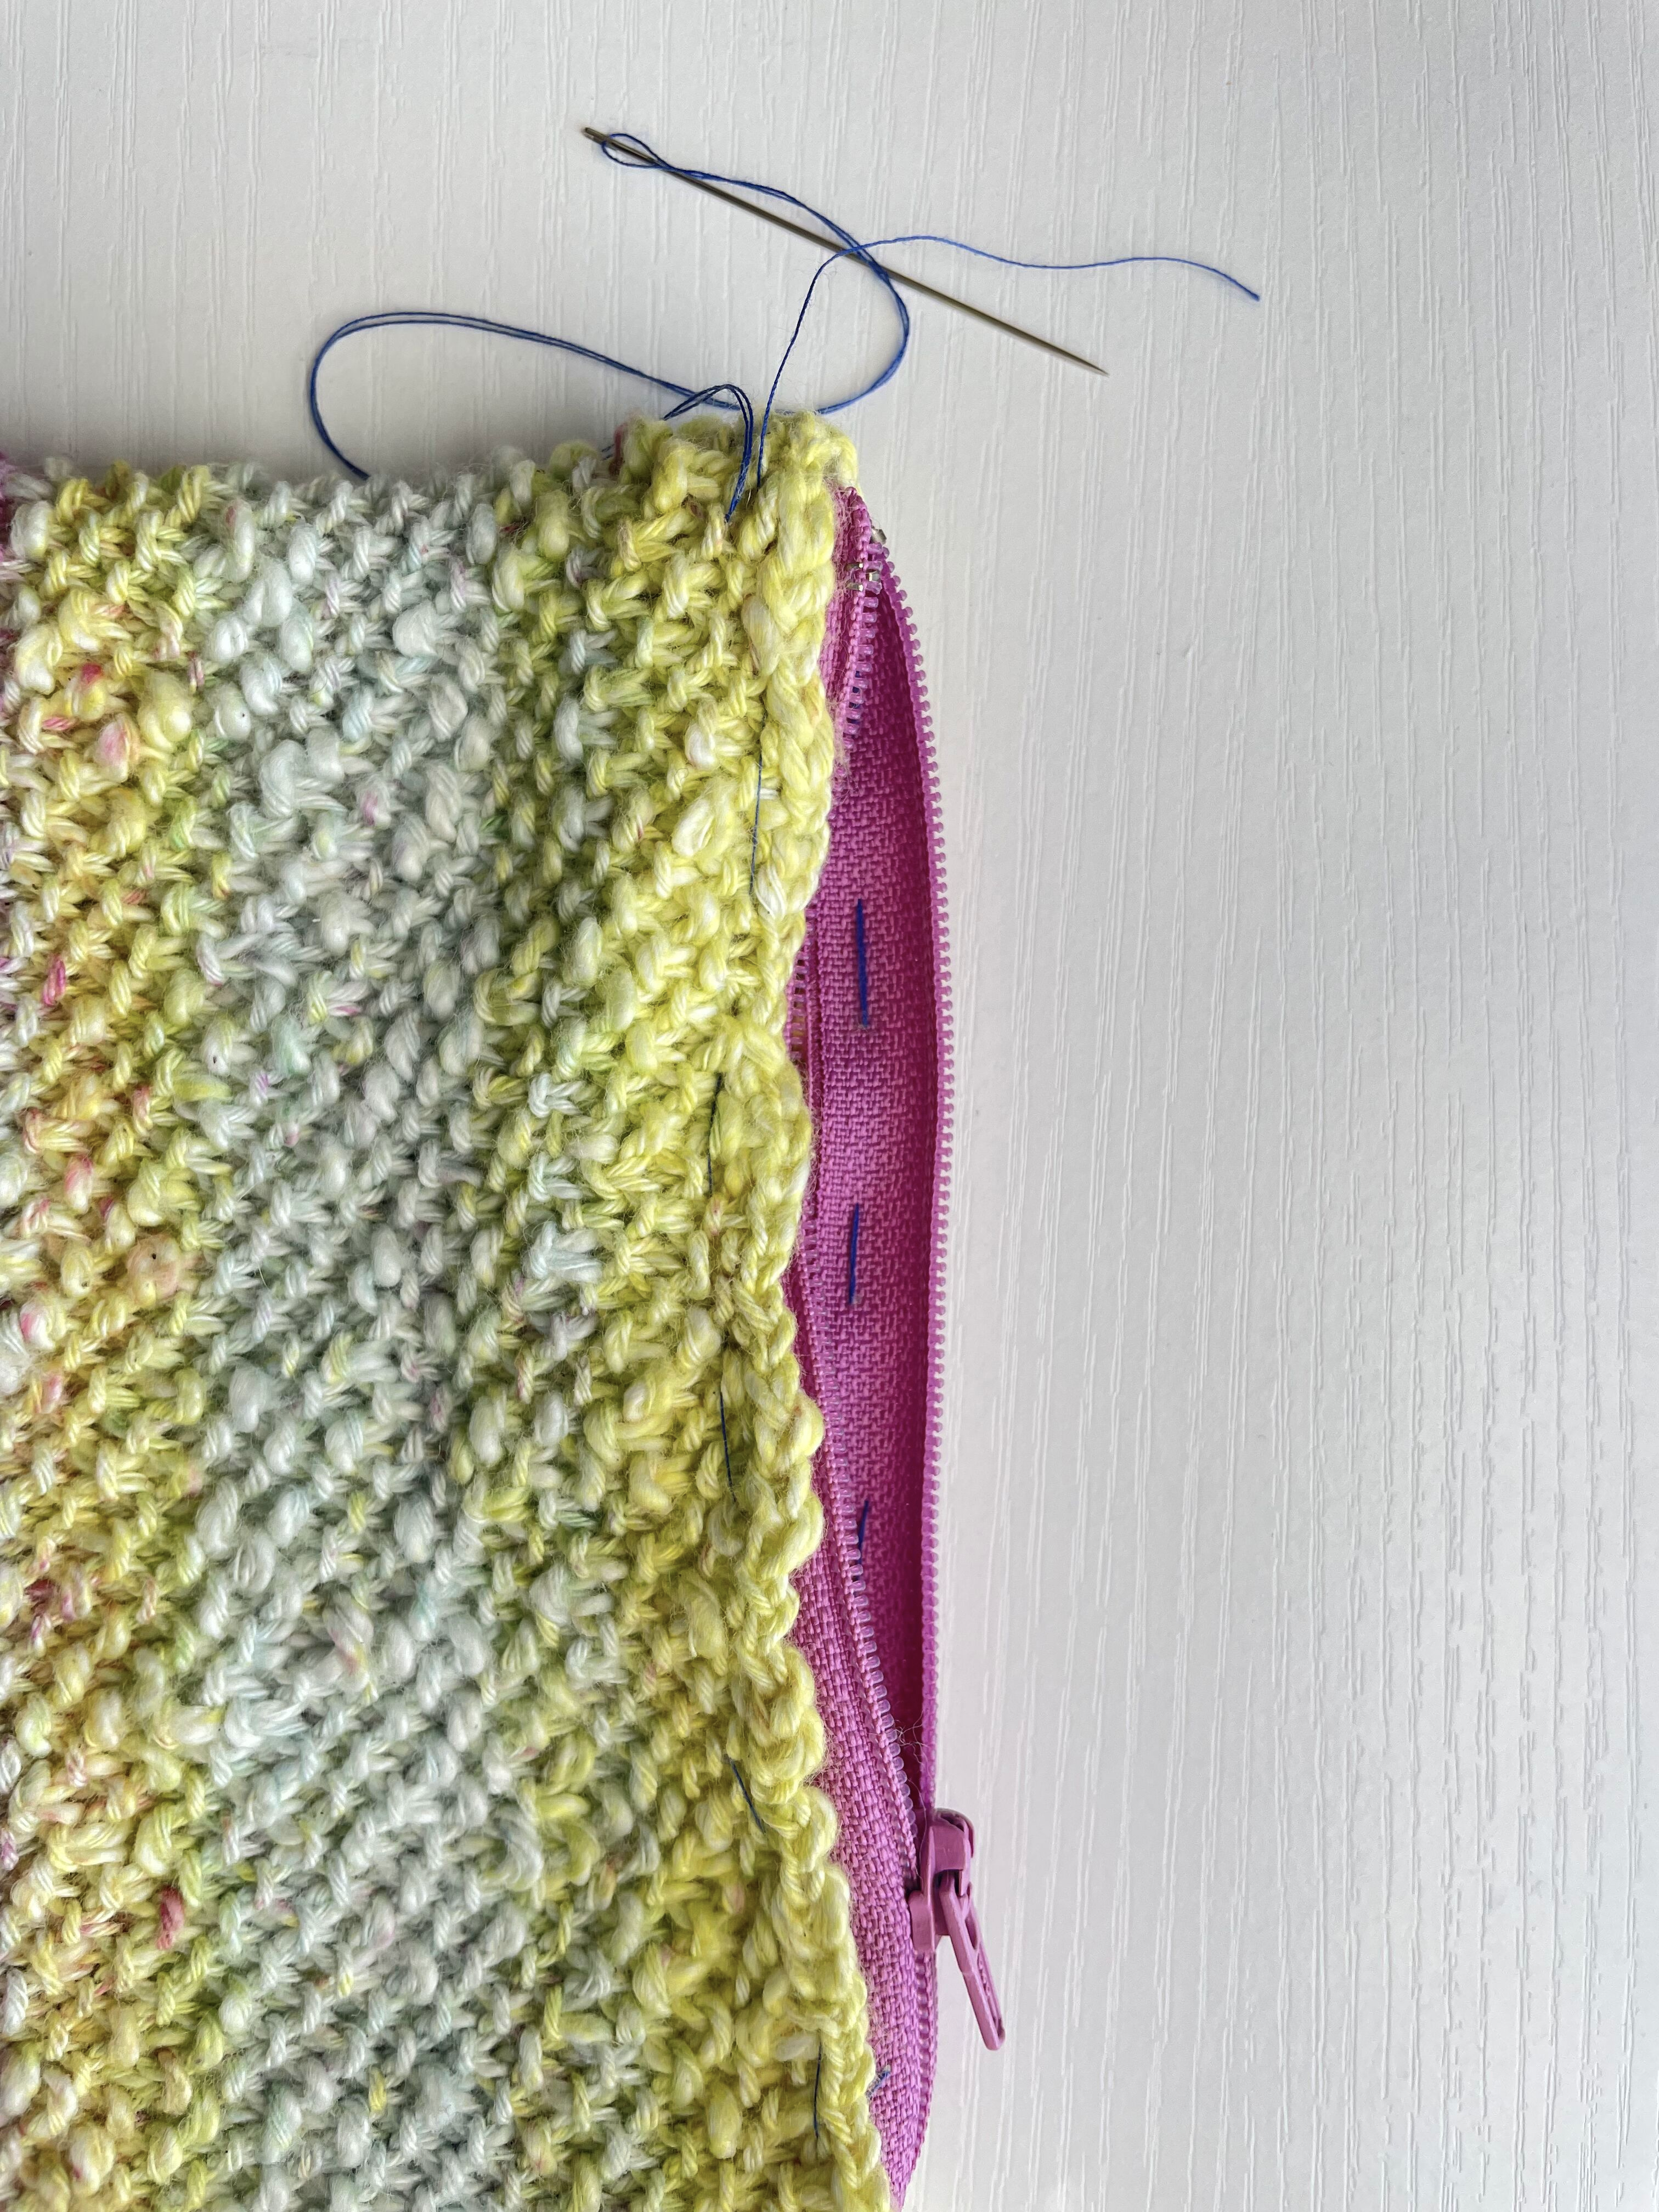
3. Use the matching thread and a back stitch to sew the edge of pouch onto zipper from the right side of the knitting. Sew just below the bind-off edge, and about ¼” away from the zipper teeth. I used a contrasting zipper, and I wanted that pop of color to show a bit. Again, try opening and closing the zipper to make sure the knitted edges won’t get caught. When you’re done with this seam, you can remove the basting stitch.
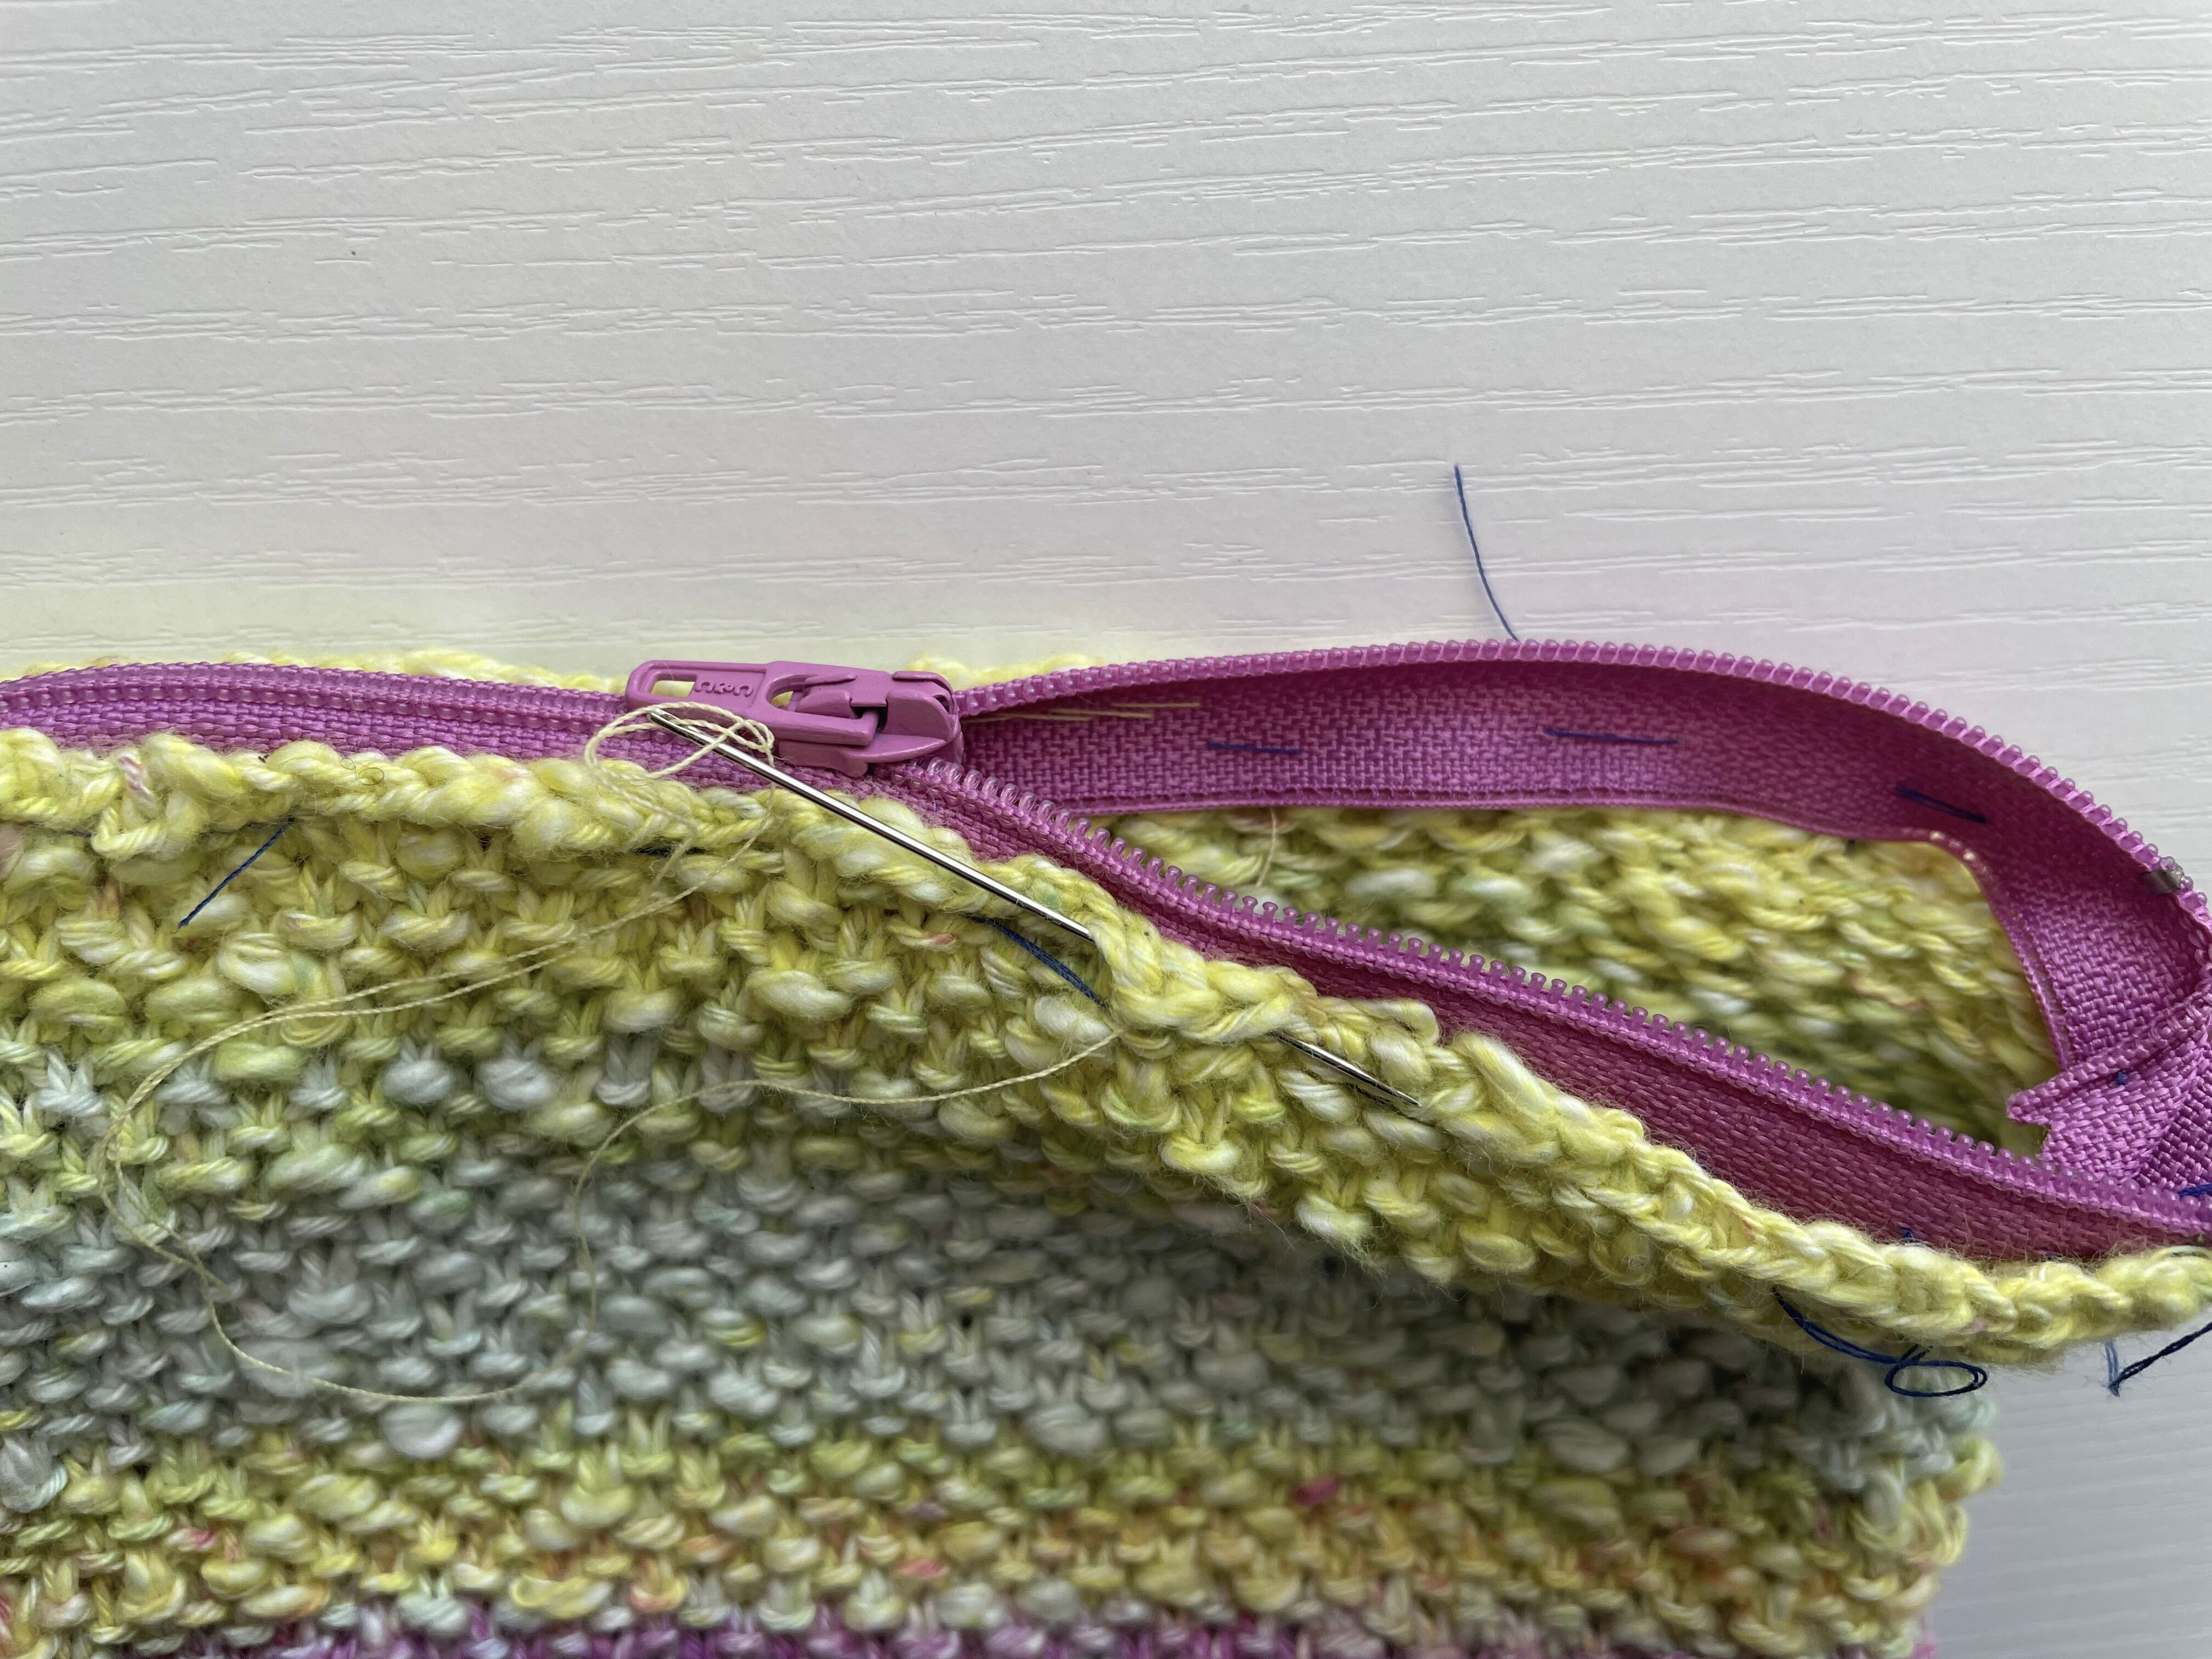
4. Optional: Whip stitch down the outer edge of the zipper tape to the inside of the pouch.
That’s it, you are all done!
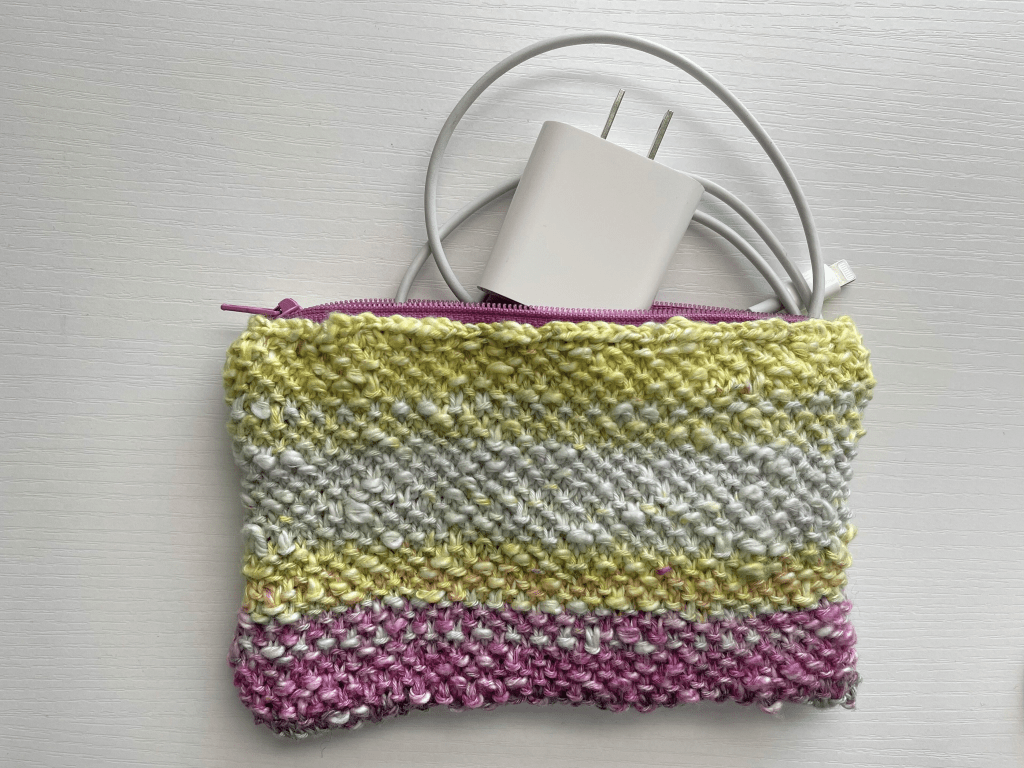
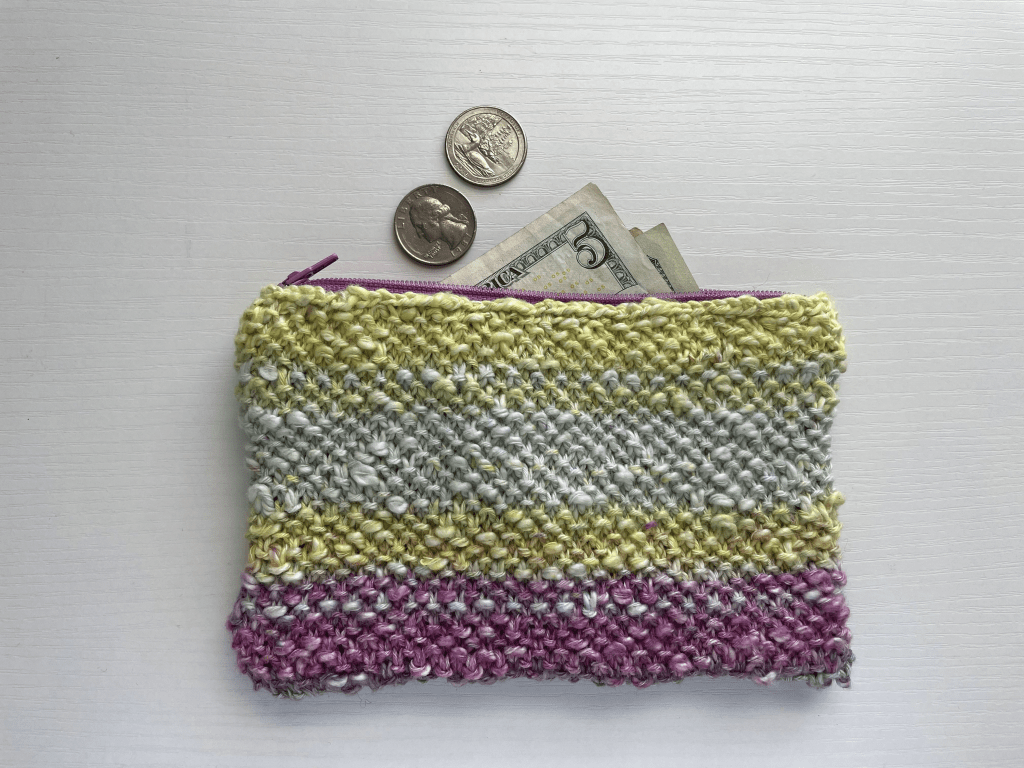
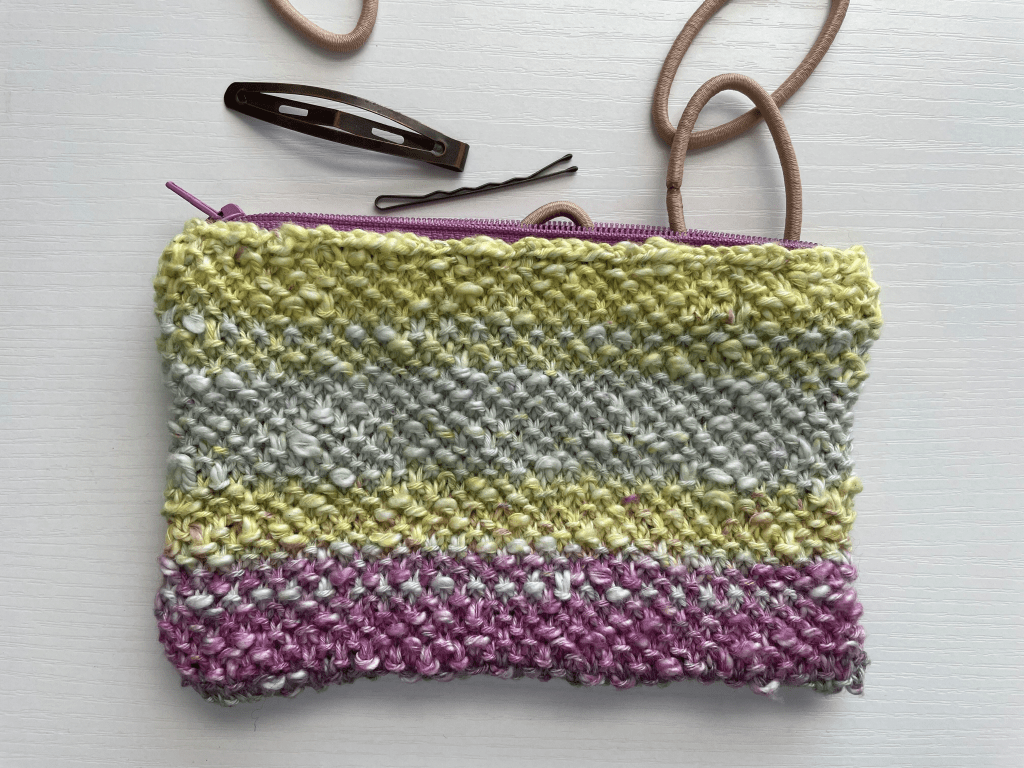
I will probably put a spare phone charger in my pouch and throw it in my travel bag, but I can think of so many uses: hair clips, change, reading glasses, maybe a longer one for a pencil pouch… It would also make a cute gift, maybe filled with sweets?

Thanks so much..I have to give this a try. I have always wanted to put zippers in my cardigans but been to afraid to do so