Following up to my previous post about how to prepare your sweater knitting pattern before the Lopi Sweater knit-along, I wanted to share three tips for those of us larger ladies. These tips will work for almost ANY bottom up seamless yoke sweater, whether it’s got colorwork or textured stitches or whatever. Everything here is in the terms of Lopi sweaters, because I’m having to do this work myself to knit Weatherman for the knit-along, and it’s TOTALLY WORTH IT.
The largest size of Weatherman is 108 cm, or 42.5 inches. That’s pretty small for a largest size in knitting pattern terminology, but it is, sadly, a pretty standard size for most Lopi sweaters (the other sweater I’m working on, Sólkatla, goes up to 120 cm or 47.25″, so some of them are larger, but still not totally large enough). I typically wear my sweaters at a 48″ or 49″ bust circumference, so I’m very experienced with increasing the sizes of these sweaters—I’ve knit 5 Lopi sweaters already and made some adjustment every time (mostly because I can’t leave anything alone, not because the patterns aren’t well executed). If you want some additional reading about fitting seamless yoke constructions, this blog post about the Isthmus Pullover might be of interest.
So, what can we do for the knit-along if we need a larger size? Three options:
- Easiest Choose a different pattern with a size that corresponds to your measurement. My pattern inspiration blog post lists the size range for the patterns (when the information was available to me), so you can more easily choose a size without having to do a lot of work. I’ve also gone through and found some more patterns that have sizes in the upper 50″ range—they’re at the bottom of this post.
- Still pretty easy Choose a free pattern that has a larger size listing AND the same number of stitches in your stitch pattern. What does this mean? So I’m knitting Weatherman, and I want a 48 or 49″ size, but the largest size in the pattern is 108 cm or 42.5 inches. If I take a look at the chart for Weatherman, I see that the pattern repeat (the stitches in the red box) is 16 stitches wide (the four stitches outside of the red box just help to center the pattern). I figured that out by counting the number of stitches within the red box from the chart—that’s your pattern repeat.
 So I could find a free pattern that has a stitch repeat that’s 16 stitches wide. I could also find a pattern that has a stitch repeat 8 stitches wide, since 8 stitches repeated works evenly into 16 stitches. I would then knit the body for the free pattern, and then use the charted pattern for Weatherman instead of the chart that’s in the free pattern. The trick here is to pay attention to the row depth—Weatherman’s chart is 52 rows deep for the largest size, and that’s pretty standard for a lot of these sweaters, but you may need to do some work there if you want to knit a chart with fewer rows.I did this myself with my Birki sweater shown here. This is an extra special case, because the original pattern was written for a child’s sweater, but Ístex had had so many requests for an adult-sized version that they’ve made the chart available and suggest plugging it into the pattern for Riddari. So you’re taking the whole text for the main pattern (in this example, Riddari) and then working from a different chart (the updated Birki chart) to get a sweater that fits you without having to do the math yourself (it’s not hard, but why not make things easy when you can)? It is important to note that you should follow the chart as written, including the decreases as they are shown, regardless of how many repeats you add. Don’t forget to buy an extra skein or two of yarn—check your shop’s return policy in case you have too much.
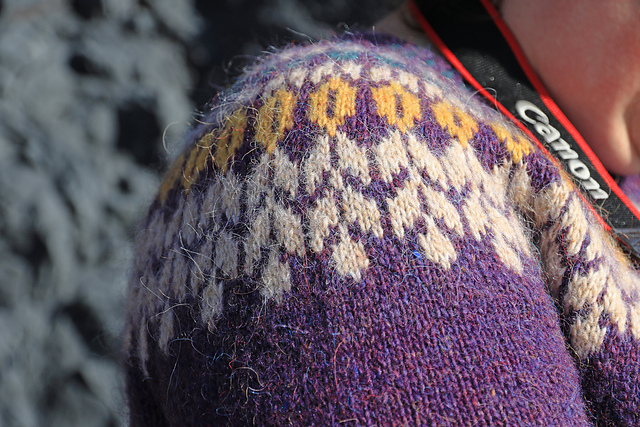
- Involves some work but is very rewarding Do some math to figure out how to knit the pattern your way. I know. I said a four letter word (it begins with “m”). But I’m going to walk you through it using the same exact method that I used to figure out how to increase my size for my sweater, and you can do it! IT’S SO EASY, it just requires a lot of words to demonstrate what to do. Take a deep breath, read through this whole section slowly, and trust me on this.
Let’s take another look at the bottom of the chart from Weatherman.
Let’s zero in on those stitch counts listed to the far right—256, 272, and 288 stitches. Do you notice anything about them? I mentioned above that the stitch repeat is 16 stitches. 256 + 16 is 272. 272 + 16 is 288. If you divide 256 stitches by 16 stitches, you get 16 repeats—so for the smallest size, this sweater has 16 repeats of the 16 stitch pattern. If you divided 272 stitches by 16 stitches, you get 17 repeats. 288 divided by 16 is 18 repeats. Note: Again, make sure after this point that you follow the chart as drawn, working the decreases as charted, regardless of how many stitch repeats you’re working.
These numbers also correspond to the sizes. The smallest size is 90 cm, or 35.4 inches; the medium size is 99 cm or about 39″; the largest size is 108 cm or 42.5″. So there’s 3.5 inches between each size, measured at the bust, which is the same place you’ll have 256, 272, or 288 stitches. So we can make this comparison:
90 cm = 35.5″ = 256 stitches
99 cm = 39″ = 272 stitches
108 cm = 42.5″ = 288 stitches
So let’s just keep this going. If I add 3.5 inches to 42.5 inches, I get 46 inches. If I add 16 stitches (the number of stitches in the pattern repeat) to 288 stitches, I get 304 stitches. I want my sweater to be a little bit bigger than that, so I’m going to repeat this again. I’m going to add 3.5 inches to get 49.5 inches, and then add another 16-stitch repeat to the 304 stitches for a total of 320 stitches.
117 cm = 46″ = 304 stitches
126 cm = 49.5″ = 320 stitches
So should I cast on 320 stitches? NOPE. That’s how many stitches I need to work the yoke for my size. If I take a look at the number of stitches cast-on for the body, I’ll notice that the cast-on numbers also increase by 16 stitches for each size. So since I had 32 stitches in the yoke numbers, I’m going to add 32 stitches to the cast-on number. You’ll want to buy an additional skein or two of yarn! Be sure to ask your shop about their policy on returning unused skeins of yarn. Note: Not every pattern will work this easily, and if you’re not interested in doing more math (which is not so easily explained in a blog post), I suggest strongly consider Option 2 above.
Let’s talk about the sleeves
You’ll also want to take a look at the sleeve circumference, and in this particular instance, we’ll need to do some math with the gauge listed in the pattern (this is where having a schematic with the pattern would be very helpful, but we do have a blank sample schematic in this post). The gauge for the Weatherman pattern (and for many sweaters knit with Léttlopi, but not all) is 18 stitches to 4 inches, or 4.5 stitches to the inch. You want to look at the largest number of stitches for the sleeves—in this case, they are 67, 71, and 75 stitches (four stitches between each size). With the 75 stitches in mind, I’m going to divide that by 4.5 stitches per inch, and that gives us 16.67 inches (the “stitches” in the equation cancel themselves out). This is a good size for me, so I’m not going to change the sleeves at all.
HOWEVER, if you need slightly larger sleeves, let’s work backward. Say you want sleeves that are about 18 inches in circumference. Take that 18 inches and multiply it by 4.5 stitches per inch—you’ll want about 81 stitches. It would be easier in the long run to stick with the four-stitch difference I noted above, so you might want to go down to 79 stitches, or up to 83 stitches.
Because you’re reading through the whole pattern, though, you know that that’s not the last number of stitches listed for the sleeves—there’s a note about placing a certain number of stitches on holders. In this case, for the largest size, we’re placing 14 stitches on holders. Those stitches will be grafted with stitches from the body to join the sleeves and body while allowing for you to move your arms. What does this mean for those times we want are increasing the sleeves and the body?
In my example, if I was making the sleeves larger in addition to the body, I would need to add up all my stitches to see where my final number was. I have 226 stitches for the body, and 83 stitches for each sleeve. I’m going to subtract 14 from those sleeve numbers—because we’re putting 14 stitches on hold. That’s 83 – 14 or 69 stitches. I’m going to subtract 28 from the body number, because we’re putting 14 stitches on hold for 2 armholes. So I have 226 – 28 = 198 stitches. Now let’s add up those new numbers.
198 body stitches + 69 right sleeve stitches + 69 left sleeve stitches = 336 stitches
Guess what? 336 stitches divided by the 16 stitch repeat is 21 repeats… so that’s it. Our math works out perfectly. You know this will work if you have a whole number (and not something like 21.5) when you do that last bit of math.
Now, if I did the same thing but had used the 79 number of stitches, that works out a little differently. 79 stitches minus 14 stitches is 65 stitches.
198 body stitches + 65 right sleeve stitches + 65 left sleeve stitches = 328 stitches
That’s 8 more (or 8 fewer) stitches than what I need so I have a couple of options. I could work everything as planned and decrease (or increase) evenly across the round after joining the sleeves but before working the chart.
Or I could change the number of stitches I put on hold. I’m going to aim for the 320 stitch count, so I have 8 stitches to remove before I join the body and arms. There are four places where I’m putting the stitches on hold—the right sleeve, the left sleeve, and two sides of the body where the sleeves join—so I can divide those 8 stitches by 4 places and I know I need to hold 2 more stitches than the pattern states. In other words, I need to put 16 stitches on each of the holders, instead of 14.
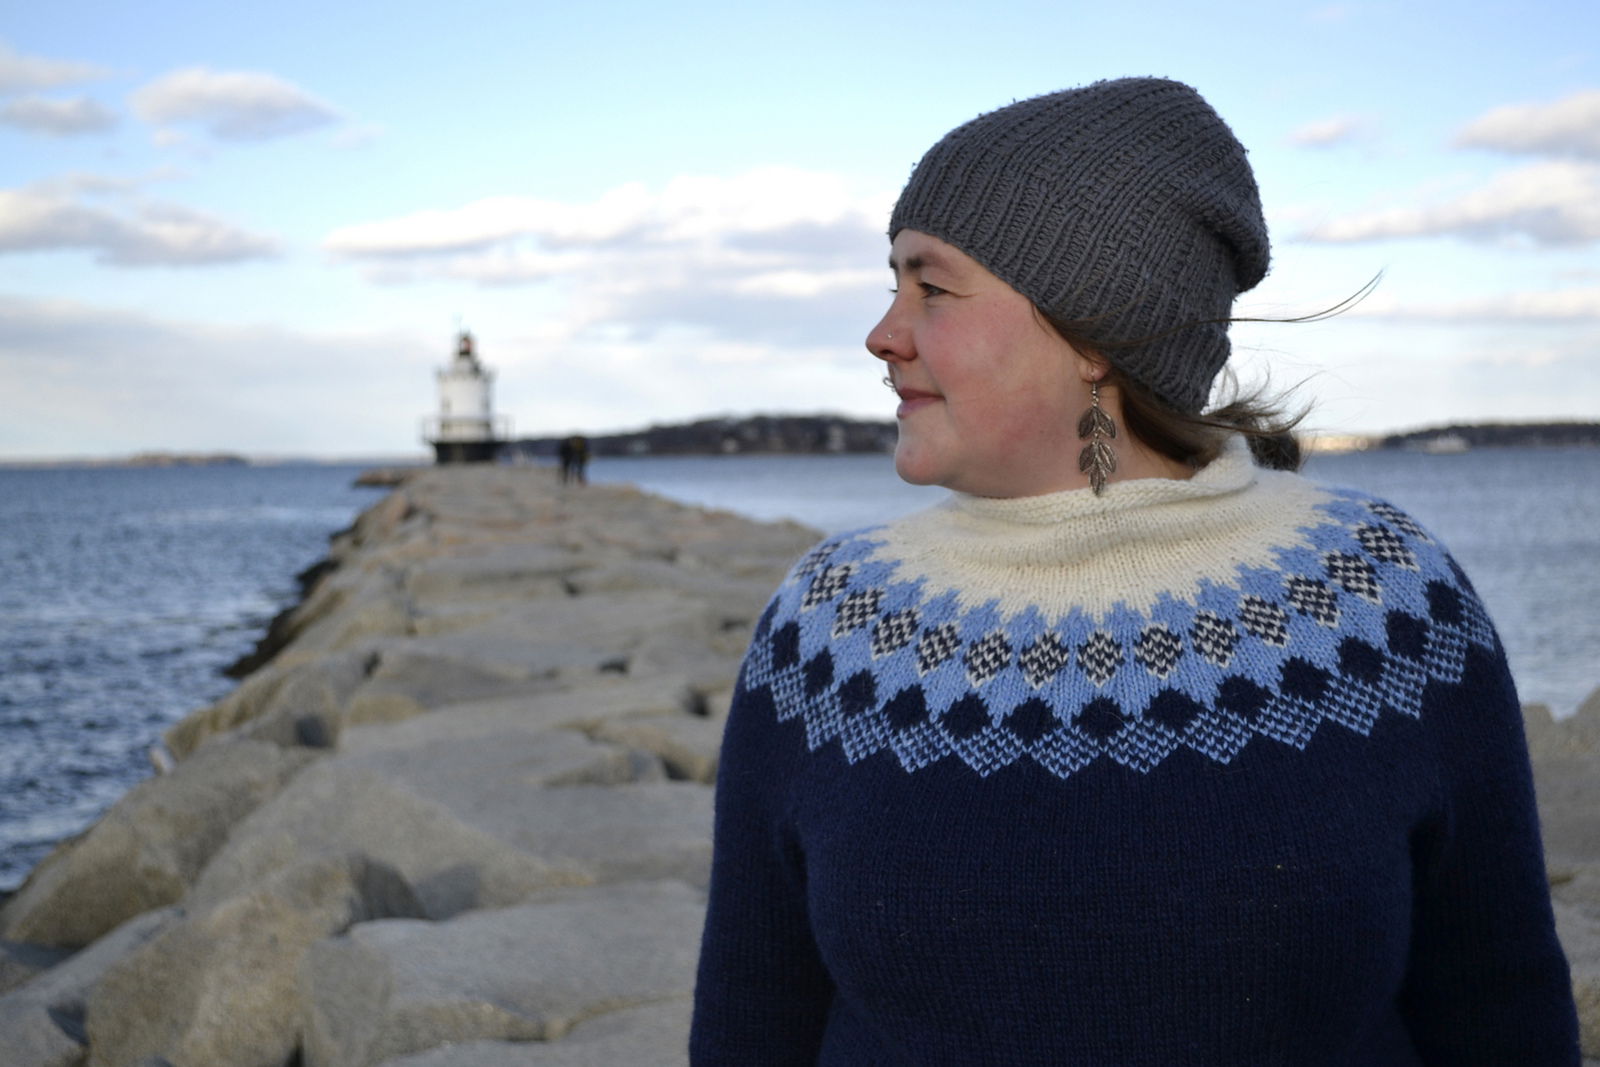
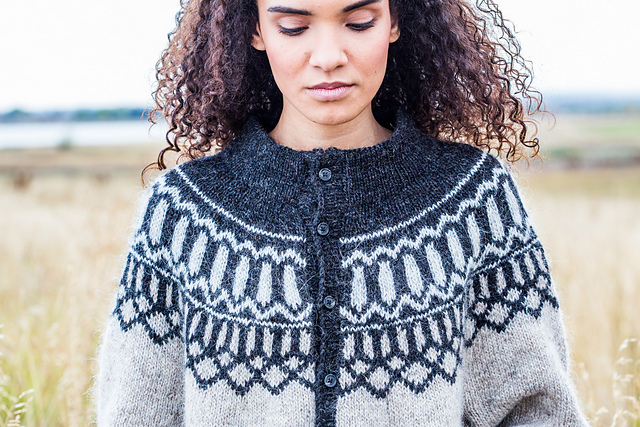
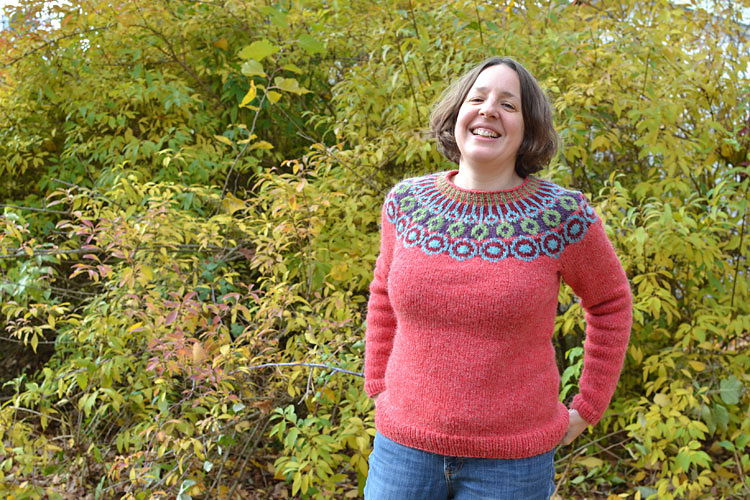
I realize this is a lot of information, and I did warn you! I recognize that the easiest solution all around would be for designers and publishers to just increase larger sizes from the start, and I truly hope that we get to a place where it’s universal across all patterns. But until such time, you can use these steps to make the sweaters you want to wear! And now, your brain needs a break, so here are some more pretty pattern photos (in larger sizes!) to view.


Alot of information, but very helpful. Thanks!😀
I’m glad you find it helpful! I do know it’s a lot of info, so I tried to space things out and simplify it as much as I could, but it’s difficult to explain it all in a blog post, when you can’t sit down next to a person.
In option two, shouldn’t the number of stitches be reversed? “I could also find a pattern that has a stitch repeat 8 stitches wide, since 8 is a multiple of 16”
8 is not a multiple of 16, 16 is a multiple of 8. This will only work if there are an even number of stitch repeats in the larger sweater pattern.
Additionally, it’s worth pointing out that one should use the decreases noted in the original pattern. The decrease placement is critical to maintain the pattern.
Thanks for pointing that out, I’ve edited the post to hopefully make it more clear.
I assumed that if a person is working the chart as written, simply working it more times, they would work the decreases as included in the chart, but I can certainly add a note to that effect.
This is a great post. I usually size up a pattern by adding repeats, but it’s great to see this affirmed. I also appreciate being exposed to alternative strategies, not to mention cool patterns I hadn’t seen.
How do I figure out which size I should be knitting. My bra is a 34A? Should I be doing XS/S or M? I usually take a size 6 or 8 in petite or a small petite (only occasionally have I had to go to a medium petite for something to fit. Please give me an idea of which would be best. Does the pattern run large, small or regular?
Hi Harriet! I think our blog post about Understanding Ease will really help you out here. The short version is that there is no correlation between ready-to-wear sizes (a size 6, or a size 8, etc.) and choosing knitting pattern sizes. There’s not even a correlation between a woman’s bra size and their knitting pattern size. The powers that be really don’t make it easy for us!