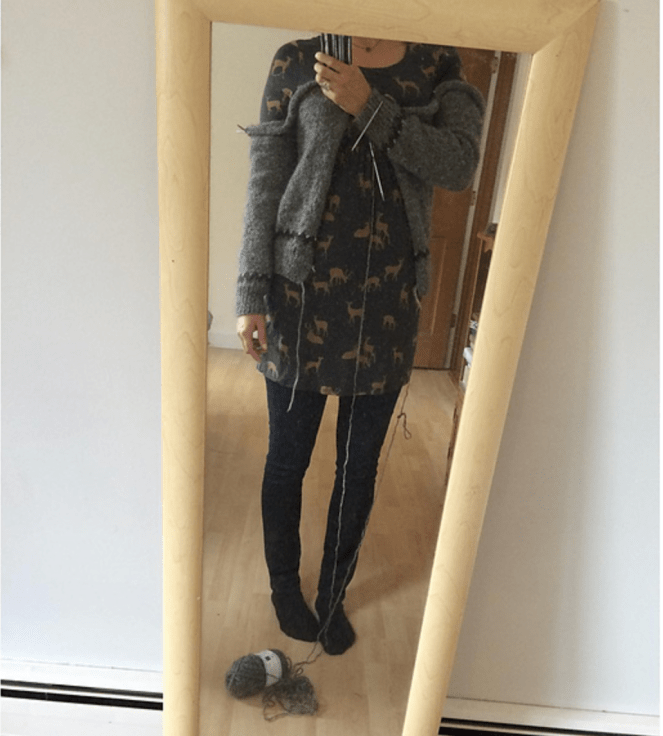
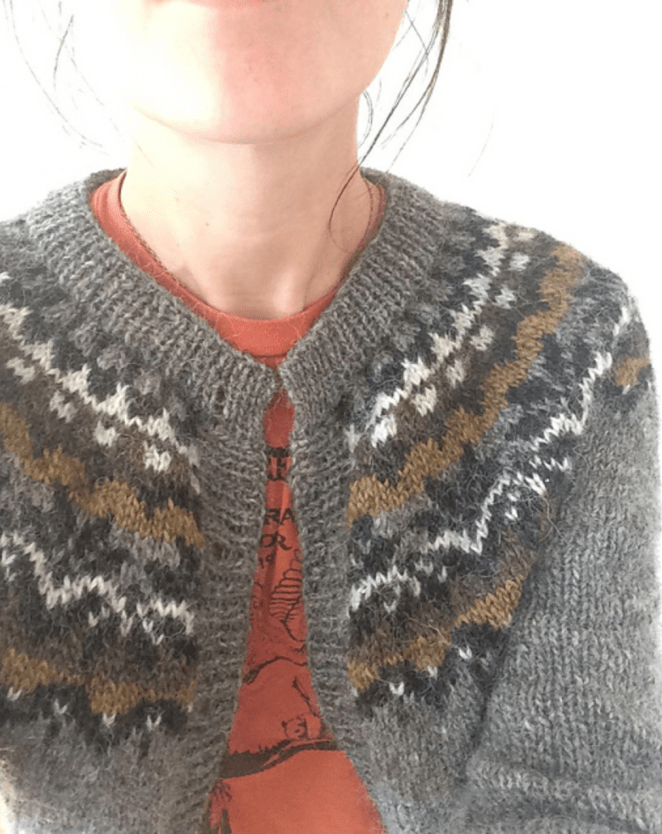
I love Lopi sweaters, but as you might have noticed in my last post, I especially love Lopi cardigans. If I am being very honest I don’t wear my Weatherman pullover as much as I wish I did because if I am being very very honest—I don’t think that yoked sweaters suit me. I am a very tall lady with a fairly lean upper body but I have broad shoulders. Round yokes really draw attention to the shoulders which can be very flattering; it’ a look that minimizes your middle if you have a larger chest or balances if you have bigger hips or narrow shoulders but can feel overwhelming if that’s an area that already feels accentuated. To escape feeling that I look like I’m ready to play tackle football, I prefer make mine a cardigan. The simply breaking up the line across the front is magic and instantly more flattering.
A few years back we had a Helen/Ellen KAL for the top-down colorwork yoke pullover/cardigan, and Emily wrote an excellent blog post about how to turn a pullover into a cardigan with a steek. Personally I prefer not to cut. It’s not a popular approach (I’m always hearing that people don’t like purling… which I really don’t understand) but here are my reasons why I prefer not to cut:
• Tension control: Working colorwork in the round is a tiny bit faster but with that speed comes increased tension. There is an old trick that if you find your floats too tight—when you work colorwork, you can turn your knitting inside out and work from the WS, carrying all the floats across the side of the work that faces you. Carrying the yarns around the outside results in longer, looser floats, and when the work is turned back to the RS there should be perfectly even float tension. In my case, the anxiety over too-tight floats often results in too long floats, and seeing the WS of my work more gives me a chance to make adjustments as I go along and I can shore up or loosen up as I work. Plus, I just love looking at the WS of my color work. It’s a pleasure all knitters should know.
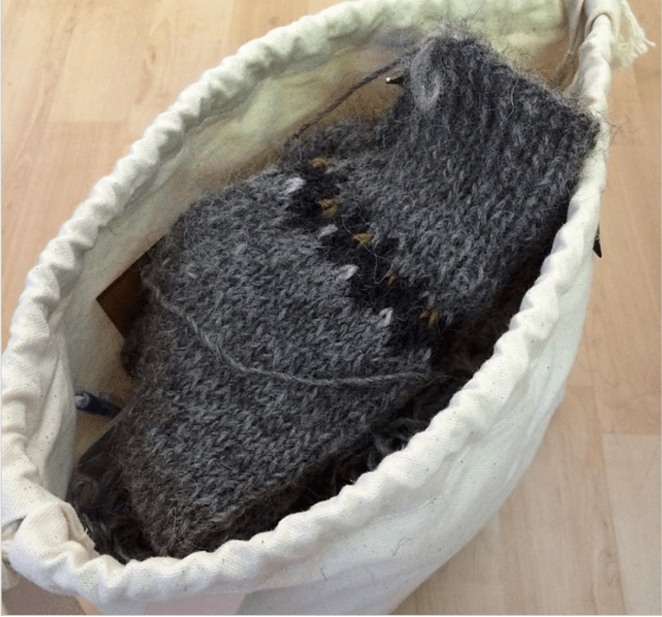
• Fear of commitment: Honestly, the biggest reason I don’t like to cut a steek is I’m likely to make changes. When designing, I will knit and rip and re-knit a section of colorwork several times sometimes before I’m happy, and I like to try it on and stand back and look and think about it as I do so. Knitting a cardigan flat makes this much easier, and I haven’t committed the yarn since I haven’t cut it. Sometimes it’s as simple as I didn’t like the way the color dominance appears as I worked it and I will rip back a section to reverse it (more on color dominance in stranded knitting in a future post). As crazy as it sounds, I’ve been known to finish a project, even woven in ends and blocked before I decided to rip back, so this matters quite a bit to me.
If the idea of working a color chart backwards seems a little intimidating, a Lopi sweater is actually a great place to start. The traditional designs all feature strong geometric patterns that are easy to “read” in your knitting. I find the best method of working stranded colorwork for me is to knit with 1 color in each hand—With my left hand I knit Continental style and use what ever the contrast color is for that row. With my right hand I knit “English” style and use the main color (or in the case of a many-colored design this would be what ever color I want to have appear as background for this section of chart). Once you’ve established the rule for yourself about which color goes in which hand, switching from RS to WS is very easy—just be sure to keep the correct color in the correct hand—with the contrast color you purl Continental style and with the main color you purl English style.
Converting an in-the-round pattern to flat knitting is easy! If your pattern was intended to be a cardigan, all you have to do is eliminate the steek stitches and replace them with a selvage stitch at each edge (the first and last stitch that you will attach the front band to). If the chart included instructions about which color to work the steek with, use that for the selvage, or simply work the selvage as you do the first and last stitch of the round (i.e., keep your selvage stitches in garter stitch, or slip the first stitch of each row—this will be up to you, but a consistent edge makes it much easier to attach front bands). Many steeked patterns are written with 2, 3, or even as many as 5 steek stitches, so be sure to check your pattern and remove those stitches from the numbers before you cast on.
You may want to convert a pullover to a cardigan pattern. The Afmæli pattern is written as a pullover, so to convert this pattern to flat knitting, the beginning of the round has to be moved to the center front and 3 stitches have to be added to the cast on—one to make the fronts begin and end at the same place and 1 for each selvage. And if you are wanting to make a pullover as a cardigan but prefer to steek instead of working back and forth in rows that’s fine too—make the same modification (adding three stitches) but you can join to work in the round.

Hi I’m joining.
Wish I could do this as I much prefer cardigans to sweaters and fear steeking but just cannot comprehend how to convert to flat knitting. Could you explain for a dummie like me?
Hi Aideen—is there a part in particular that is tripping you up? (as in, removing the steek stitches, or working colorwork flat?)
I’ll confess, steeking makes me run for the hills….I just can’t take scissors to something I worked so hard to knit. Yet I see so many beautiful sweaters that I’d love to make that require steeking. I understand how to eliminate it from the front for a cardigan but how do you eliminate it from sleeves? Many of the patterns I’ve seen tell you to knit the body in a tube then cut the sleeve opening after steeking…..gulp.
Hi Carol! It should be pretty simple to eliminate the steeks from sleeves—the pattern should tell you which stitches in the sleeve section are the steek stitches, so then you would just eliminate those and work the fronts and back in rows (like you would with the body. Just be sure to incorporate the armhole shaping, which should also be in the pattern.