Sometimes our knitting samples do not come out as we anticipate – something get lost in translation between desiging and knitting and you end up with this…
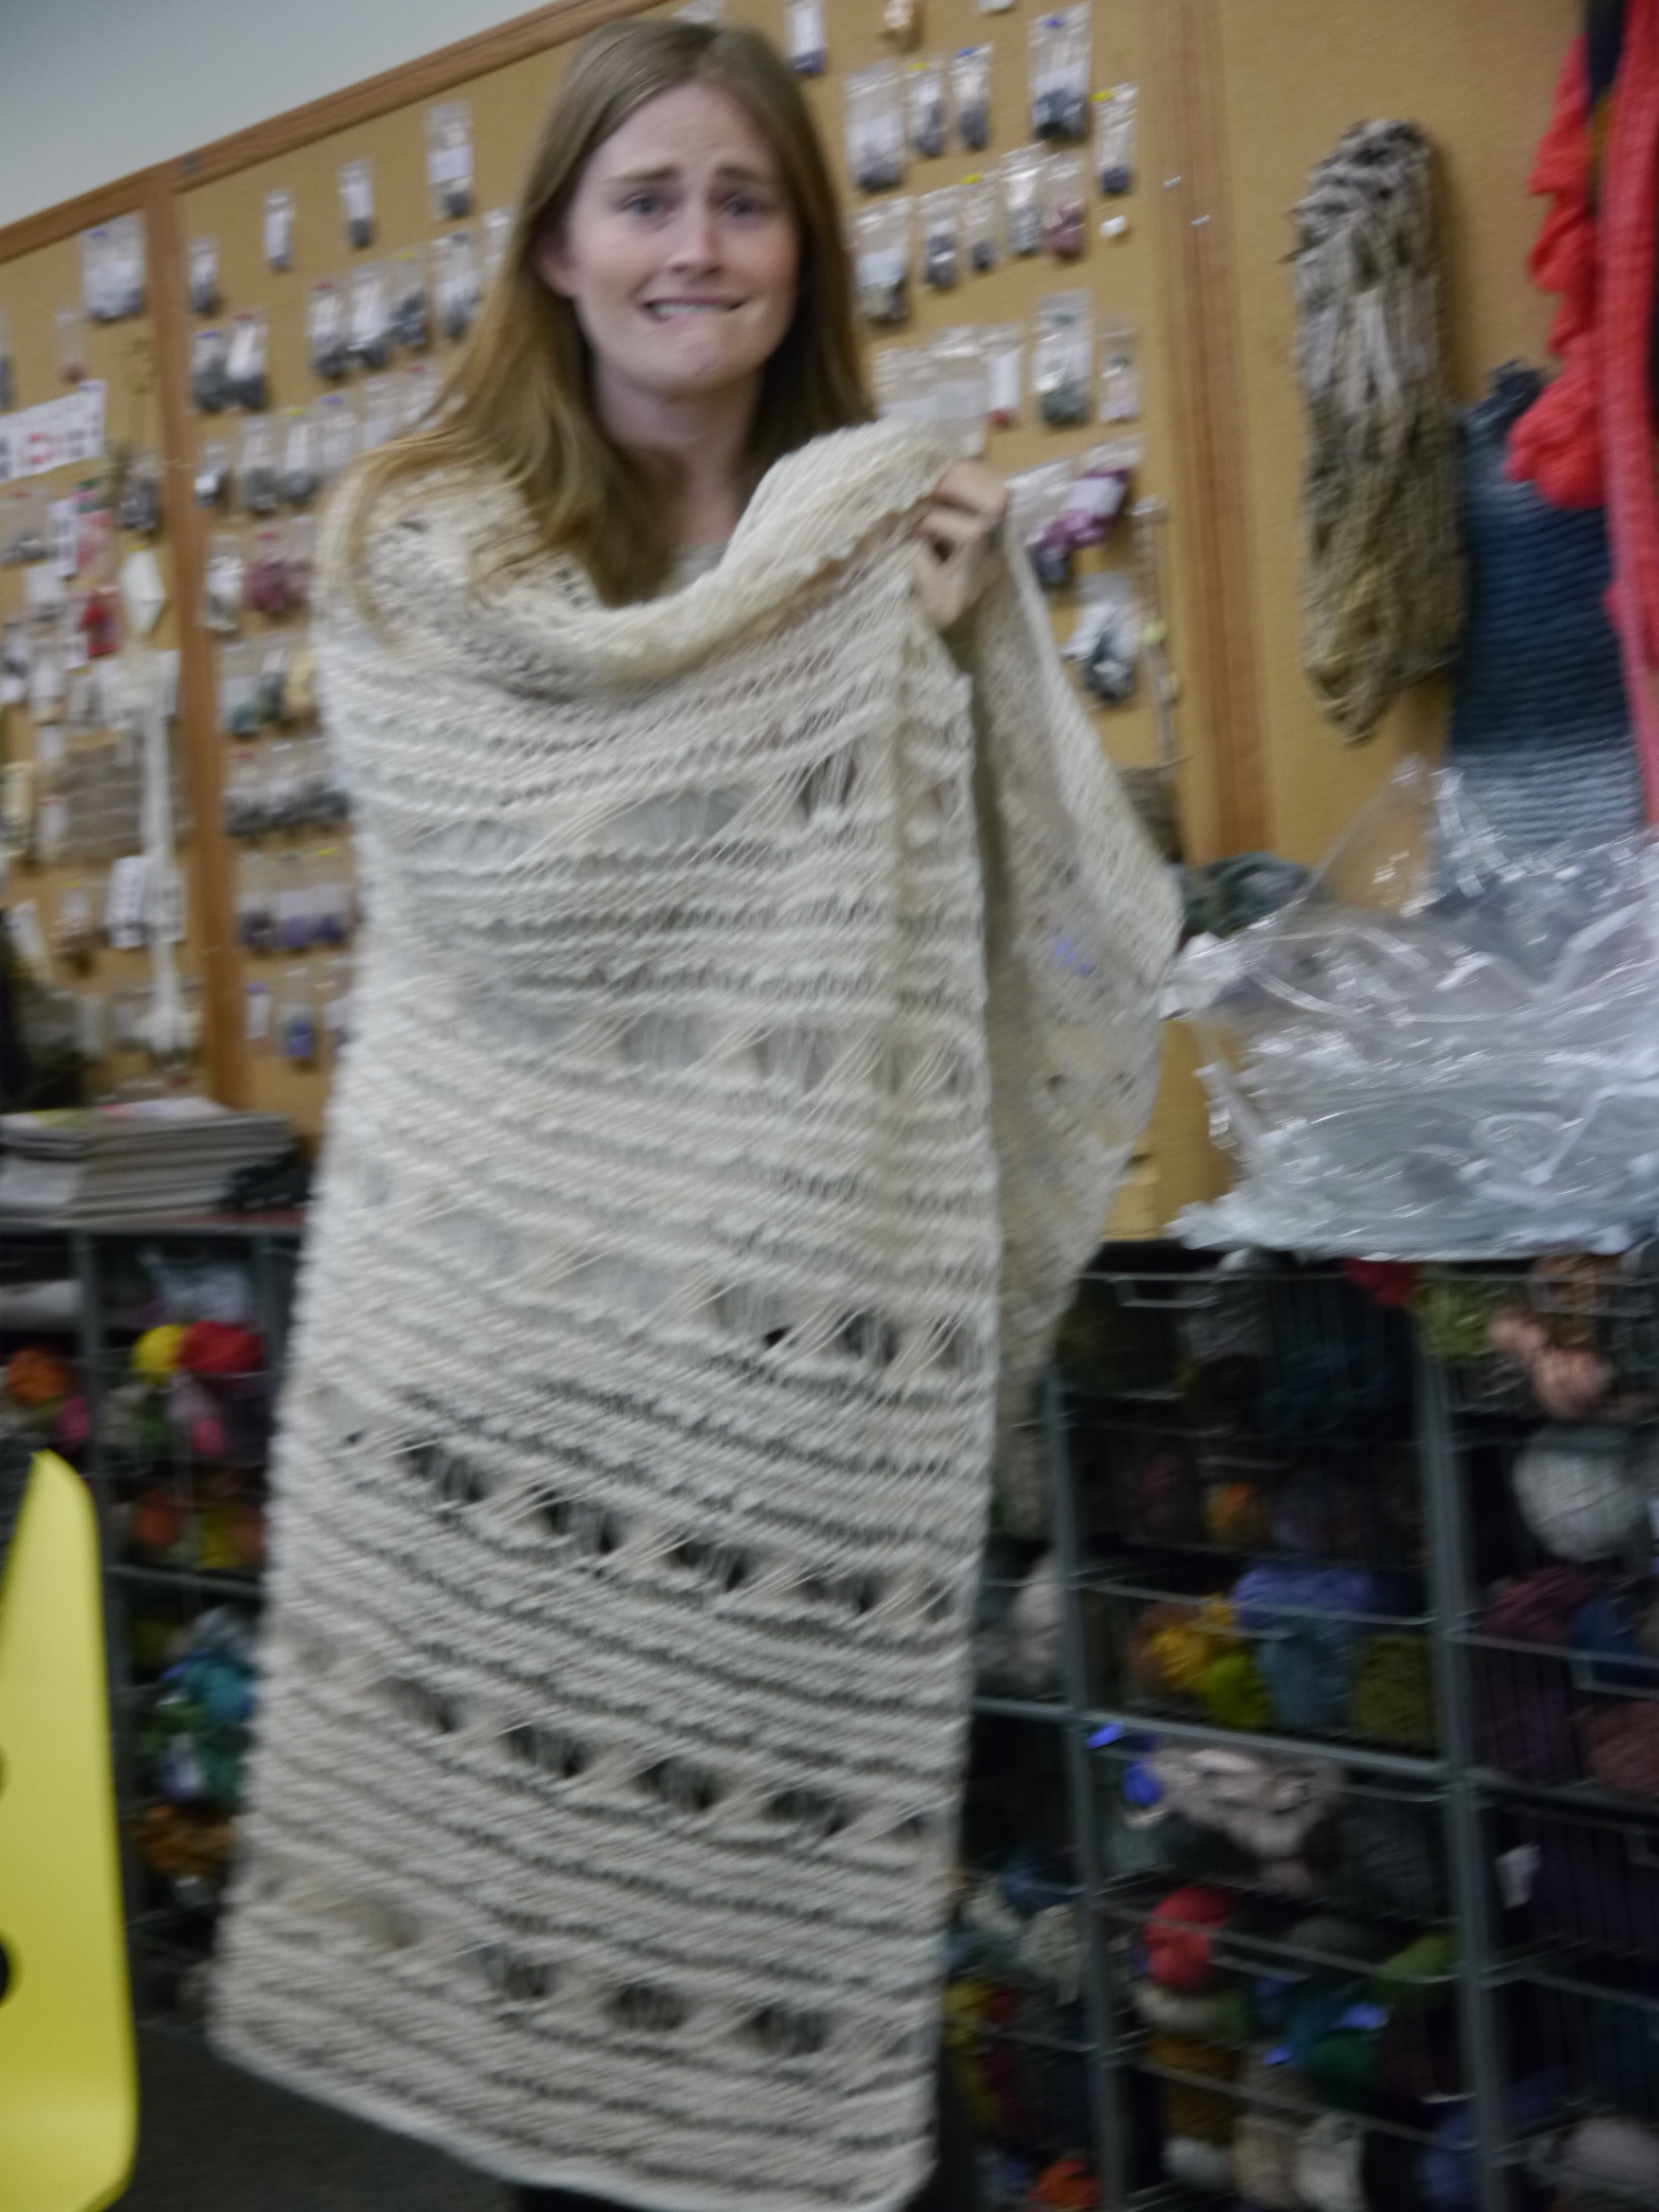
You might not recognize it, but this is what our most recent Knitbits pattern, Malemute, looked like a few weeks before our photo shoot. For a few moments, it felt like a disaster. But more often than not, you can fix the mistake.
With Malemute, Norah helped me cut the fabric in just the right way, so I could pick up the live stitches and cast off, making it our originally desired length. If you ever come across a moment when you need to perform a procedure such as this, here is what to do.
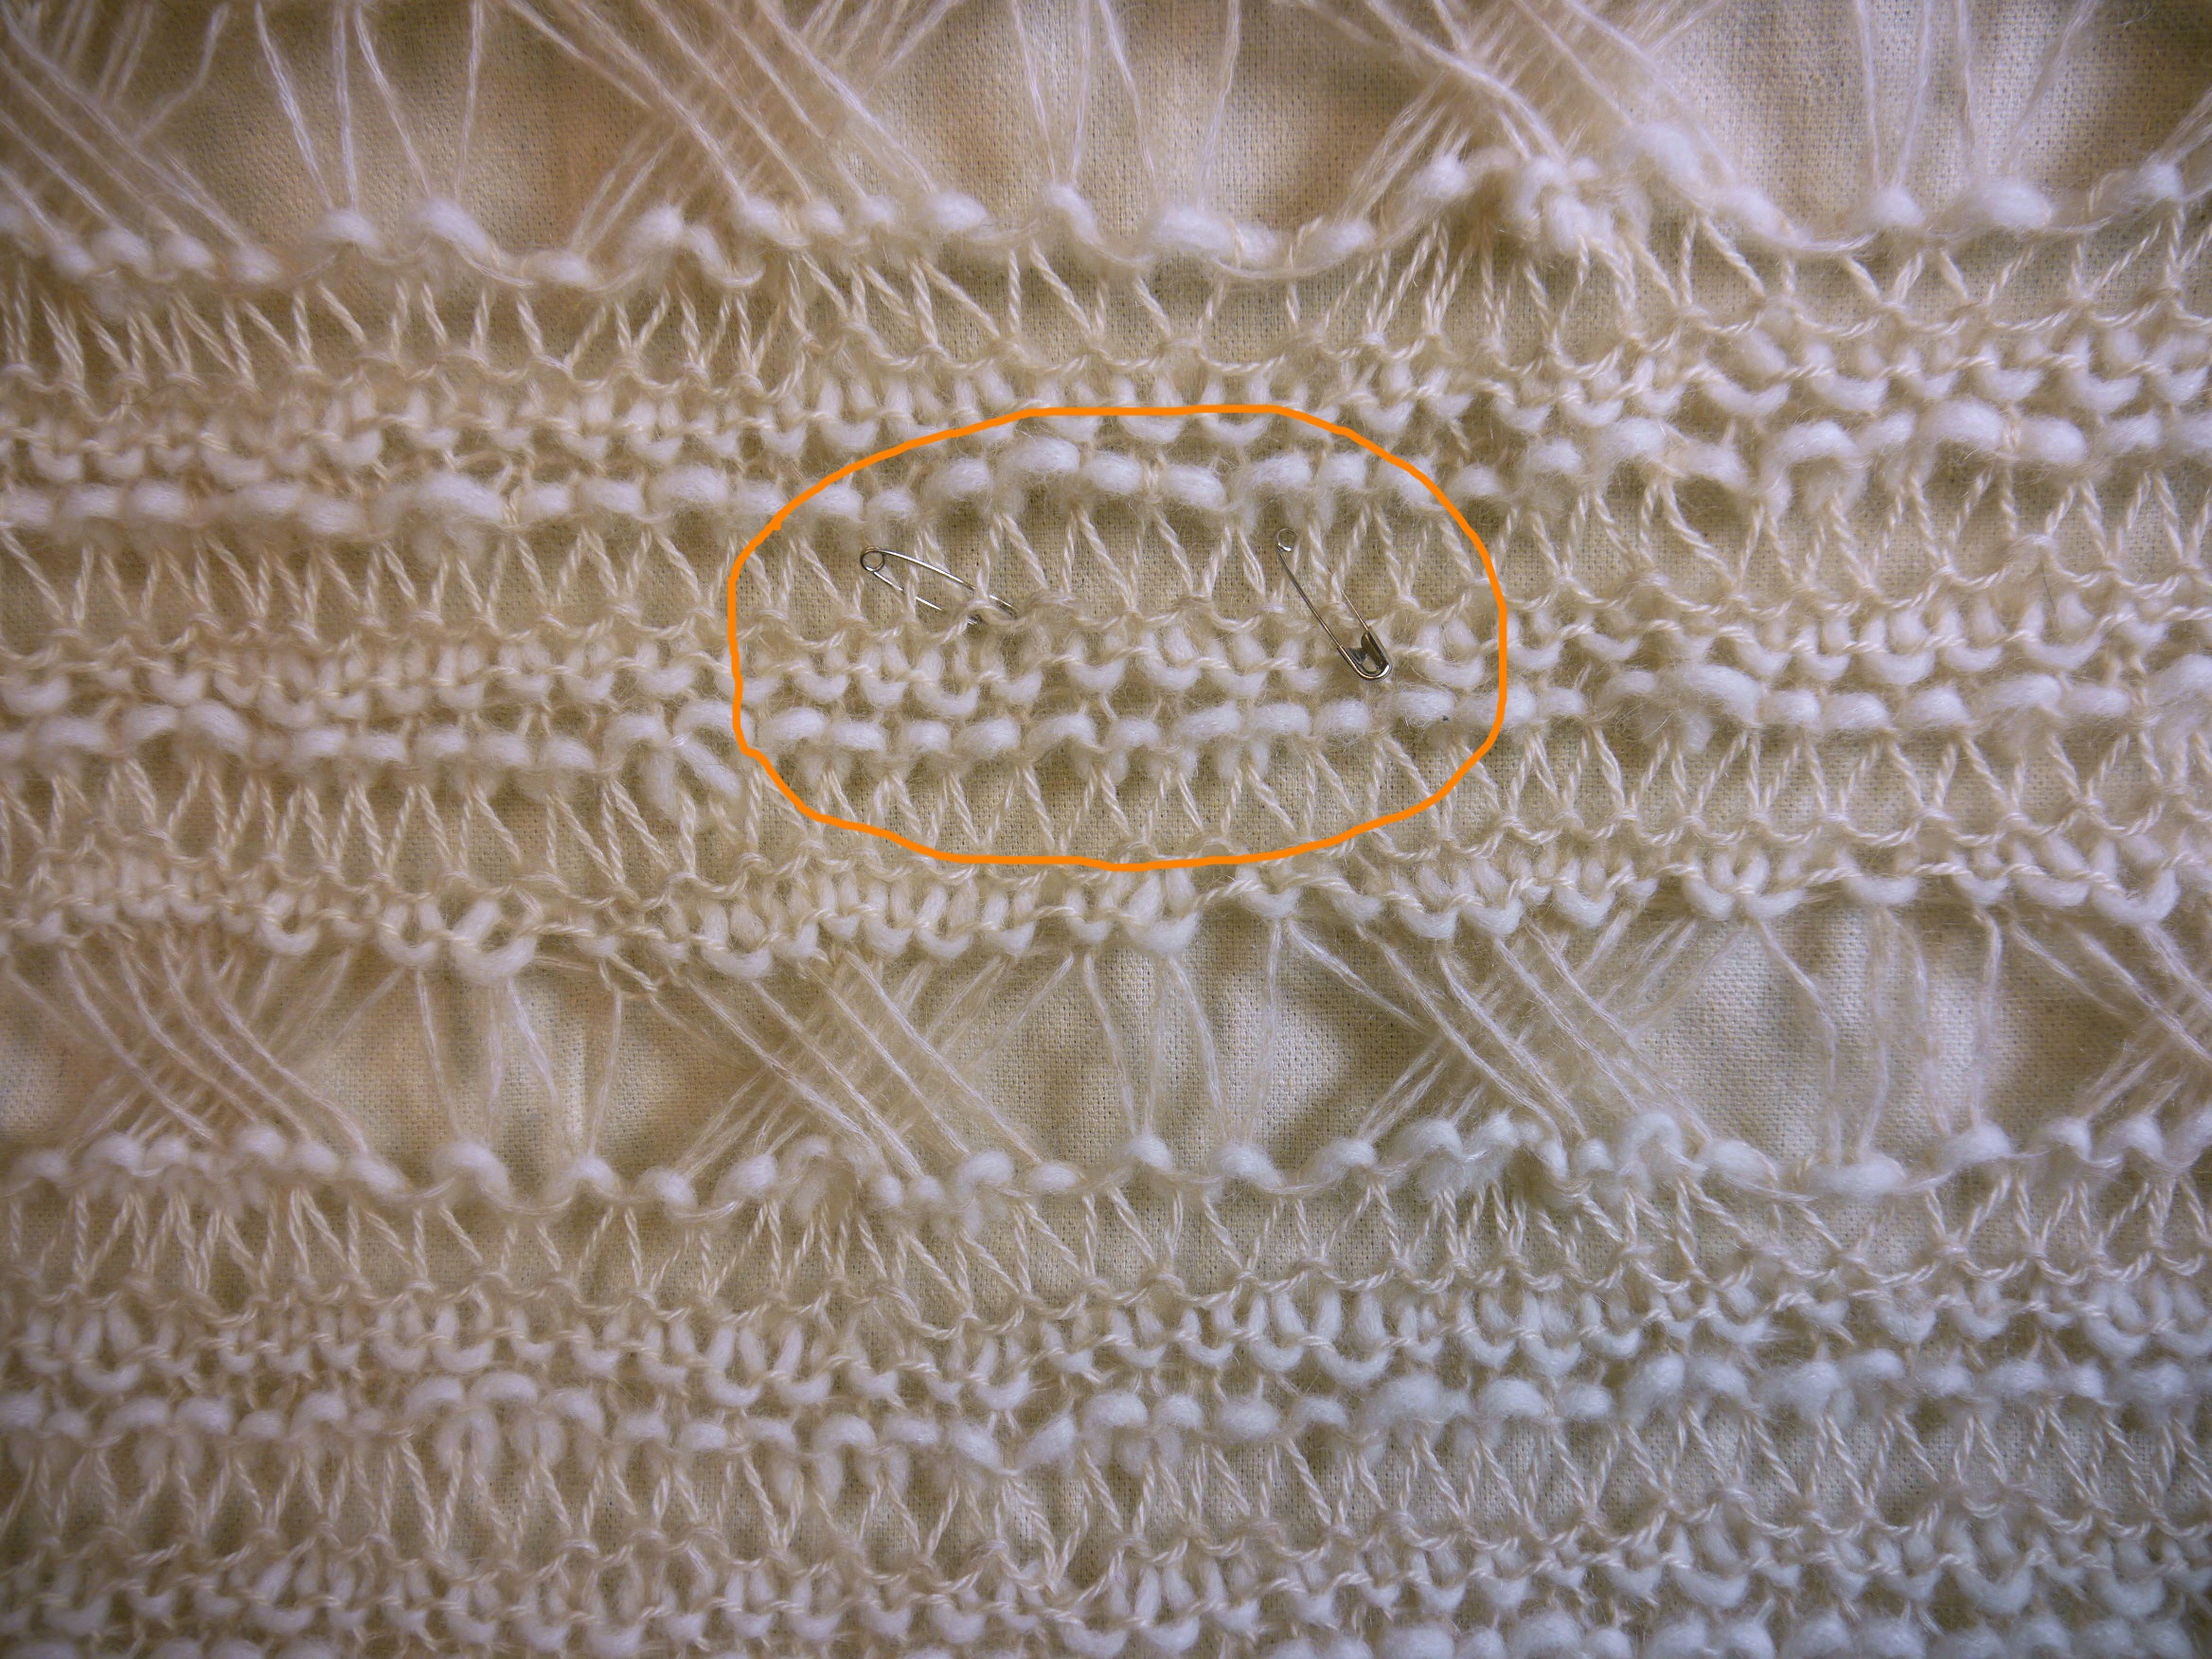
1. Lay out your fabric flat on a table to decide a place to cut somewhere in the middle (ideally somewhere without too much pattern).
Mark this location by placing pins on either side. You will cut in between these markers
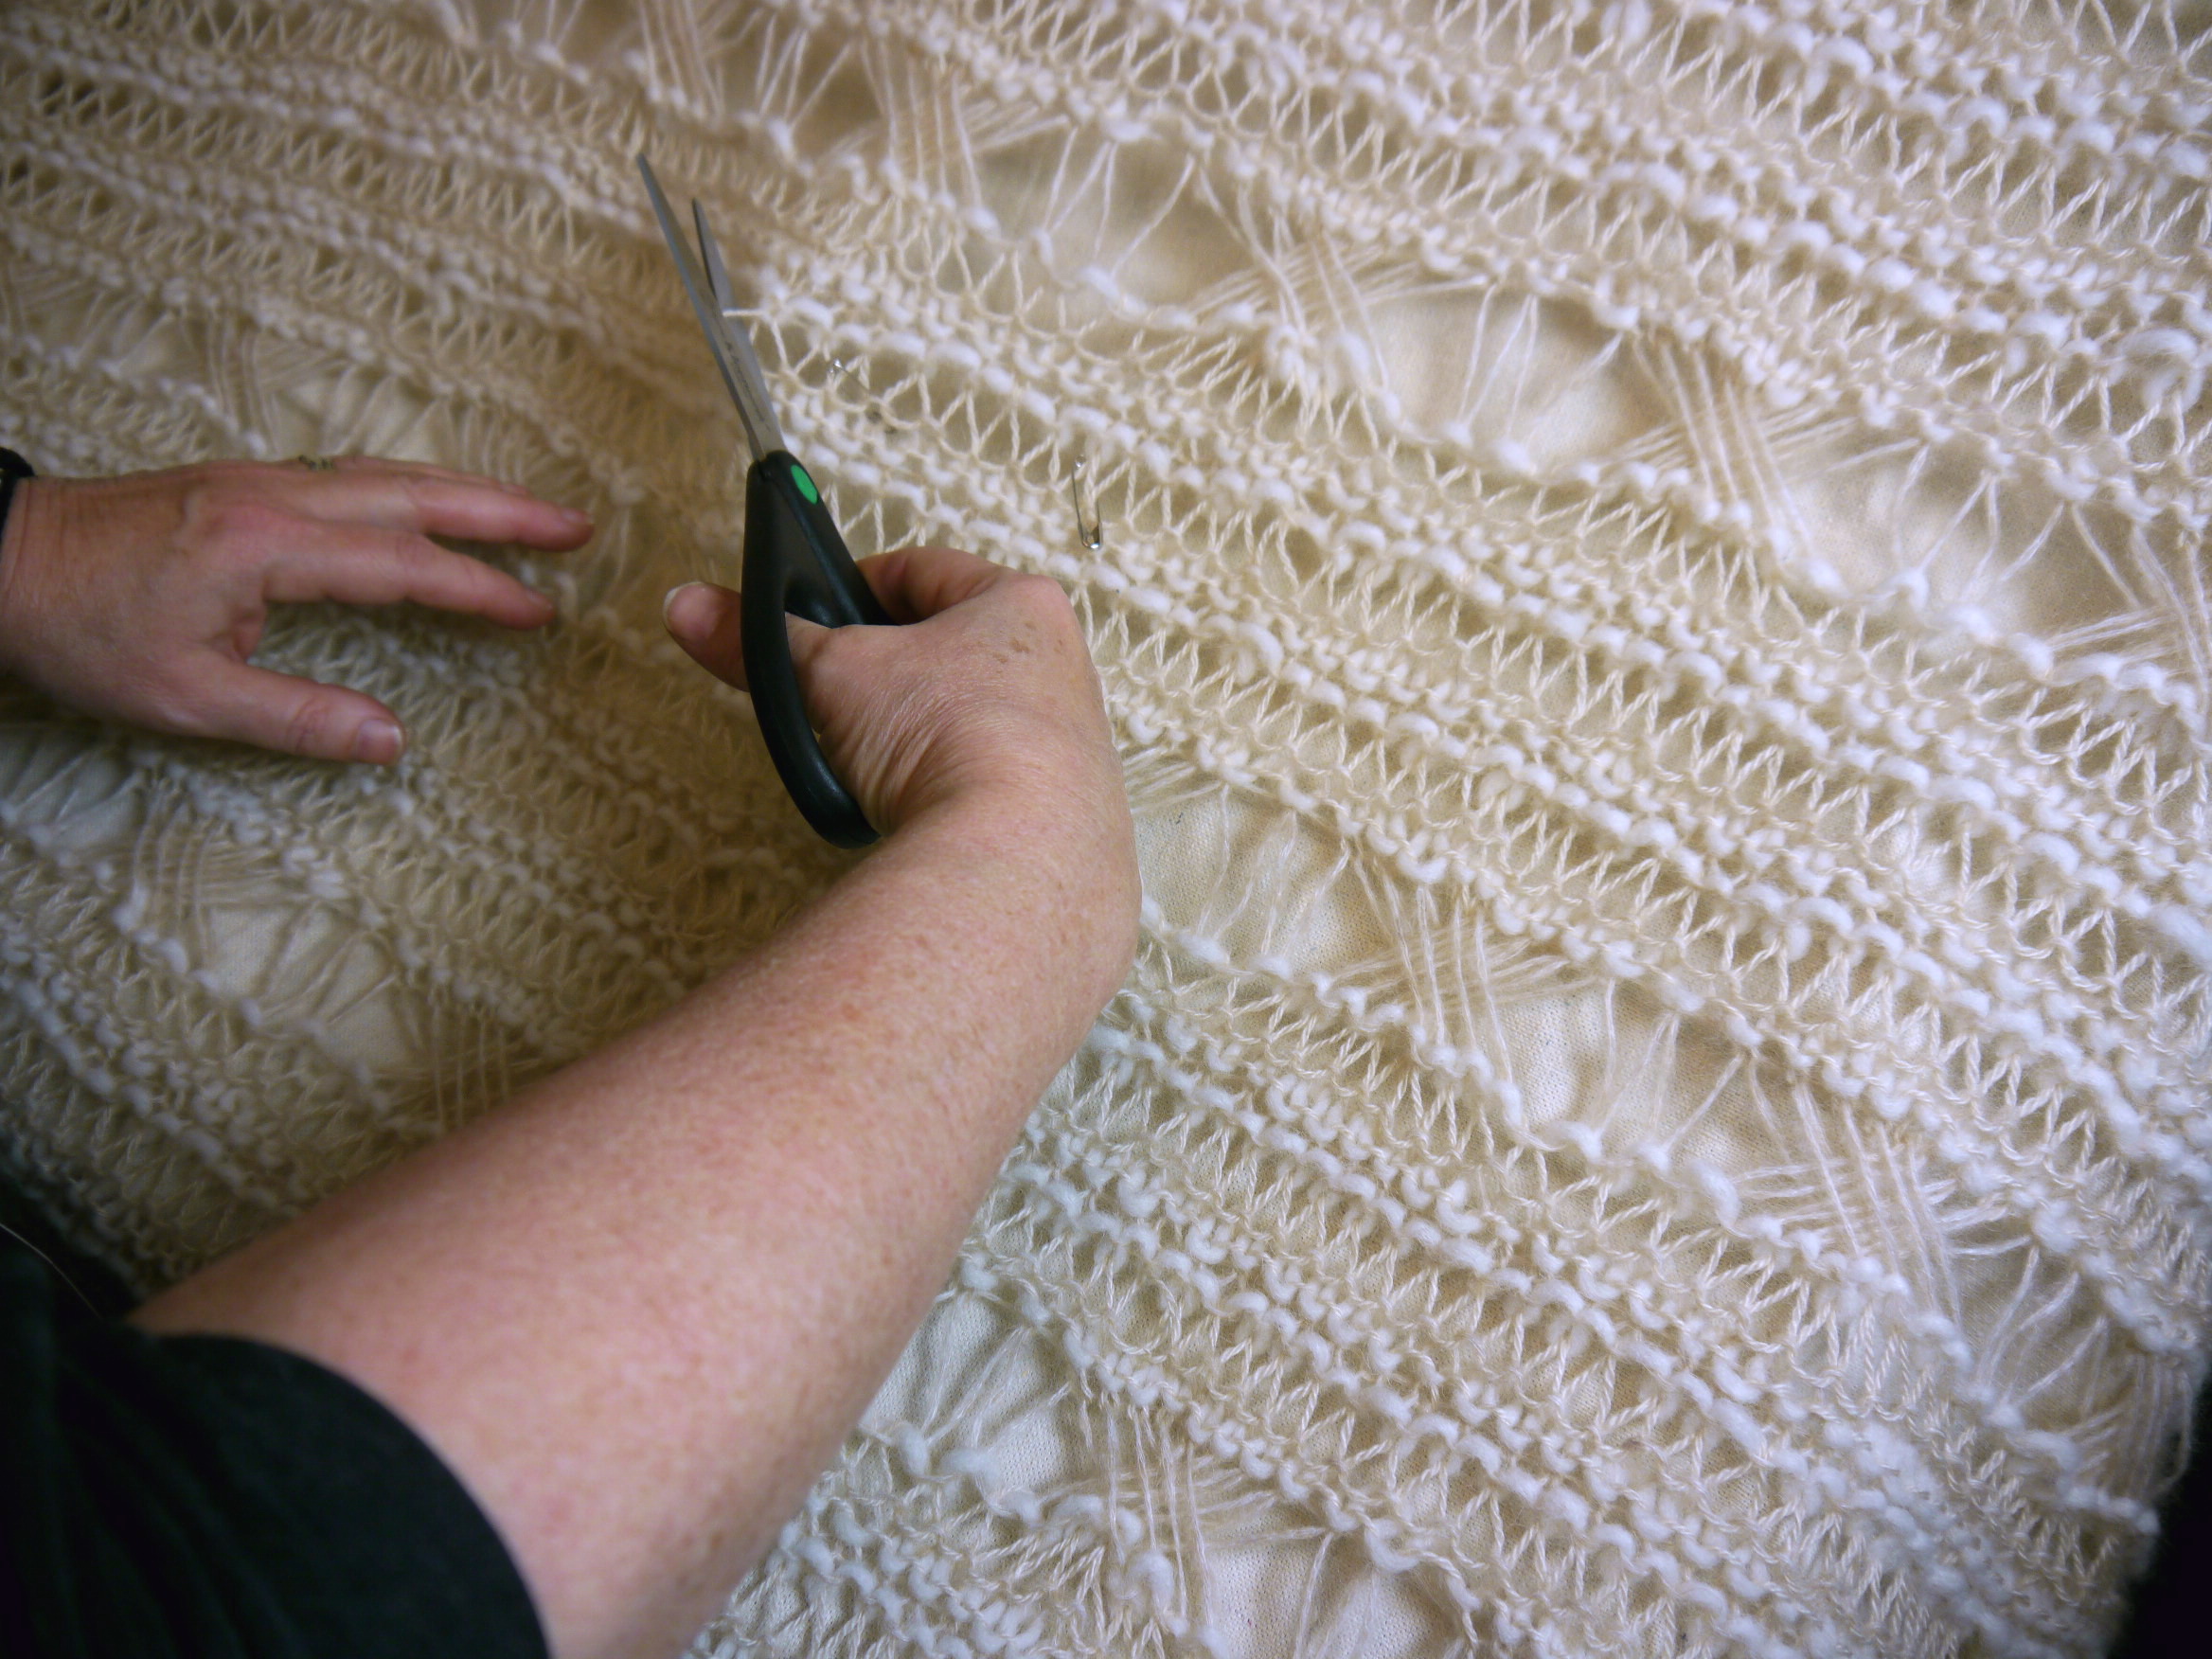
2. Cut just one strand of the stitch.
3. Using two double pointed needles pick up the live stitches above and below where you cut.
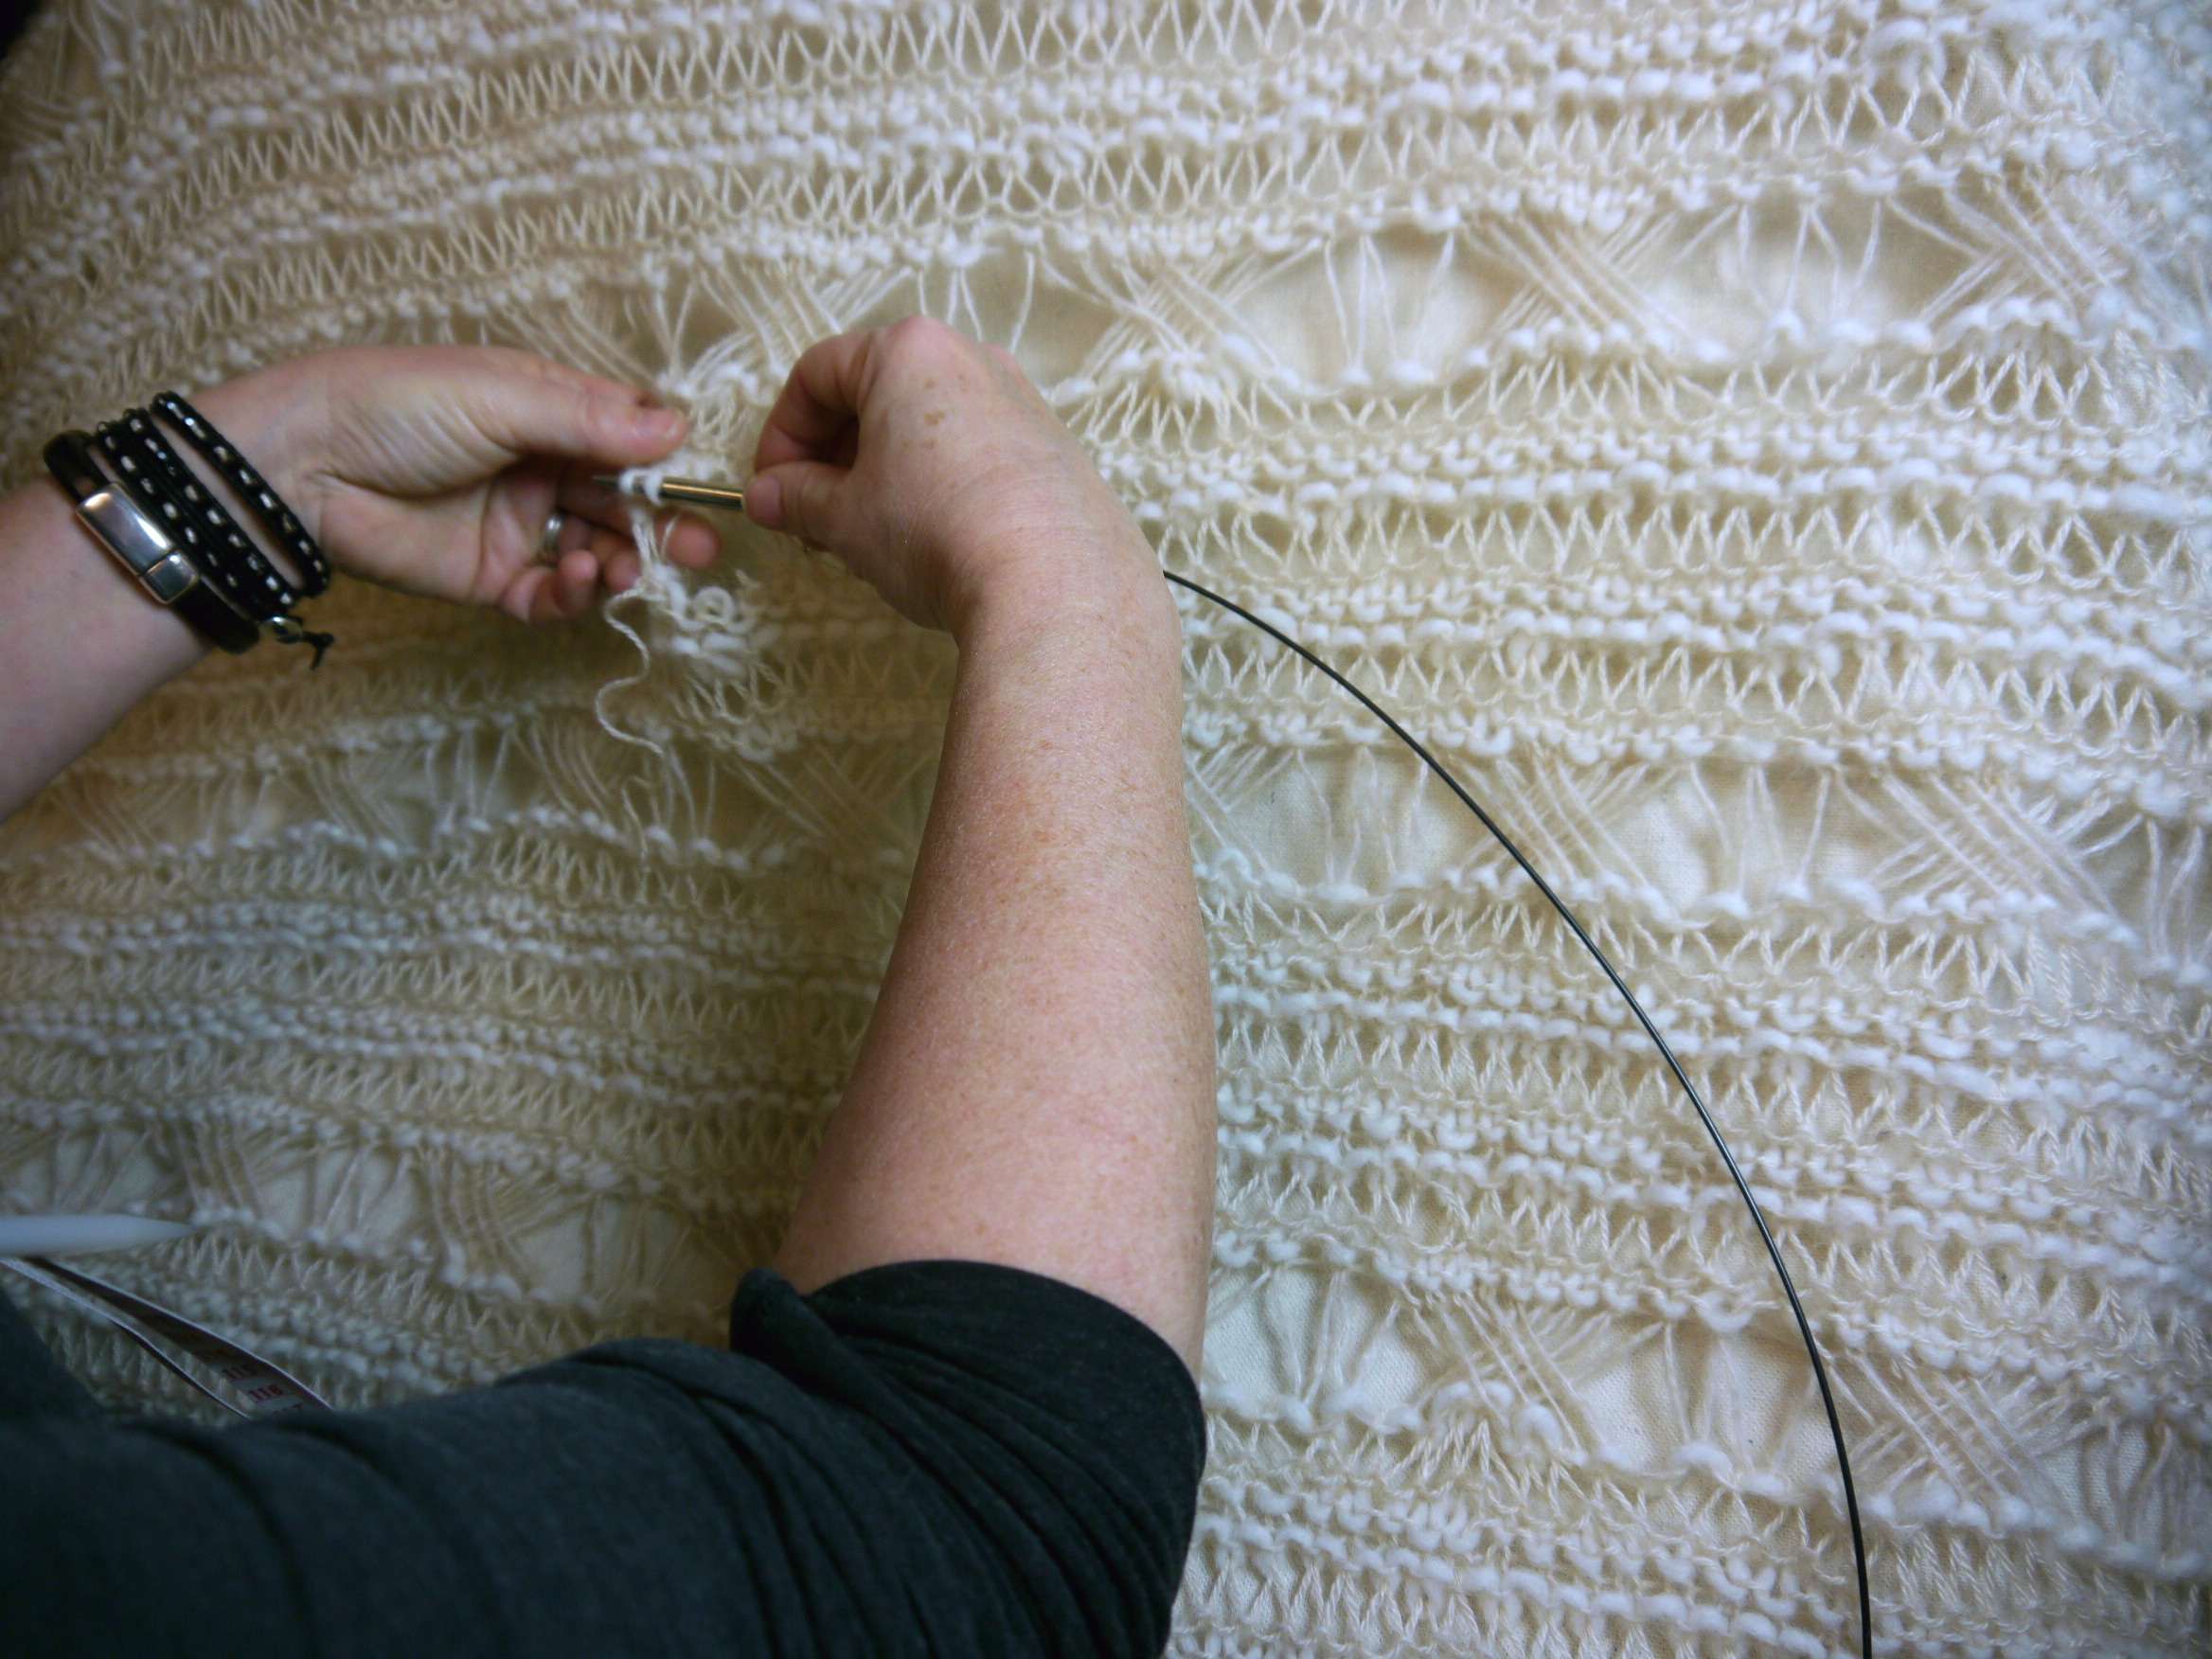
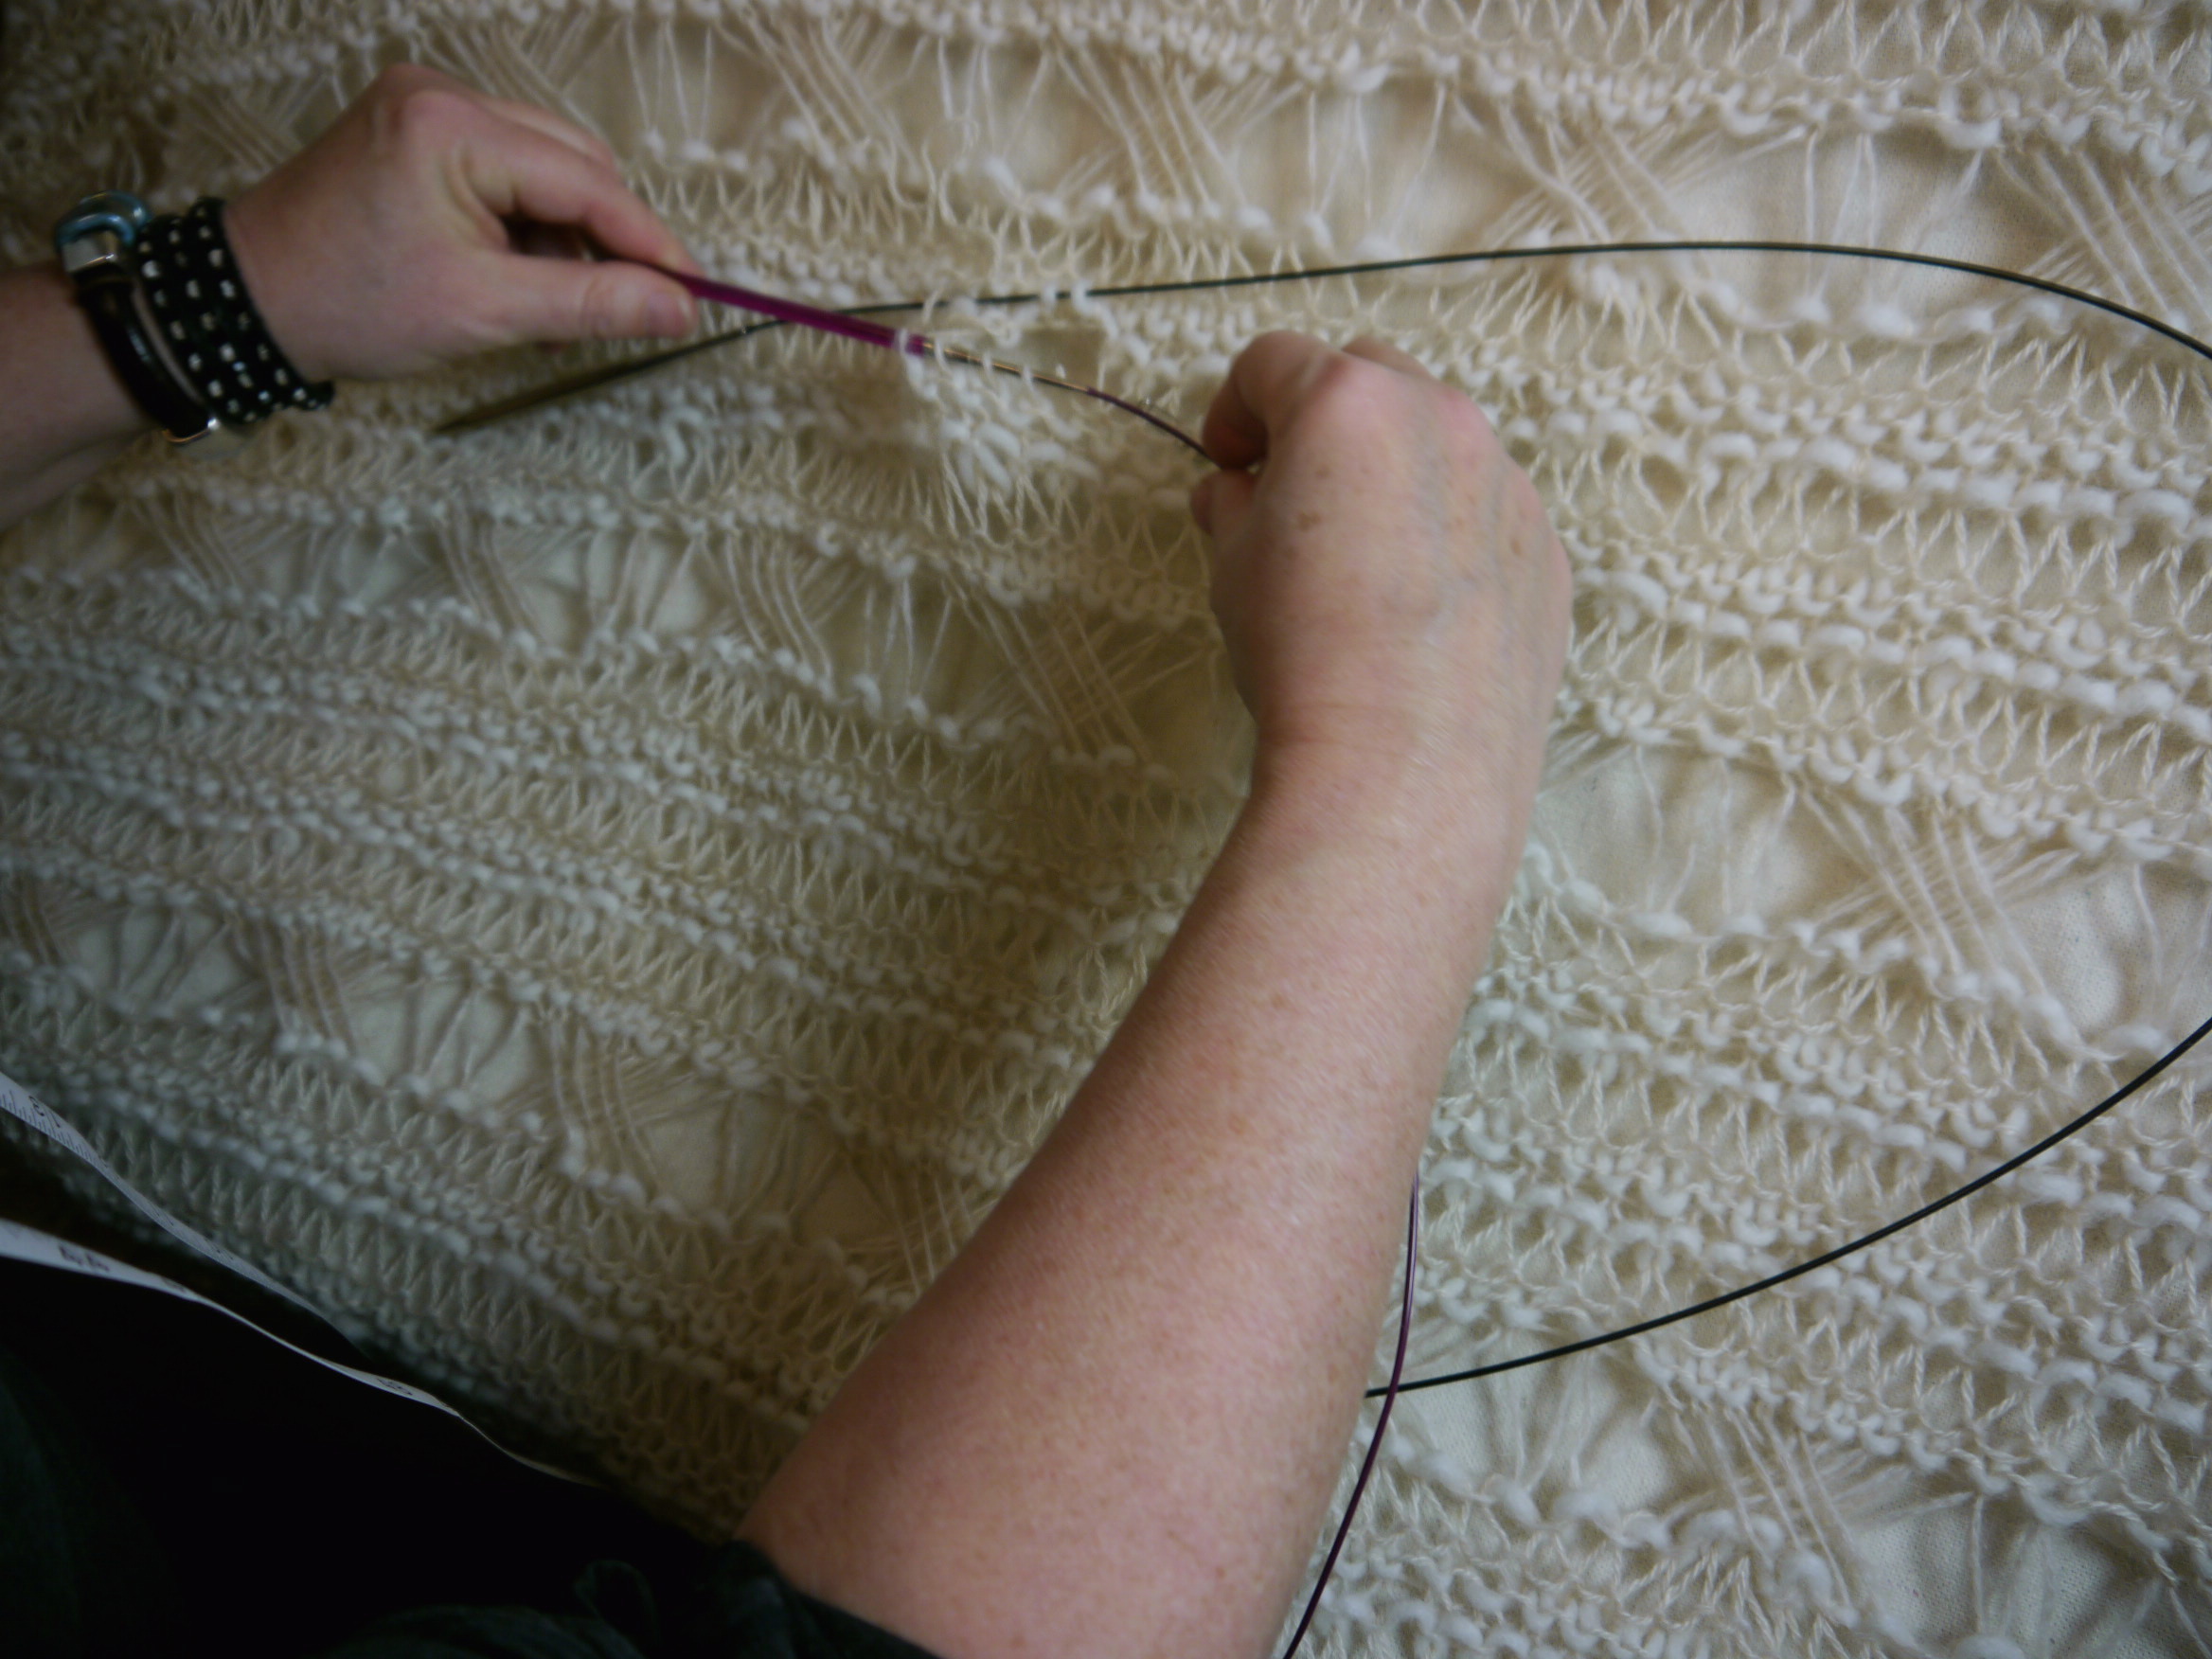
4. Work from the middle until you reach the end. Then begin at the middle again and work until the other end of the fabric.
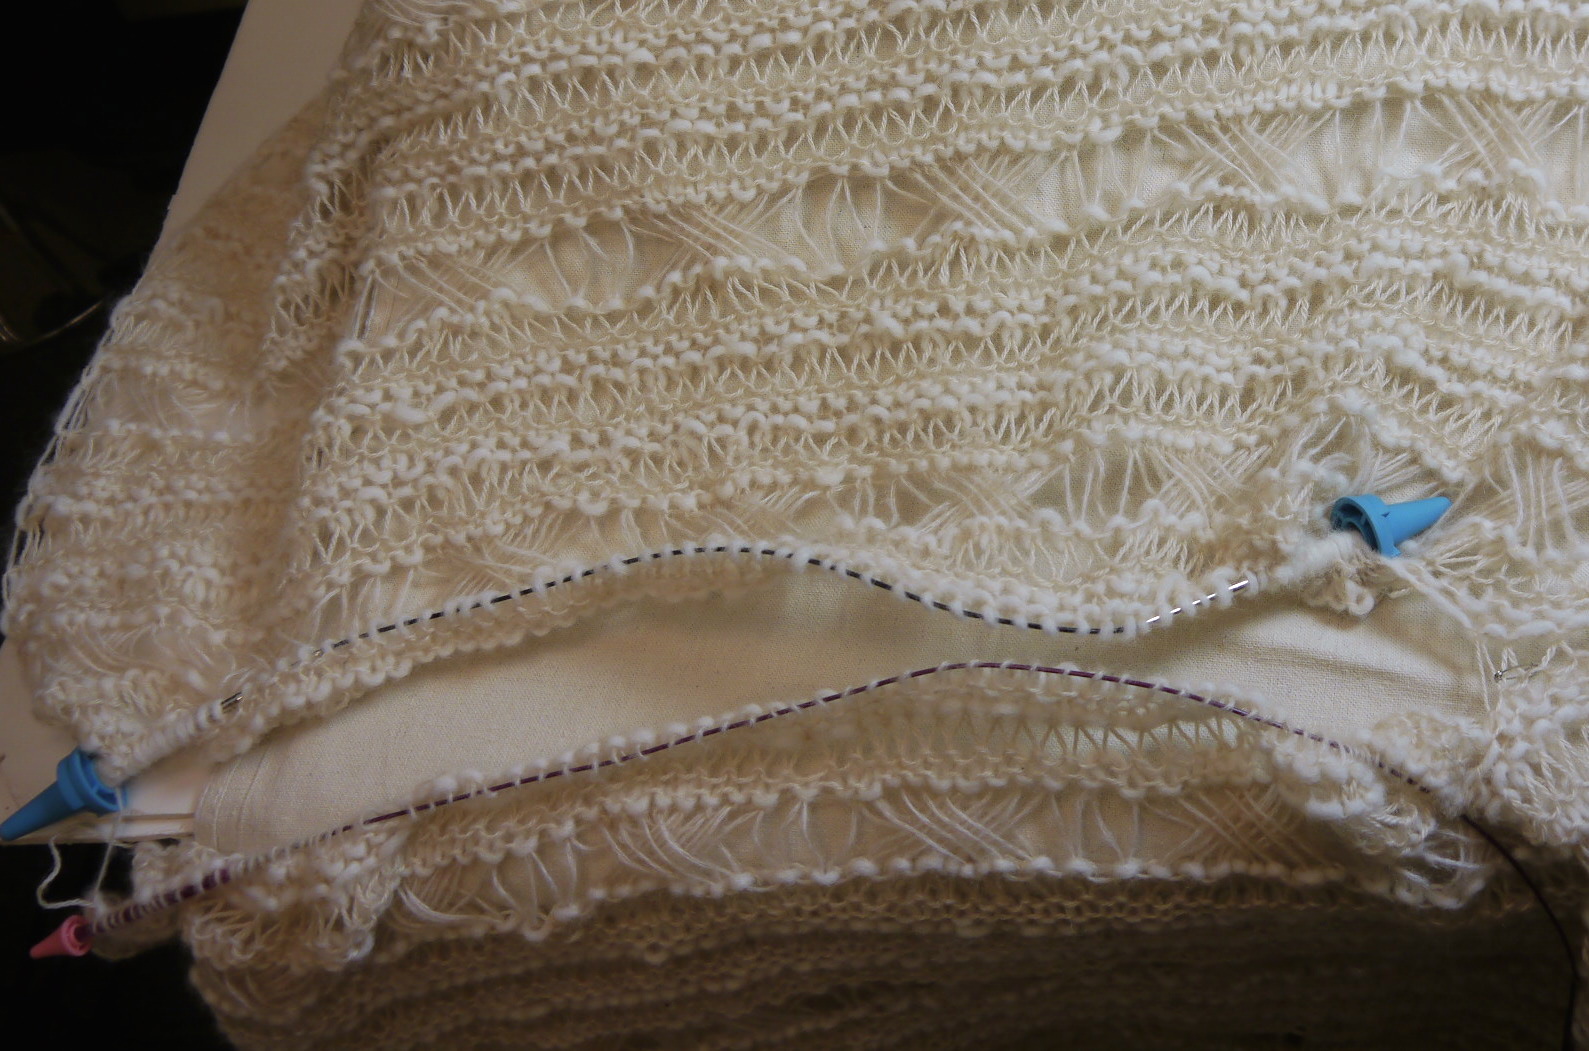
After all the stitches are placed on your needle you can proceed with the piece.
Ultimately, Malemute turned out lovely, even better than I had imagined!

I hope this encourages you to fearlessly rescue your knitting disasters!
Happy Making!
Emily
