In knitting there is truly no “wrong way” to do anything. But it often happens that what made sense to one does not suit another. Today we are looking at the neck and arm shaping on Astilbe and making our knitting what we want it to be.
The pattern for Astilbe has you begin the neck shaping as follows:
(Left Front) Shape Neck: Next Row (RS): Work to last 2 sts, k2tog – 1 st dec’d.
This puts that neck shaping decrease right at the edge—that k2tog (knit 2 together) is going to disappear into the selvedge of the neckband later when you pick up for the collar. Working this method will allow you to work the row keeping your pattern correct without worrying too much about how the decreases work into your stitch pattern. This is a nice benefit if working a sweater with textures and surface patterns.
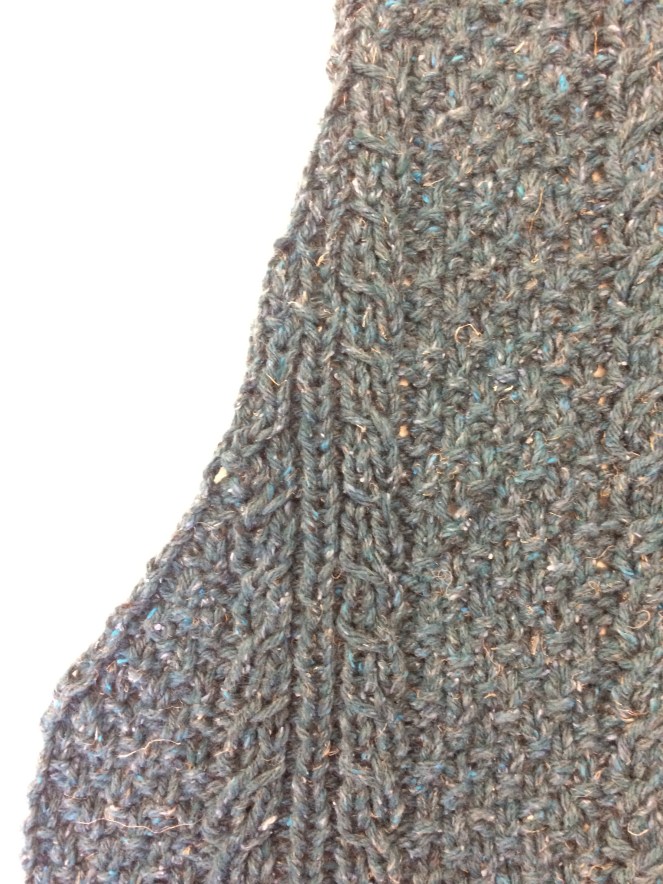
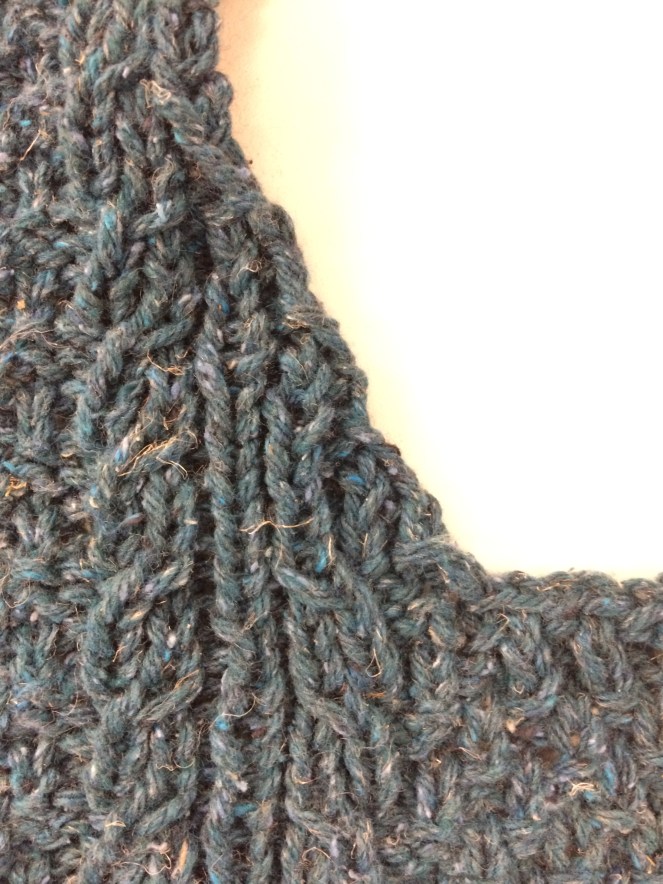
However, my preference is to use another method. I prefer to work the decreases for neck (or armhole) shaping 1 or 2 stitches in from the edge, depending on the pattern (as shown in the photo above—the decrease is worked 1 stitch from the end). Moving the decrease in by 1 stitch creates a smooth edge on your knitting which will make picking up stitches for the neck band easier. This is called “Fully Fashioned” shaping which means that the shaping is integrated into the construction of the piece of fabric. Because the decreases are visible this can have a decorative element as well.
Since we’ve been talking about Astilbe I’ll use that as the example. Going back to the instructions for the left front, the decreases begin in a panel of moss stitch. When you work you first decrease row, work in the patterns as established to the last 3 stitches (not 2), then work your decrease in pattern, then k1. If your last stitch was a purl, then your next stitch your decrease will be an SSK. If your last stitch was a knit, then SSP.
When you’re working the Right Front you’ll work the edge stitch, then a k2tog or p2tog, then work to end in pattern. The right front requires a little more thought because you can’t look at the last stitch worked to determine if you knit or purl the decrease but you can look at the row below: If the stitch below was knit then K2tog, if it was purled, then purl 2 tog for Moss stitch.
Do you have any special preferences for how to work shaping in your knitting? We’d love to hear your favorite tips and tricks in the comments!

THis is a great article. I struggle with this kind of finishing before joining two pieces. THanks for the information.