In last week’s blog post I shared our Unofficial Summer Remix KAL—everyone on the Berroco Design Team is knitting the same sweater, but being designers, we can’t help changing things just a little. Donna and I have opted to work our Astilbe without side seams. The set-up row takes a little extra time, but for me it’s worth it.
We started by adding the cast-on numbers for the left and right fronts and the back, then deducting 2 stitches from the total number for what would have been a seam. The side panels are moss stitch worked over an odd number of stitches, otherwise I would have deducted 4 stitches at the side seams. Our new cast-on number is:
(Right Front stitches-1 stitch for seam) + Back Stitches + (Left Front stitches – 1 stitch for seam) = New Cast on number.
This works with any pattern, but using Astilbe for example, the cast-on number is now 227 (235-251-267-275-291-307) sts for the whole body. When you work the first row (in this case a WS row) work the set-up ribbing row for the left front over 55(57-61-65-67-71-75) sts, skip the last p1, place a marker for the side, work the set-up ribbing row for the back 117(121-129- 137-141-149-157) sts, place a marker for the side, skip the first p1, then work the set-up ribbing row for the right front over 55(57-61-65-67-71-75) sts. You are now set up to follow the pattern as it is written through establishing the patterns (just remember to omit that 1 stitch from the sides of the fronts) and right up until you’ve worked 4″ and are ready to shape the sides.
The Berroco pattern writing style does not specify how exactly one should work the decreases for Astilbe, so this is a good place to mention you have options. As the pattern has been established. there is a panel of moss stitch at each side with a marker in the center. The traditional approach would be to work to to 2 sts before the marker, either k2tog or p2tog depending on which the next stitch should be in moss stitch, slip the marker, work 1 stitch in pattern, then SSK or SSP depending on which the next stitch should be and then work to the next marker as established.
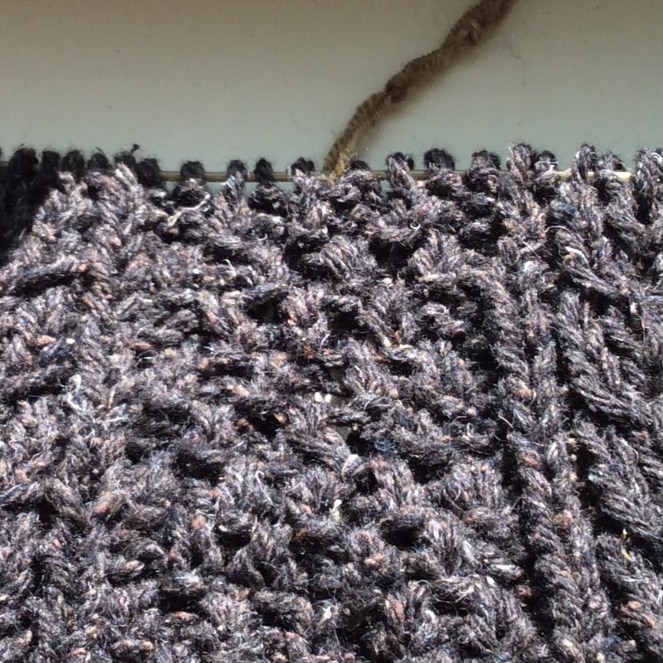
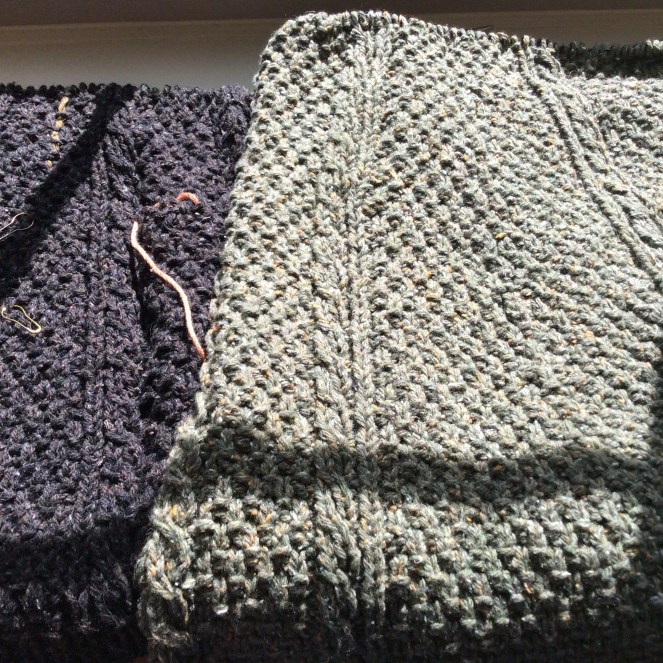
You can also work the decreases as a centered double decrease which is what I have done, it requires me to remove and replace my yarn marker every time I have a decrease row. To ensure that I keep my decreases on track and inline I am marking them with moveable stitch markers. The orange thread you see in the picture below is my waste yarn to hold the pocket stitches- Waste yarn also makes a great movable stitch marker in a pinch.

Another solution would be to create a princess seam decrease. Move the decreases out to the edges of the moss stitch panel. You can see in the image above, Donna has moved her stitch markers from the center side “seam” to the sides of the moss stitch panel. If you want to work your decreases as princess shaping you would work to the marker, slip the marker, k2tog or p2tog, work to 2 stitches before the next marker, SSK or SSP, slip the marker and then work to the next marker and repeat.

After you’ve decided what method you’ll use to tackle the side shaping you can continue following the pattern exactly as written. When working the sleeves follow the same rule—eliminate 1-2 stitches for the seam allowance and work in the round until the sleeve-cap shaping, when you’ll bind off for the underarm, then continue to work the cap back and forth in rows.
Happy knitting!
-AC

Pleas help me with what be a simple thing with the original pattern – dart on the back was 115 stitches (small size) but at the end of ribbing they note there is 118 stitches – where did the 3 stitches come from – thanks
Hi Marie,
We recently published a revised version of this pattern that was edited to be easier to follow. You can find it here: http://berroco.com/patterns/astilbe
In the original pattern from the Picnic book, there’s a line that says “Final Set-up Row” in chart 1 that includes three increase stitches—that’s where the three stitches came from. In the new version, that row is written more clearly to help avoid this confusion. Hope this helps!
Thank you for the starter ideas. I am intrigued and intend to incorporate this into my next sweater (not sure when that will be. later this year probably). I don’t like sewing. lol 😉
Thank you for the start. I will implement this on my next sweater (later this year) and post any questions I have here. Excellent idea. I don’t like sewing when I’m done knitting 😉