About a month ago, Karen Templar of Fringe Association posted a picture of the Amanda sweater from the book “Essentially Feminine Knits” by Lene Holme Samsøe. I instantly knew that this was going to be my next knitting project – and I wasn’t alone. Karen’s hosting a knit-along that starts September 15th, so there is still time to choose your yarn and join!
The yarn the pattern was written for has been discontinued, but there are several projects on Ravelry using Berroco yarns. Remix and Vintage are solid (and economical) options. Blackstone Tweed would be divine and so would Maya if you’re knitting for a warmer climate. For myself, I’m leaning toward Ultra Alpaca for a super-warm-but-not-too-heavy cardi that I think I’ll wear for forever. But first, I have to swatch.
Four tips for successful swatching:
1. Make the swatch larger than the number of stitches you have to measure.
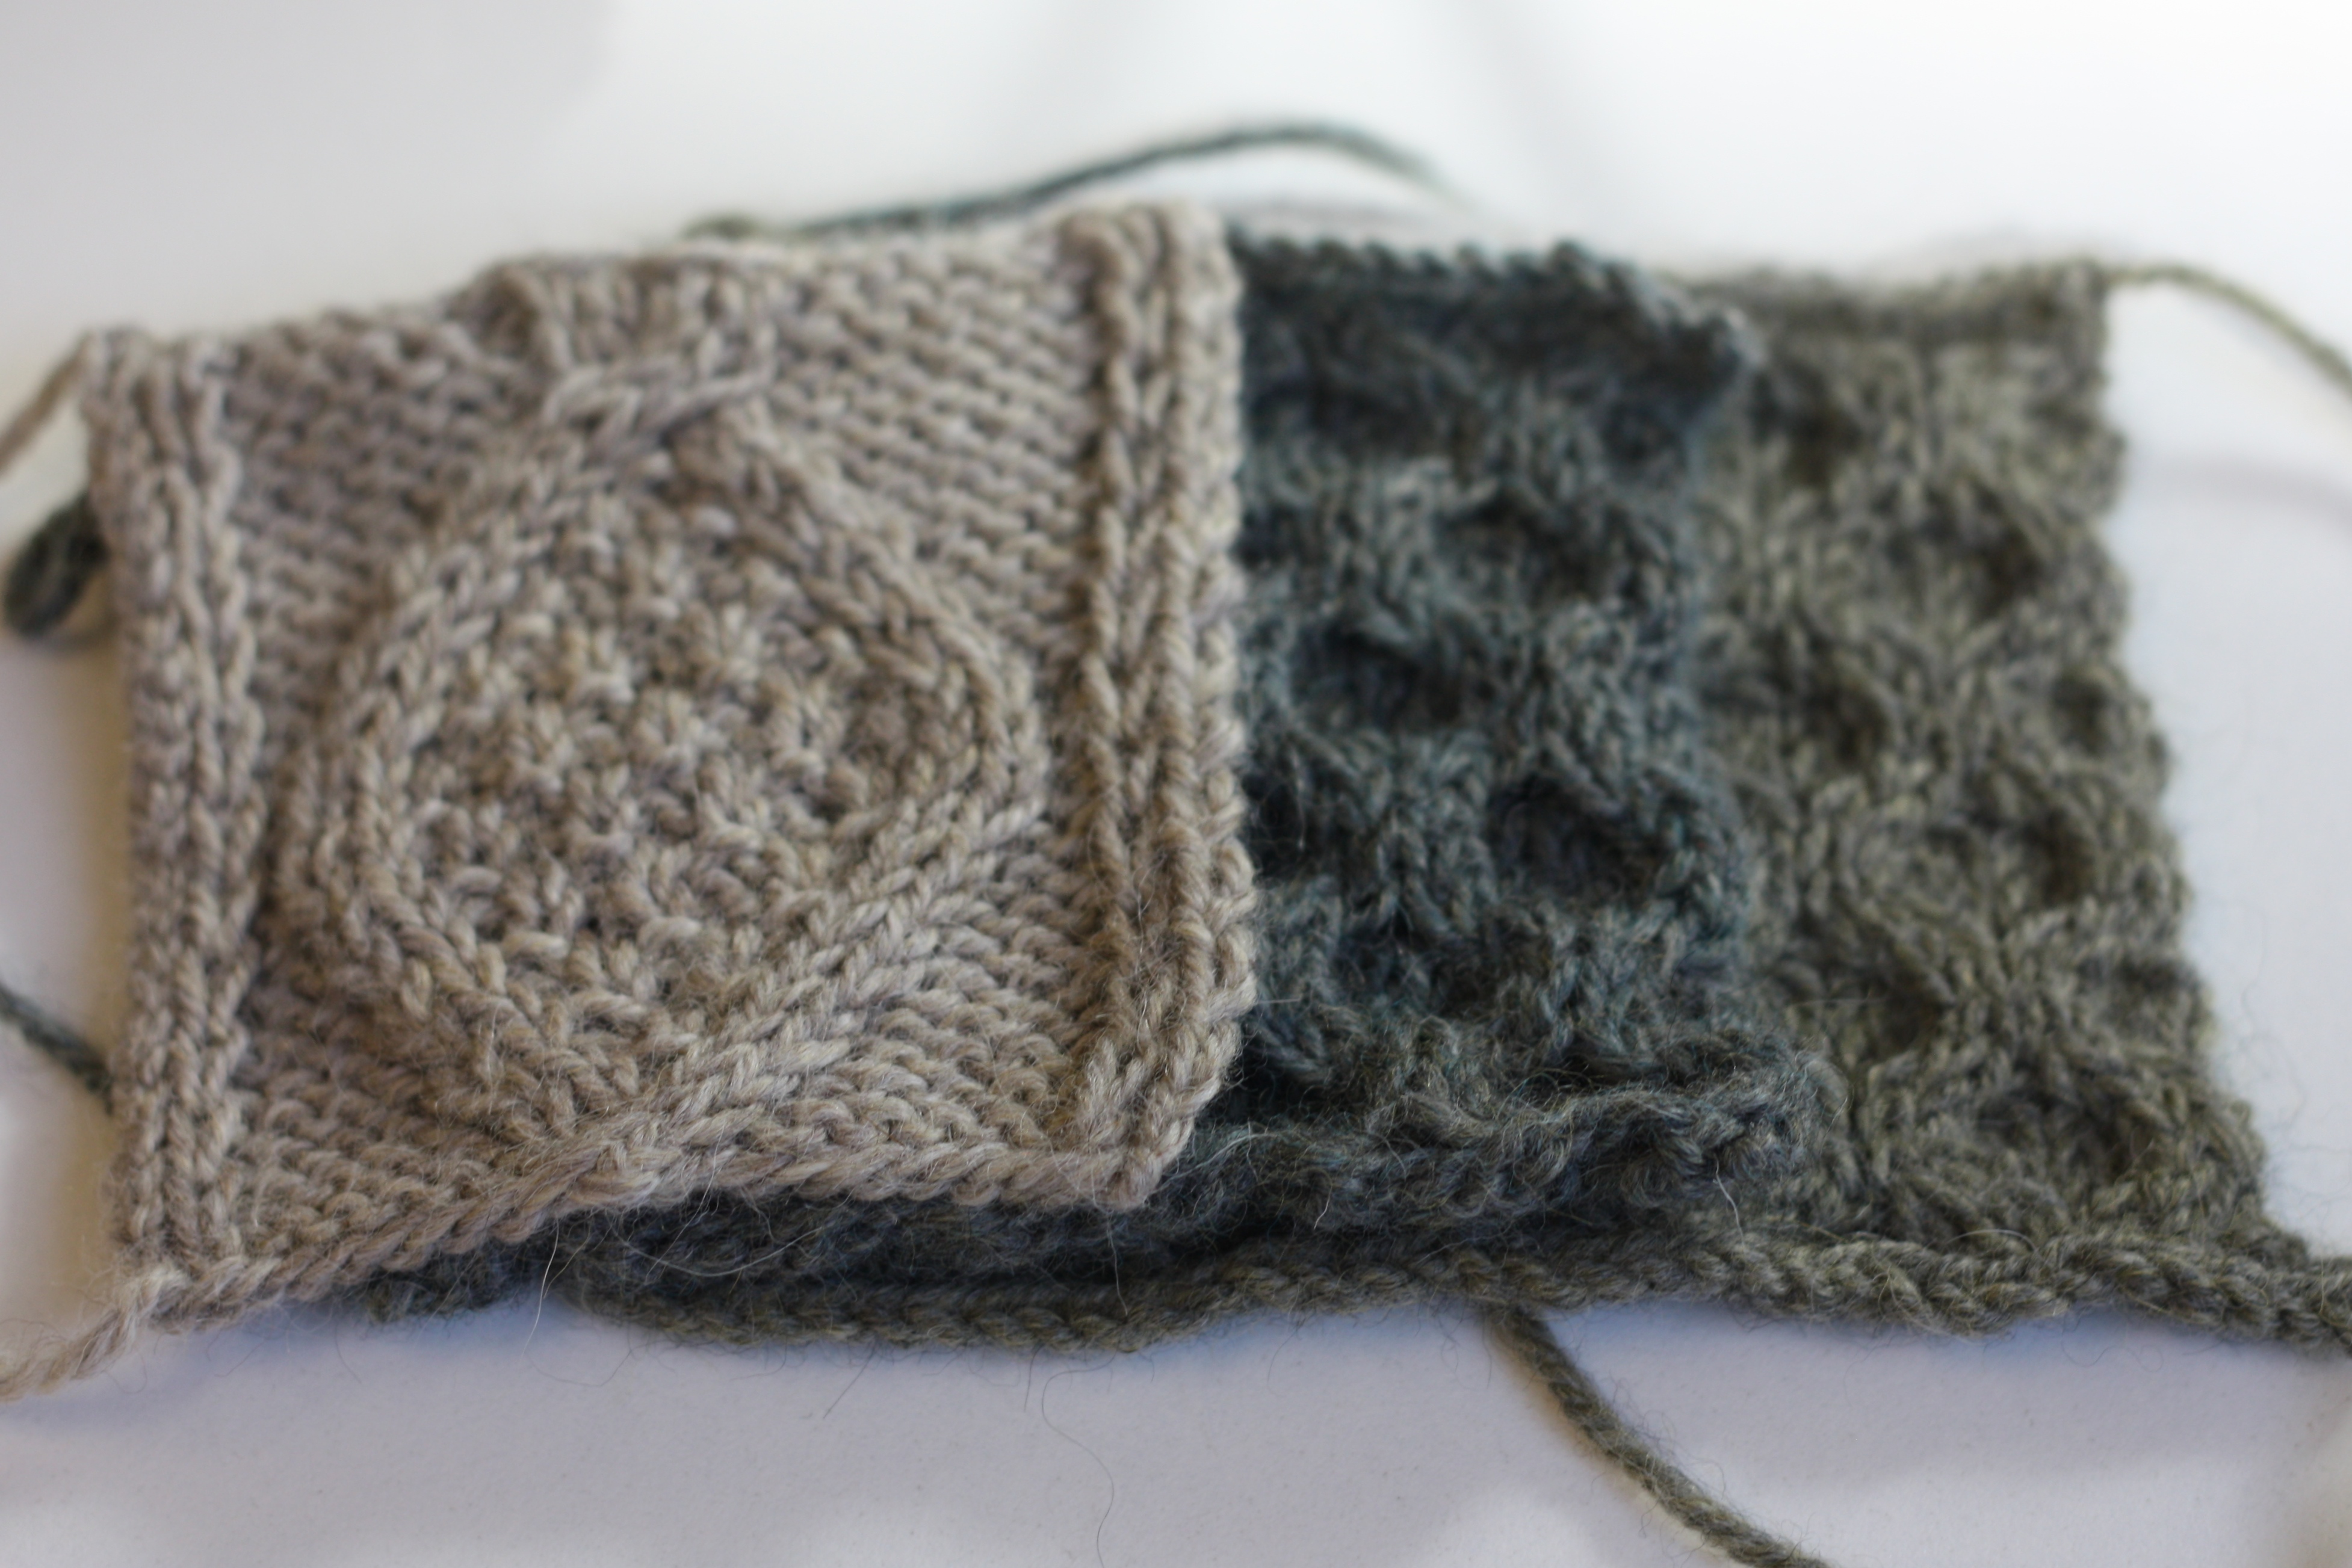
The Amanda pattern specified 27 1/2 sts and 28 rows = 4″ in the honeycomb pattern, so I need to add at least 2 to 3 stitches of pattern stitch to each edge of that. Since this pattern is a multiple of 8 stitches (+2 edge stitches), I cast on 34 stitches and worked the honeycomb pattern for 5″.

Because my pattern offers gauge measurements for 2 different patterns, I knit both. For my second stitch pattern, the measurement was 13 stitches in diamond cable = 2 1/2 inches. I included the surrounding pattern stitches in my swatch but worked only 1 repeat since the row gauge wasn’t given.

2. Bind off the swatch and break the yarn.
The stitch gauge on the needles is always a little different than the BO gauge. Always. I will usually measure a swatch on the needles after an inch or 2 has been worked just to make sure its worth continuing but the number of stitches per inch is often a little tighter at the cast on and looser where the stitches are still sitting on the needles and so this is not an accurate gauge measurement.
3. Finish the swatch by treating it the way you’ll finish the knitting.
Meaning…if you’re knitting a piece of clothing, wash the swatch exactly the way you’ll wash the finished object. For me that means a good soak in some warm water with a little gentle wool wash. I don’t block my sweaters. When I pull them out of their bath, I get at much water out as possible then I gently pat them into shape and leave them laying flat to dry. Since this is how I want to treat my finished knitting, this is how I treat my swatch. Wait until the swatch is completely dry before moving it or measuring.
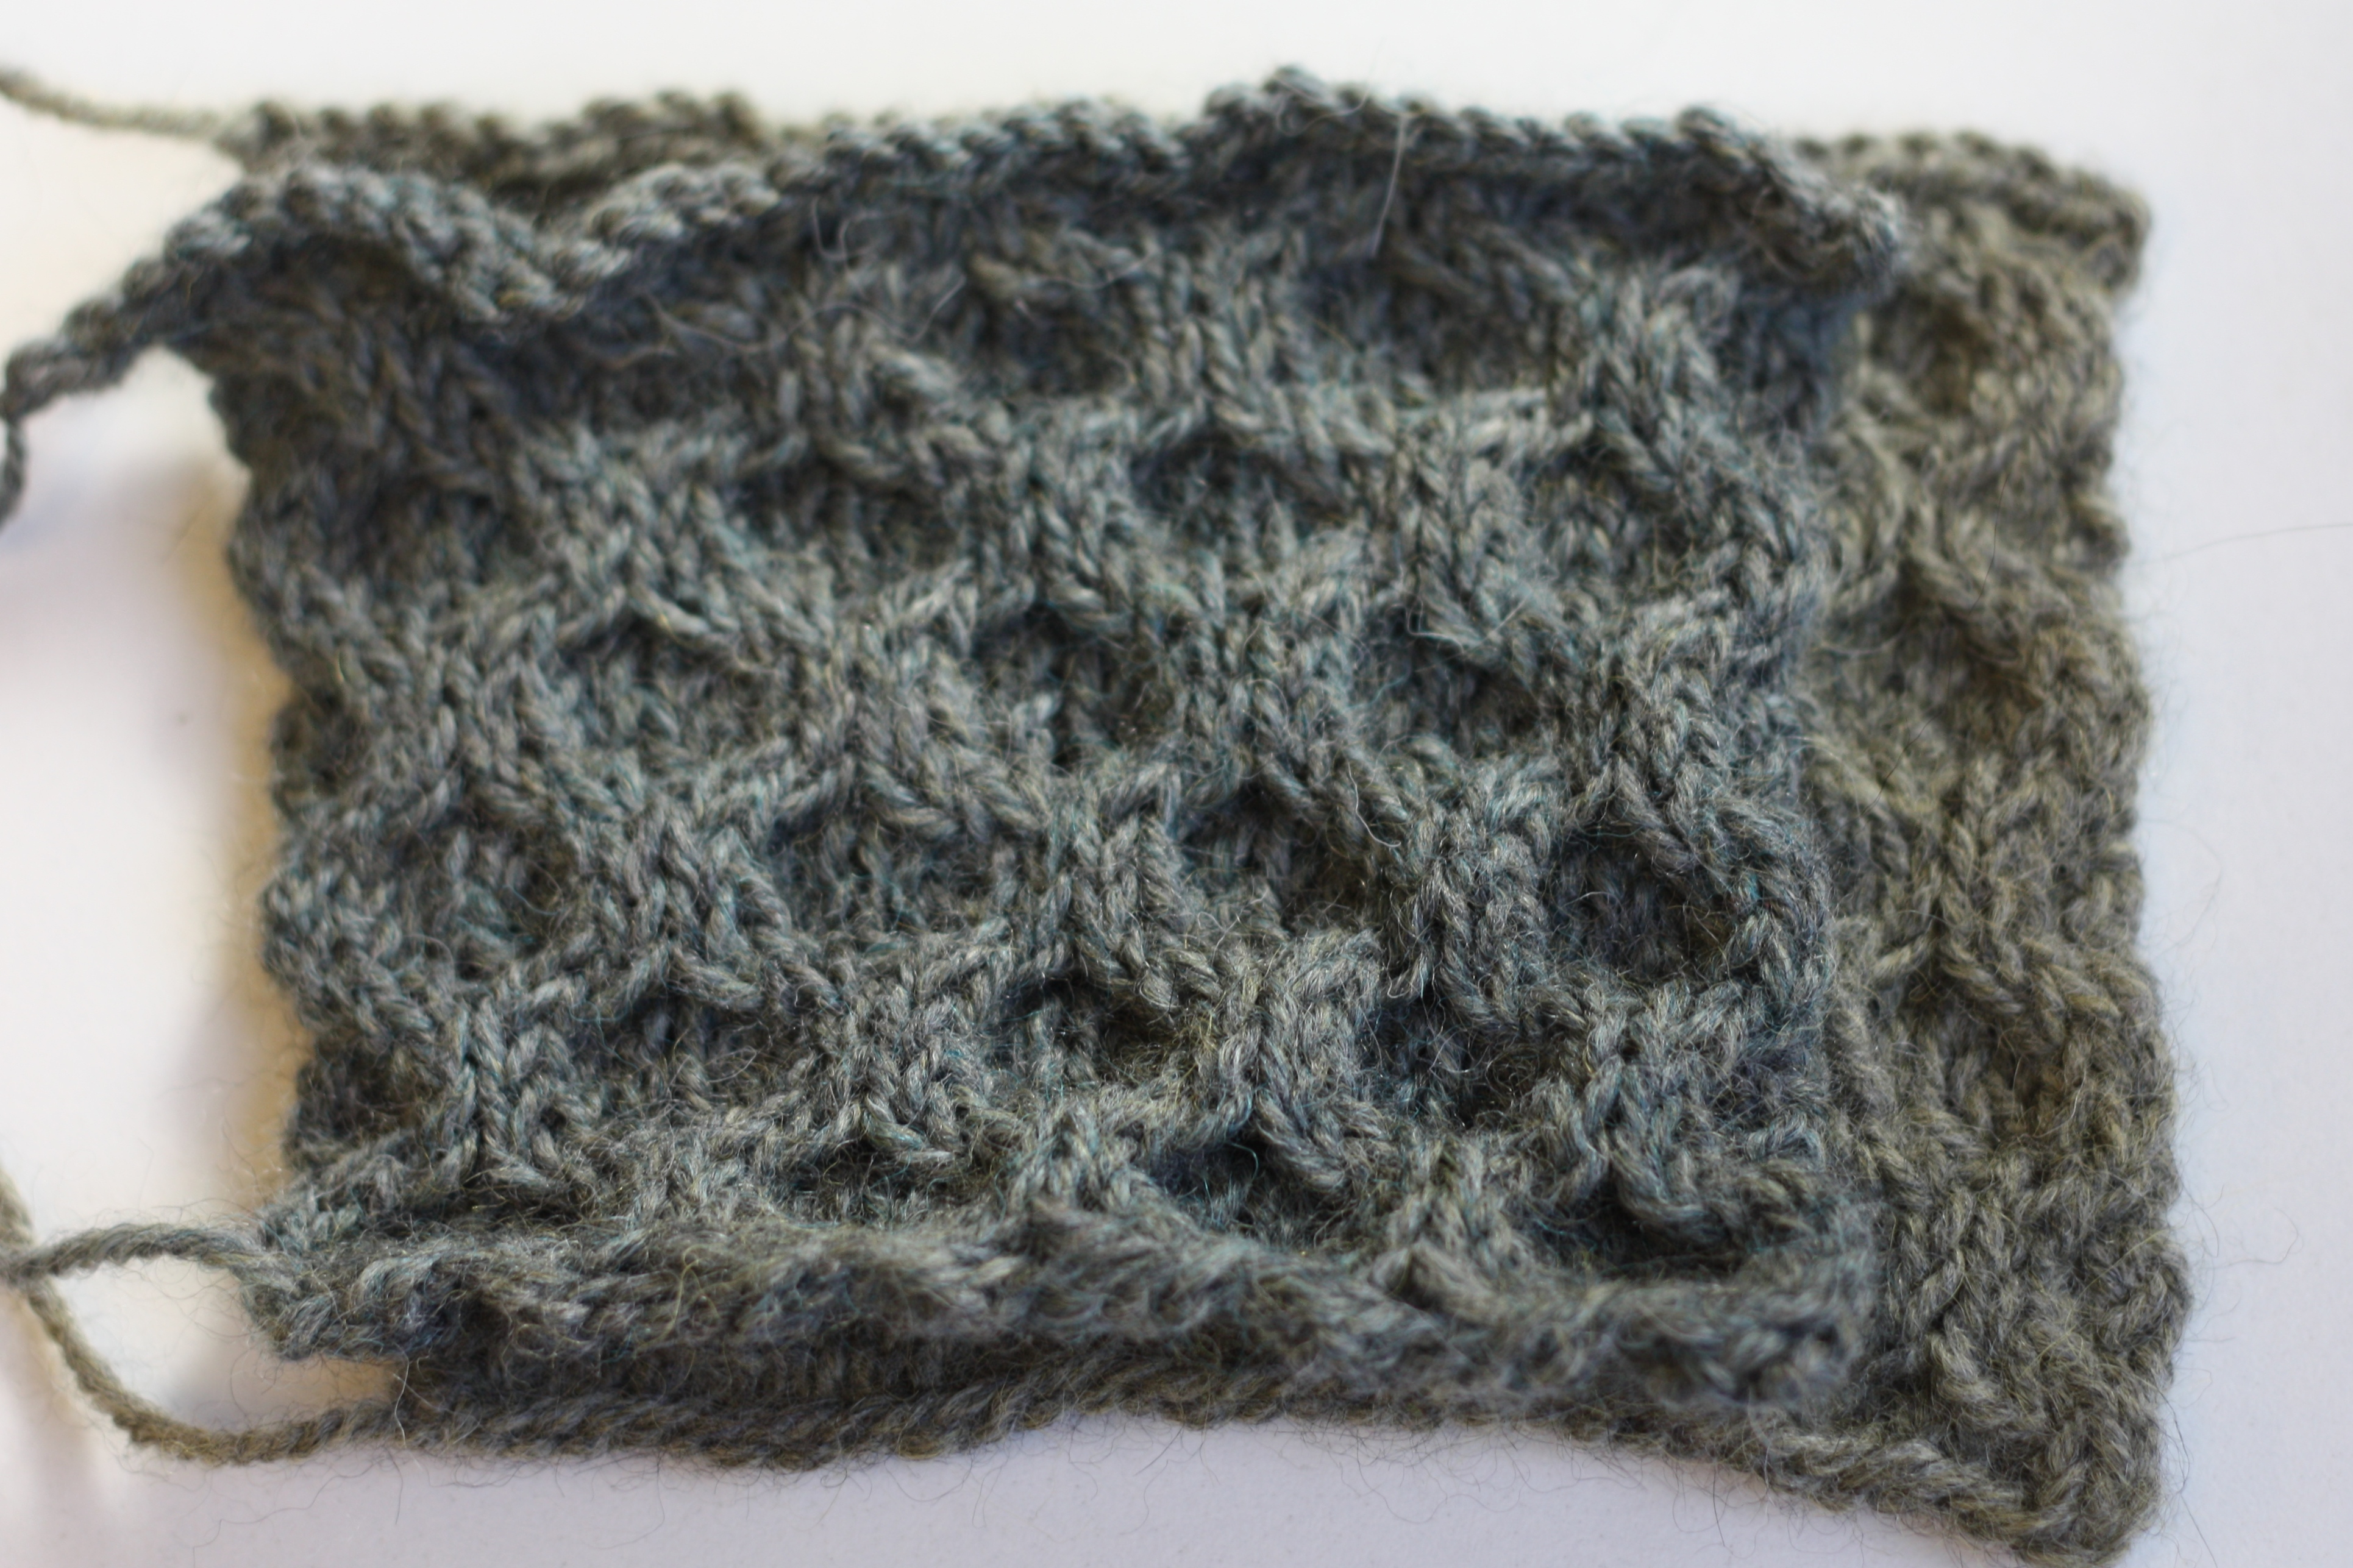
It’s tempting to skip this step if you’ve knit with the yarn before and think you know what it will do. Well, with this all-over cable I knew there would be some difference in the before and after washing gauge, but even I was surprised by the change of a full 3/4 of an inch!
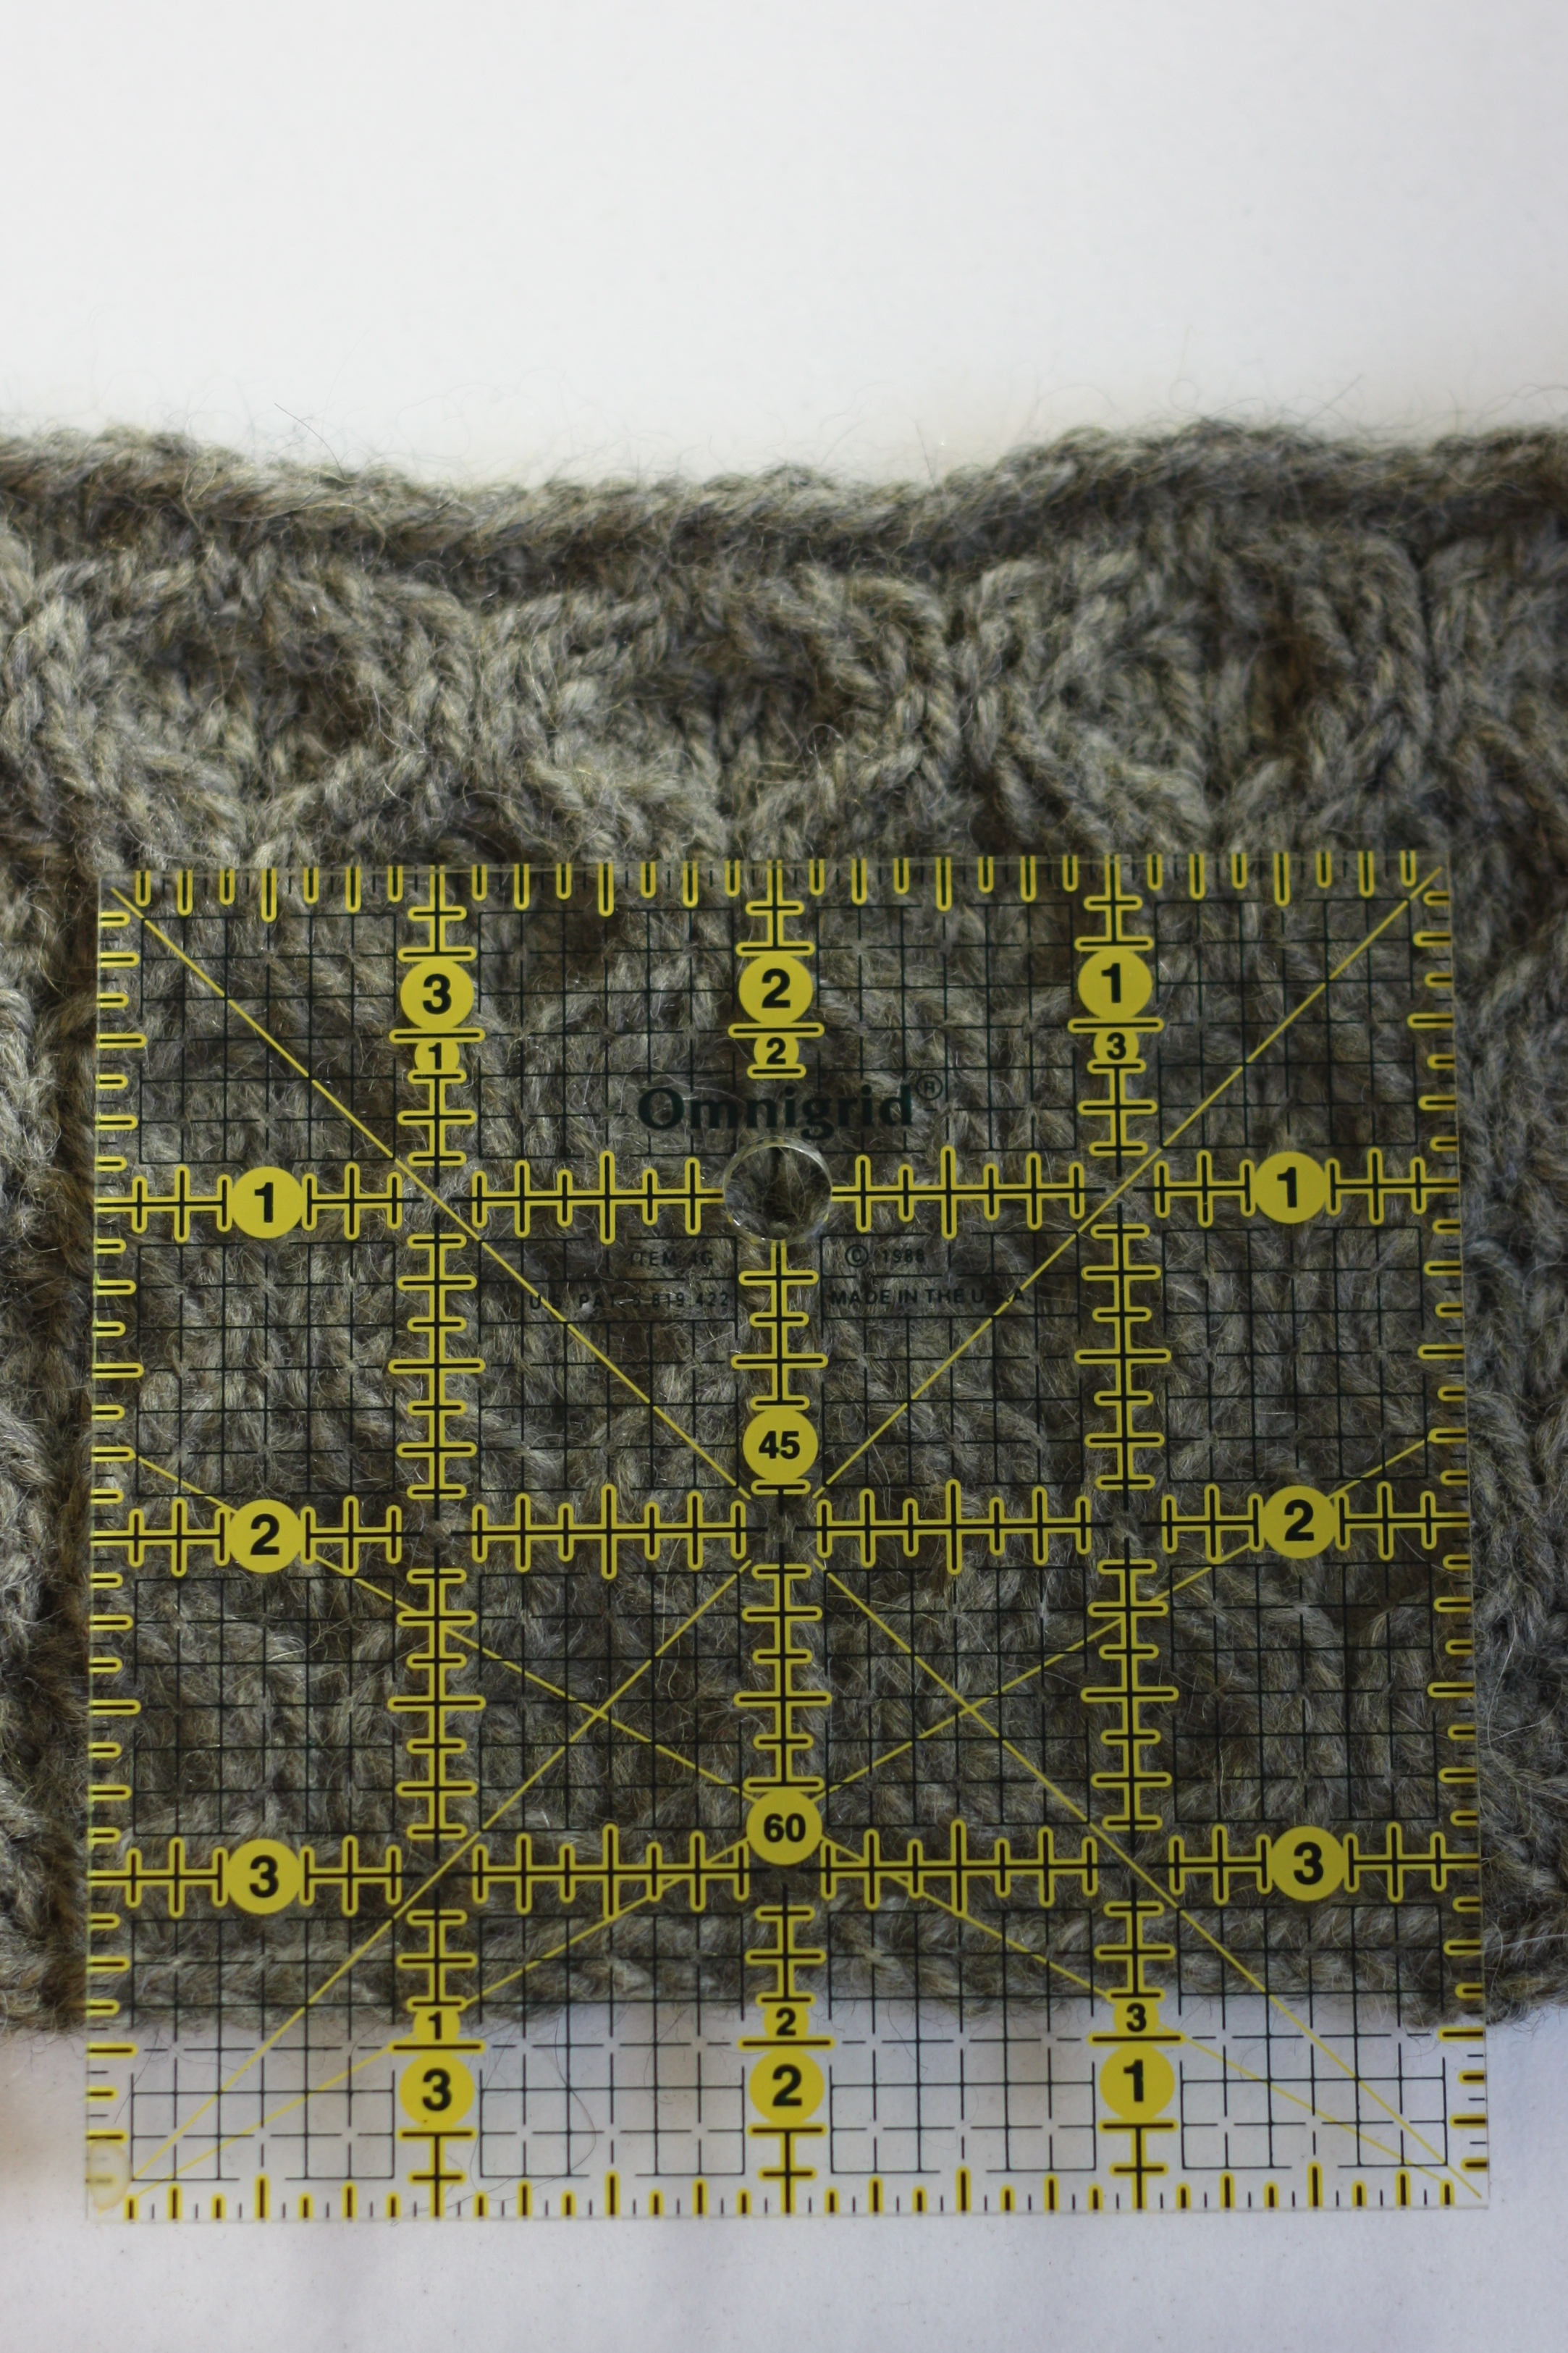
4. Measure twice, cast on once.

Take the time to measure the swatch on a flat surface – a table or the floor is best. A classic ruler or yardstick is better and more accurate then a tape measure because of the straight edge. My favorite tool for measuring gauge are the clear plastic squares with a ruled grid. You can find them anywhere that sells sewing supplies or online.
Now you’re ready to cast on!
Have any favorite swatching tips or tricks of your own you can share? We’d love to hear them – please share in the comments below.

One thought on “Amy’s Thread: Swatch like you mean it!”