It’s no secret that I’m a huge fan of playful embellishments. I’m tempted to add fringe to everything! Needless to say, I loved the colorful pom pom that’s sewn to the top of last week’s free pattern, Rist. I have been curious about making a color blocked pom pom and this design gave me the motivation to try.
We have a hidden box full of playful, crafty things in the office. The ladies helped me dig through and find our magical pom pom makers (a worthwhile investment from Clover!).
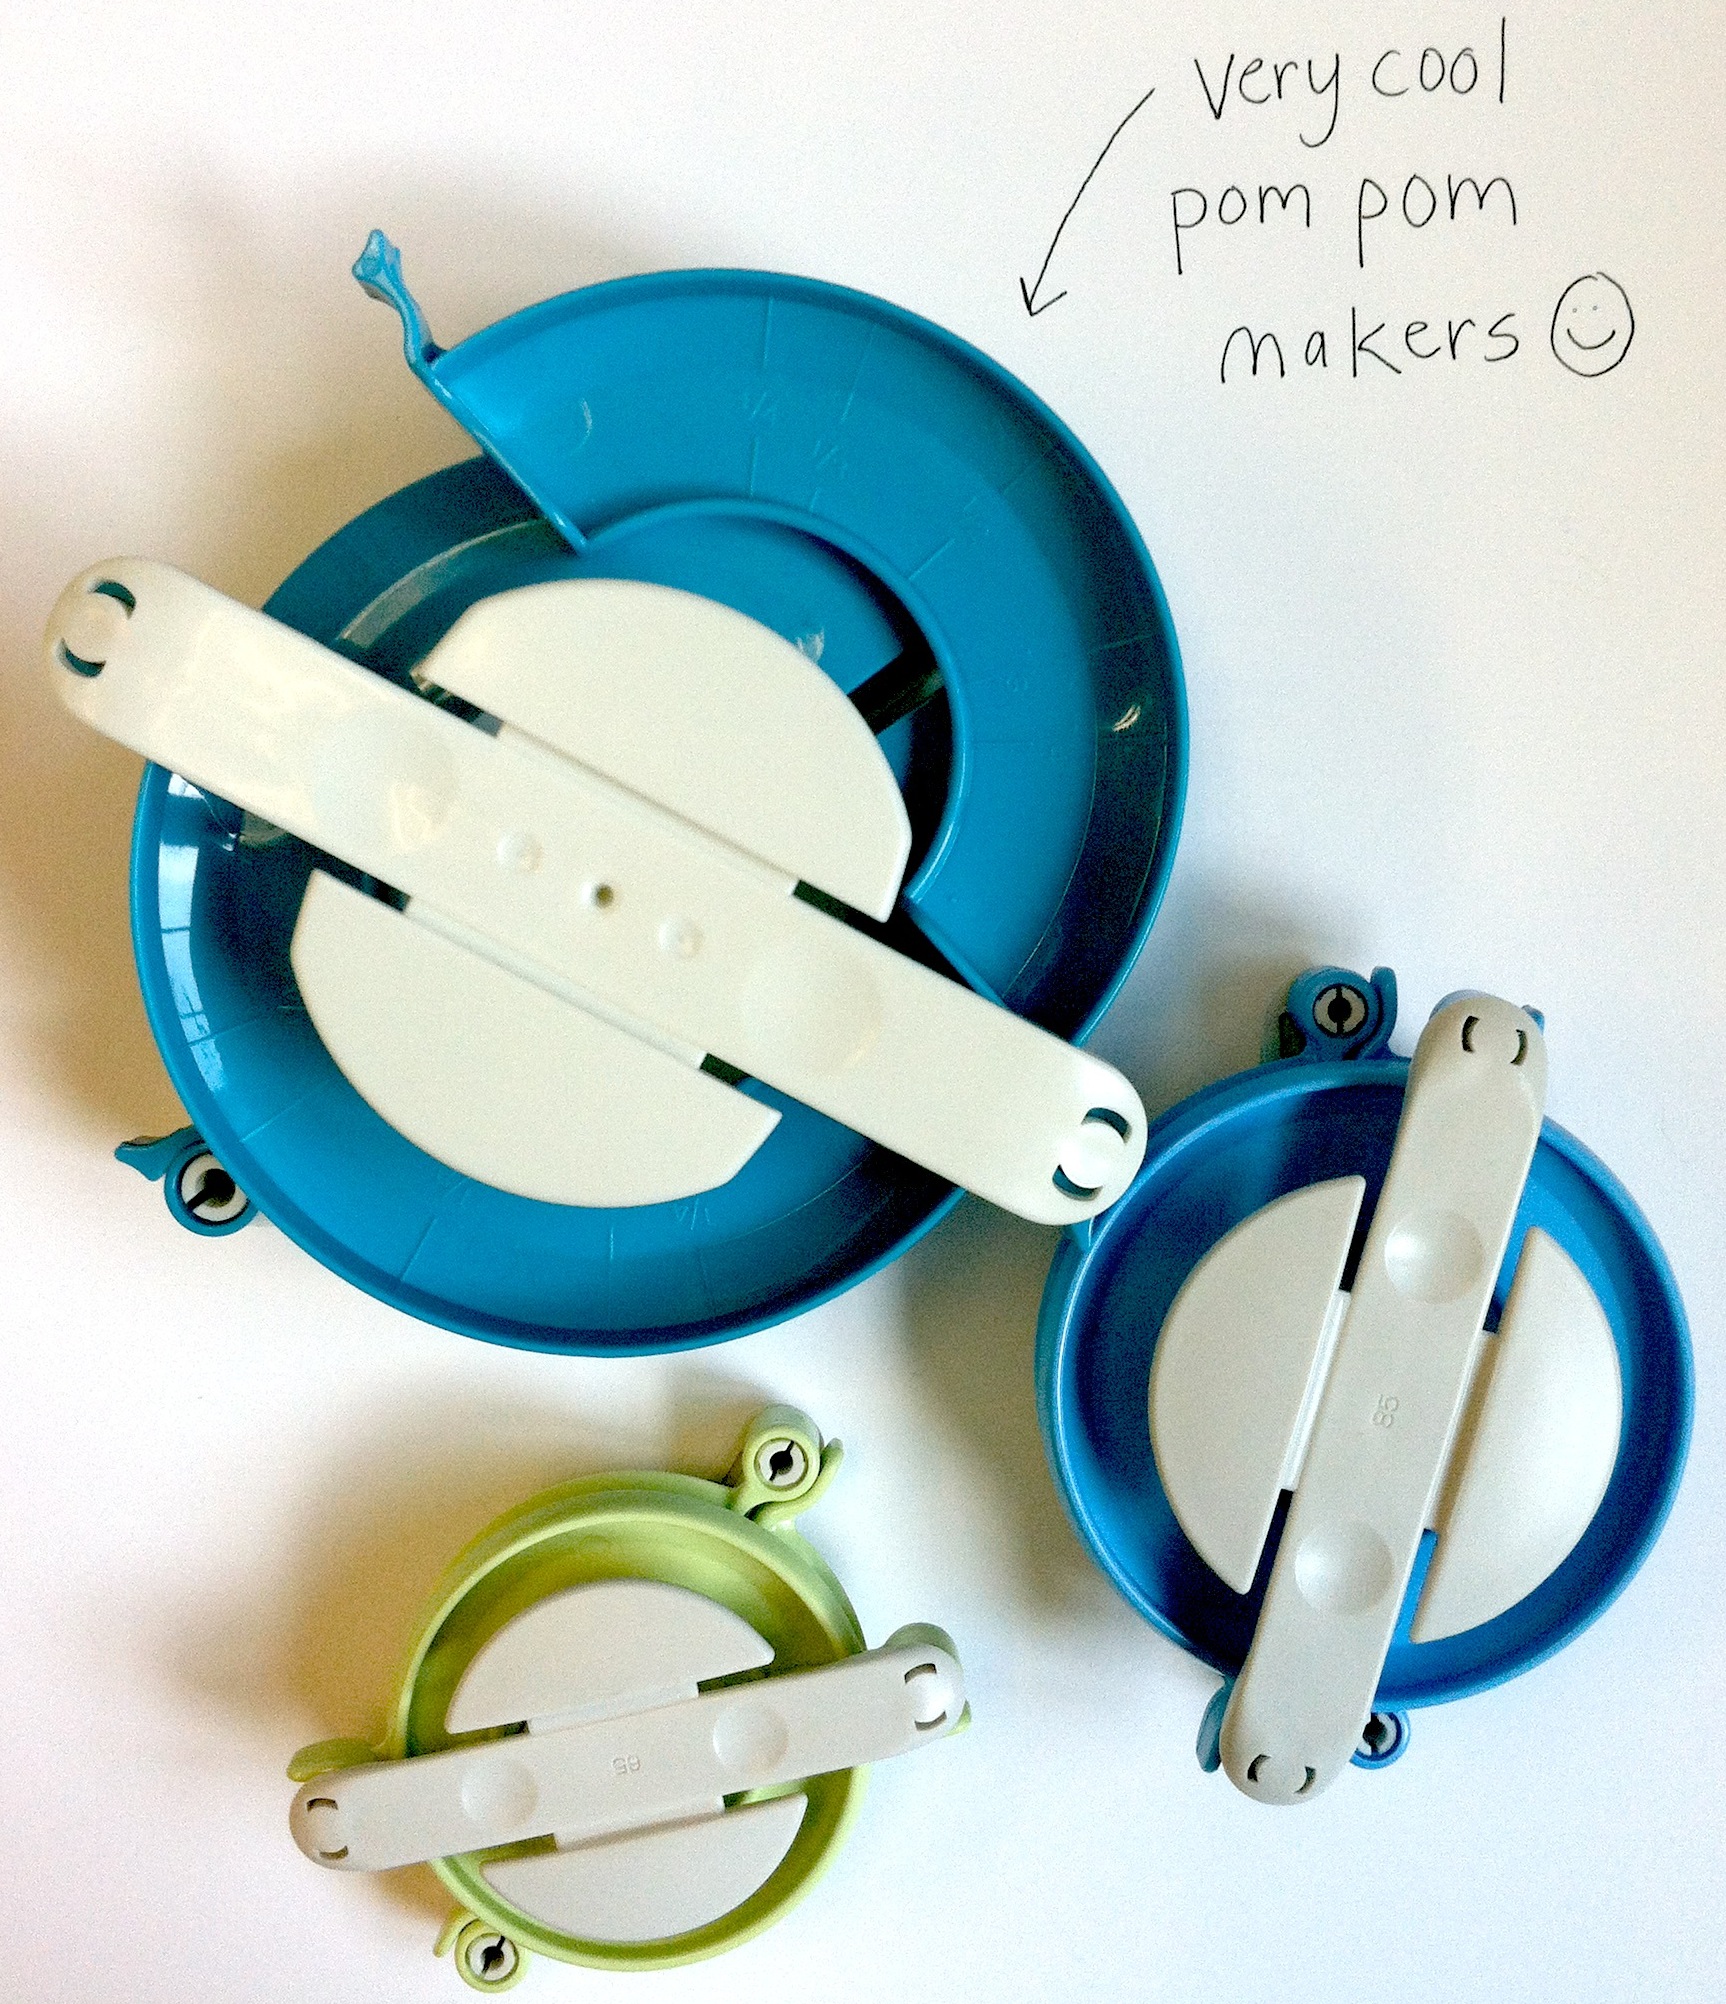
Grab three different colored yarns, some strong yarn to tie your pom pom with, a pom pom maker and some scissors. Then when you’re ready, follow along with me as I make a pom pom!
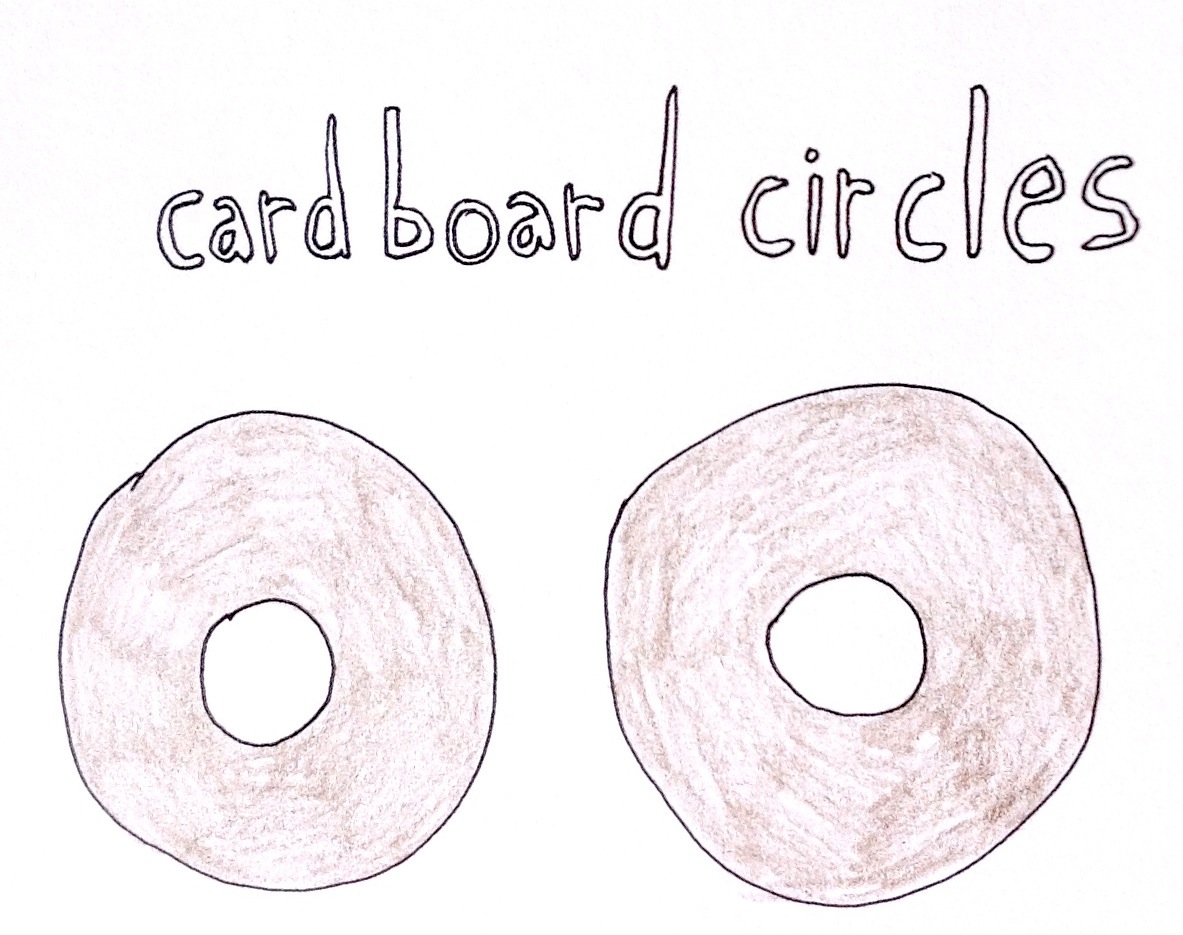
If you don’t have a pom pom maker just yet, don’t worry. You can make your own. Just take two pieces of cardboard and cut them into two circles. Try to make them the same size. Cut a hole into the center of the circles.
Wrap your yarn around the circle as thick and tightly as you can. If you would like to make a multi-colored pom pom, just wrap colors in sections as shown in the video.

When you’re done wrapping, find the center between the cardboard and cut along that groove.
Slide your strong thread between the cardboard circles and tie tight!
Then pull away your cardboard circles to reveal your pom pom!
Have fun!
Happy knitting and pom pom making,
Emily

Could you please tell me where I can purchase a Pom Pom maker and how much