Now that you’ve got your project page set up, you can start adding photos of your works in progress! For this tutorial, I’m going to be using screenshots from my iPhone, since most folks will probably use a mobile device to add photos (which is the easiest thing to do, since you can take photos with your phone and then upload them directly to Ravelry). If you’re using a desktop computer and have a way to get photos from a camera to your computer, I’ll include a couple of quick shots of uploading photos from the desktop at the bottom of this post.
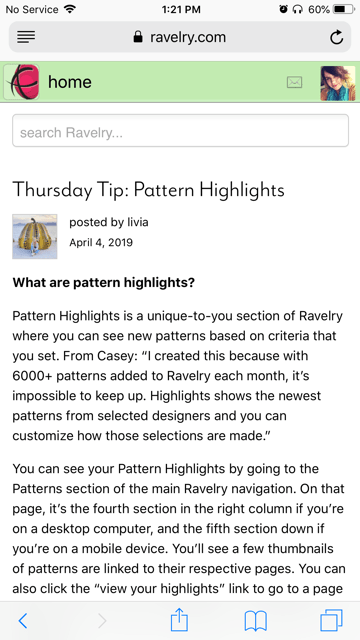
I’m logged into Ravelry and I want to add a new photo to my project page so I can share the photos with the group for the knit-along. In this instance, I’m going to add a photo to my Marsh project page, since I’m working on the Marsh + Mallow Knit-along. So from the Home screen, I’m going to click the “home” button in the upper left corner.
Then I’ll click “projects” to go to the projects page of my notebook.

From there, I’ll find the project that needs new photos—in this case, my Marsh project. I tap on the photo (if you don’t have a photo for it yet, it will just be a white box) or the name of the project.

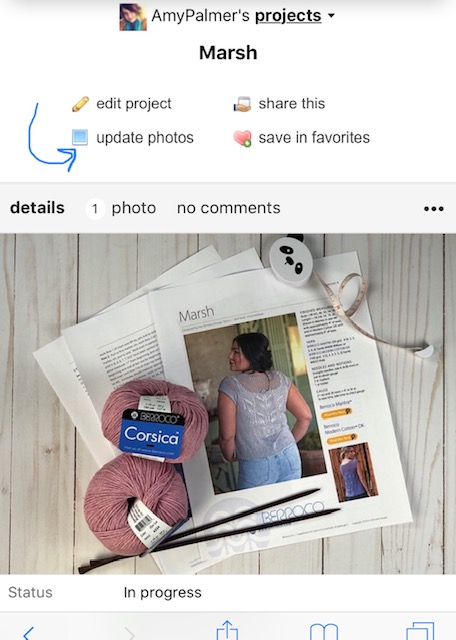
And I’ll get a mobile version of my project page for Marsh. From here, I click “update photos.”
Once there, I’ll click “Choose Files” under the upload tab. If you have an Instagram account connected to Ravelry, you can pull photos from your Instagram feed, but I’m going to keep this simple.

Once you’ve clicked “Choose Files” you can either take a photo or choose a photo from your photo library (or whatever it may be called on your device). I’ve already taken a photo, so I’m going to select “Photo Library”.

I find the photo that I want to add to my project page and I select it. On my iOS device, it shows up with a little blue check mark in the bottom right corner of the square image.

Once the image is selected, I click “Done” and the image selector screen goes away and I’m back in my Ravelry project page. At this point, I just have to hit the “upload now” button…

…and my photo is added to my project!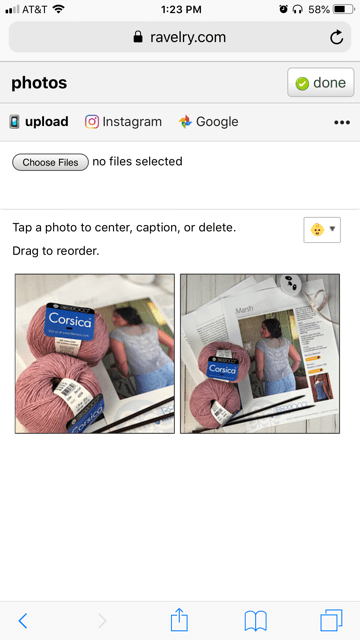
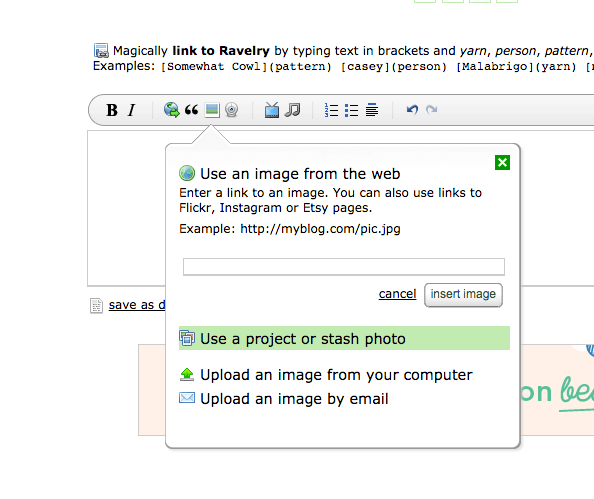
NOW to show off your photos in the Ravelry group, you would navigate to the Berroco Lovers group on Ravelry and our Marsh + Mallow Knit-along thread. You can create a new post within the thread by hitting “Reply to thread” (we’ve got a blog about posting to Ravelry threads if you need a refresher). You’ll get the text box, and there’s a little icon that looks like a Polaroid photo. Click on that and you’ll get a little overlay window. From there, click “Use a Project or Stash Photo.”
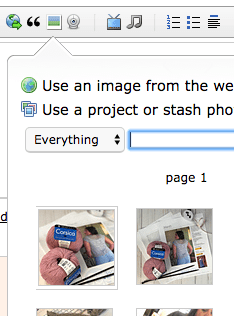
Find the image that you want to share with the group and click on it.
You will get a new screen in that overlay window that shows the photo and has a “use this photo” button. Click on that to add the photo to your post.
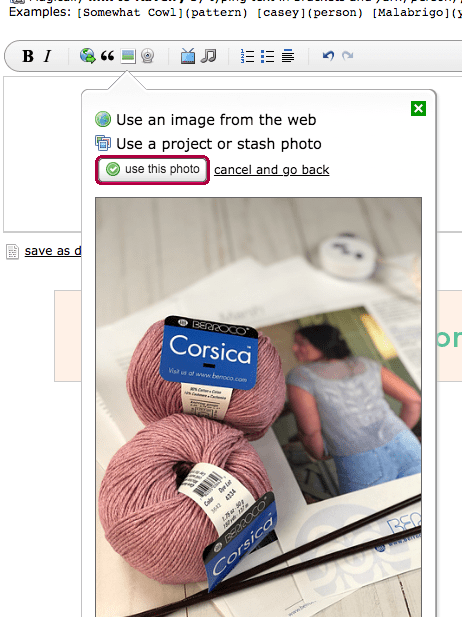
Then you can write a little bit about your photo and hit “post reply.” 
And that’s it!
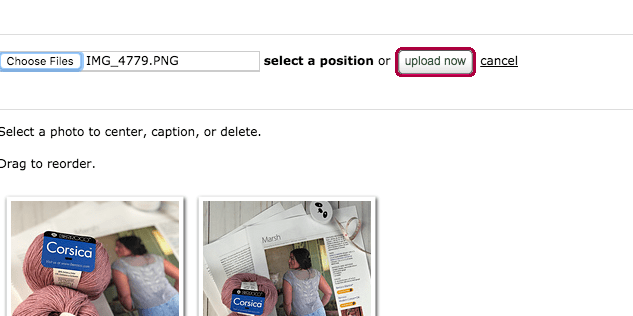
If you need to upload your photos from your desktop computer, you’ll follow all of the steps, things just look a little bit different. To get to the screen in which you can upload the photos, you’ll go to your project page and then click on the “photos” tab—in this case I have two photos added already, so it says “2 photos.” 
Click “Choose Files” to search for the image on your computer.
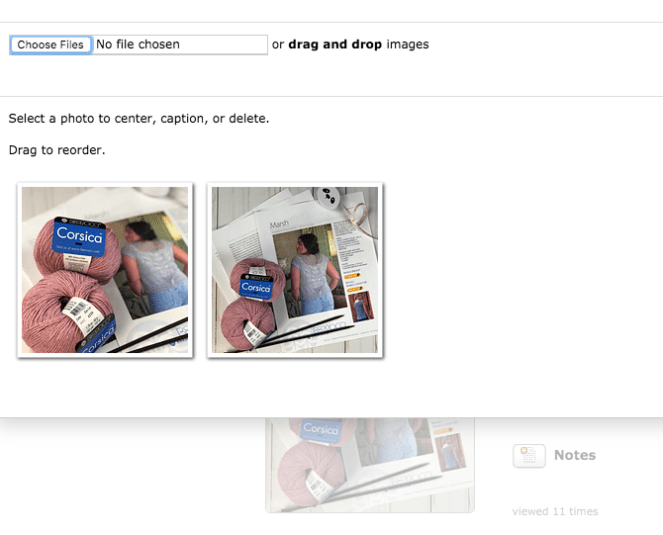
And once you have your image selected, click “Upload now” to upload the photo. Finish by clicking “Finished with photos”.