Casting on stitches for a sweater is no joke—you’re committing, at least in the moment, to knit many, many stitches in an effort to make your own clothes. Go you! But many sweater patterns, especially bottom-up sweater knitting patterns, such as Jhumpa (shown above), require you to cast on a good deal of stitches at the get-go. This can be off-putting, for sure—trying to do the movement to cast on stitches and count and try to tune out everything going on around you can be a challenge. So today I’m sharing some of my tips to ensuring that I only ever have to cast on once for a project with a lot of stitches.
Please note, I’m not saying this is a fool-proof method, as I’ll demonstrate later in this post. But the small errors you may make following these steps are easily corrected without ripping out your cast-on stitches.
You’ll need yarn, obviously. If you can, grab two balls of the same color of the same dye lot. For this demonstration, I used two colors of Berroco Ultra® Wool but I’ll show you how I used one ball of Ístex Léttlopi further down in the post. 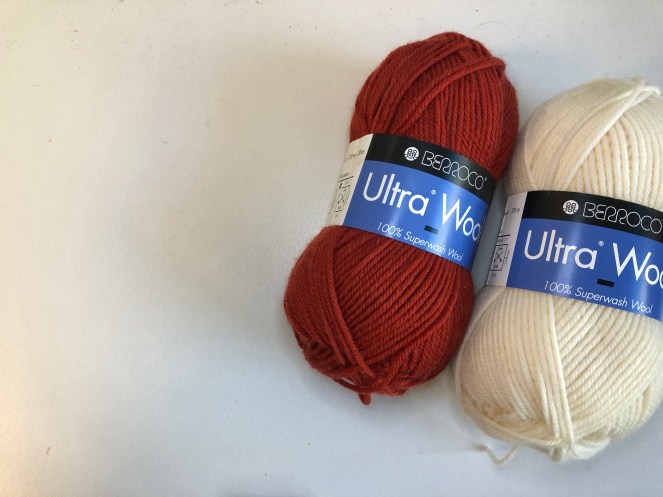
You’ll also want a bunch of stitch markers (I just grabbed a few for the quick demo)…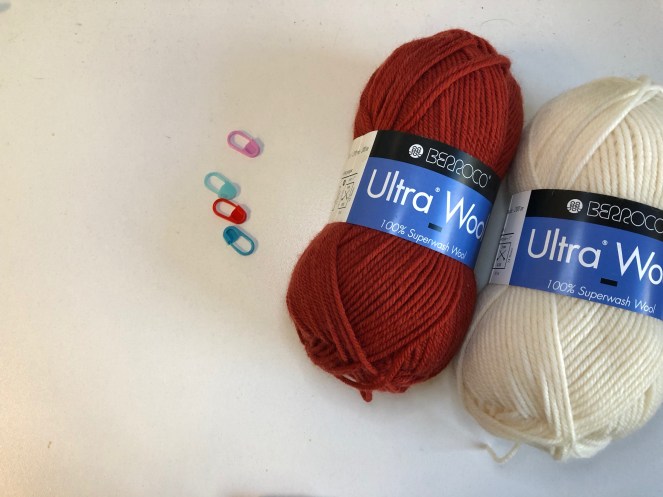
And obviously, your knitting needles. 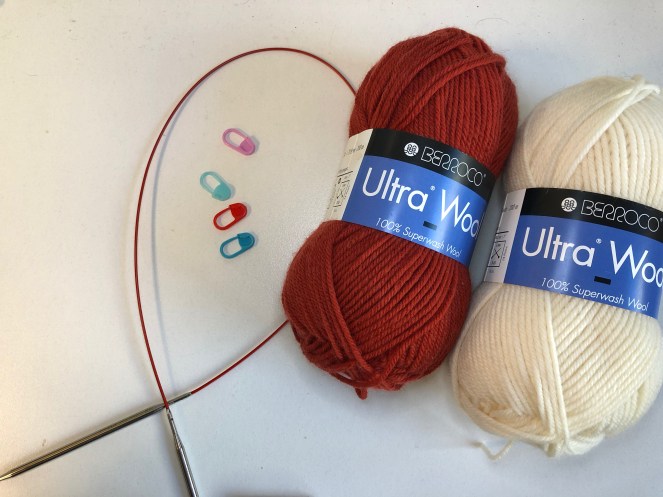
The biggest trick to casting on a large number of stitches right the first time is to use stitch markers to help you count. Choose a number, cast on that many stitches, place a marker. Cast on that many more stitches, place another marker. If you lose your place in the counting, just go back to the last marker you placed and count the number of stitches you’ve cast on since that marker. I placed my stitch marker at 20-stitch intervals, because 20 is big enough number that you feel like you’re making progress, but still small enough that you can count to it easily no matter what’s happening around you.
This video demonstrates how to use two strands of yarn and stitch markers to make casting on many stitches much easier.
When you’ve got all your stitches on the needles, I recommend leaving the markers in place as you work a few rows or rounds. This will let you double-check your count, so you can know if you need to make adjustments in a little bit.
To cast on with just one ball of Lopi, I pulled the end from around the outside of the skein and then also pulled out the center of the skein (the guts, if you will). 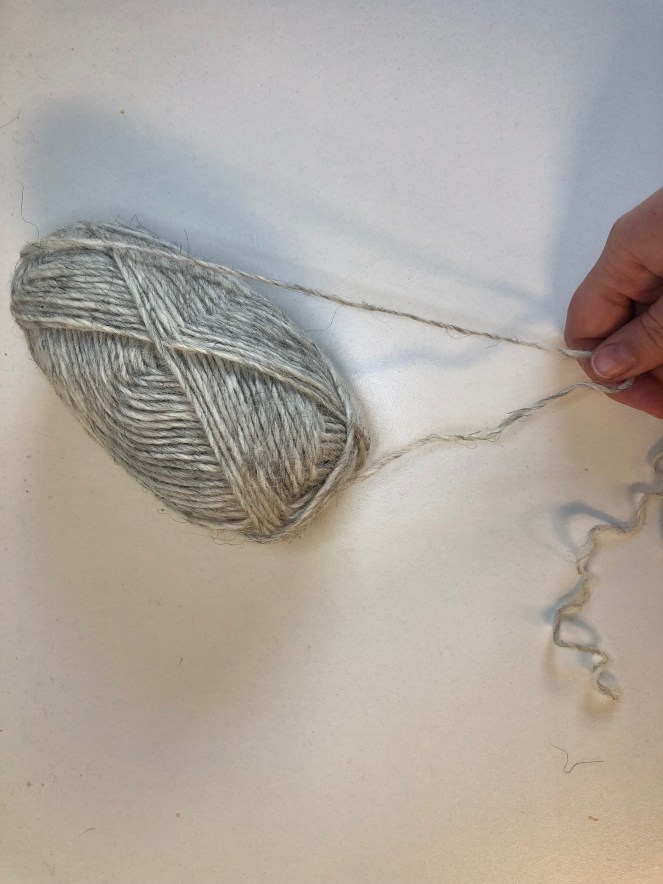
Once I had two ends, I proceeded as described in the video, making a slip knot with the two ends from the same ball. 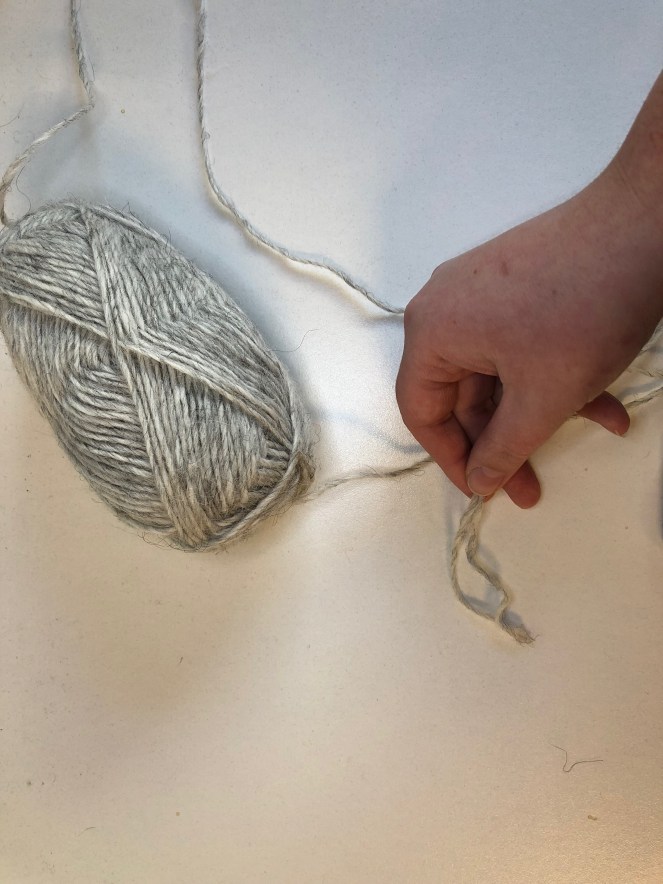
I also used a tubular cast-on method for my sweater, but this would work the same with with a long tail cast-on. If you’ve never tried a tubular cast on before, we’ve got a great blog post about it, though I would suggest sticking with a long tail cast on for the moment. Another tip for the long tail cast-on method: this method of casting on stitches can result in an unstretchy edging, so use a larger needle size just to cast on the stitches. You can switch to a smaller needle once you begin working the ribbing.
And here are all 226 of my stitches… or are they? 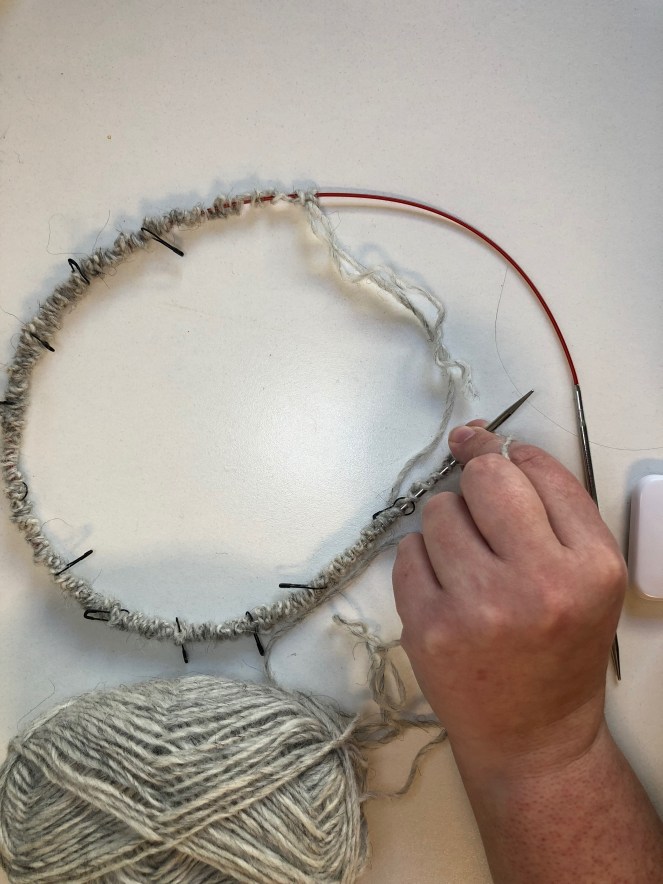
Turns out I mis-counted one section—it only has 18 stitches. This why I recommend leaving the stitch markers in place and re-counting as you work the first few rows or rounds. Since I’m working in ribbing and it’s really hard to seamlessly add stitches in ribbing, I’m just going to leave an extra marker as a reminder that I need to make an adjustment. Once I get to the stockinette section, I’ll just increase one stitch at one side marker and one stitch at the opposite side marker so I get up to 226 stitches.
edit: We had a great question from Mary Ann in the comments that I think would be helpful to everyone.
Joining that many stitches in the round without a twist was a real hassle. Any tips for keeping the stitches in line?
Hi Mary Ann! I work my ribbing flat for at least two rows—if I’m working a tubular cast on, I work the two foundation rows flat and then work at least one more row flat before joining in the round. This gives me enough fabric that I can easily see if the stitches are twisted before I join them. Hope this helps!
Do you have any tricks you like to use to cast on efficiently? Let us know in the comments!

I hadn’t thought of marking a ribbing error (i.e., placing a marker) and adjusting the stitch amount later in the more forgiving main stitch. One less occasion for cast-on dismay! Thanks!
As long as you’re not off by a lot of stitches (say more than 10) it’s not going to make a huge difference to add them in after the ribbing. Glad this could help a little bit!
My first thought when I watched this? Isn’t that going to give me TWO MORE ENDS to weave in?!? 🙂 But I really like the technique, since I have to cast on 208 stitches for my KAL. In the past, on occasion, I would cast on with the needle size I would use for the main body of my project. What are your thoughts on doing that?
Weave them in at the same time—just thread both ends through the eye of the needle. Also, full honesty here, I am a bit notorious for not weaving in the ends of my colorwork yokes knit in Lopi because the yarn is so sticky, I don’t have to worry about anything coming loose. (Do as I say, not as I do.) I would much rather have to weave in a couple of extra ends than have to cast on 200+ stitches multiple times, but we all have our own crafting hang ups!
If you’re using a cast-on method that is on the firm side, such as a long-tail cast on, I would absolutely recommend using a larger needle size, be it the size for the body or something in between, just to give that edge a little more stretch.
For the long-tail cast on, I have found by placing my index finger of the hand holding the needle in front of the last stitch cast on and the new stitch, it helps to keep the cast on stitches looser and more evenly cast on. I also usually use a larger needle size.
I can’t figure out how to post my pics
Hi Suzanne, I’m responding to your post on Ravelry. Hope that helps!
I am so excited to be joining this KAL and just shared your blog in my post: https://elizabethkaybooth.com/2018/02/01/will-you-join-me-in-joining-a-kal/
I’ve always wanted to knit a lopi sweater! 🙂 Thanks for hosting a KAL – I’m casting on today!
Thanks for joining us Elizabeth!
Casting on wasn’t a problem. Joining that many stitches in the round without a twist was a real hassle. Any tips for keeping the stitches in line?
Hi Mary Ann! Great question, and I’m going to edit the post to include this answer. But I work my ribbing flat for at least two rows—if I’m working a tubular cast on, I work the two foundation rows flat and then work at least one more row flat before joining in the round. This gives me enough fabric that I can easily see if the stitches are twisted before I join them. Hope this helps!
Cool Technique!
But what do I do with the extra yarn strand? And the slipknot?
I count the slip knot as my first stitch, so when I work back the first time, I just work the two loops together as one. With the extra strand of yarn, I just break it off and weave it in at the end. This is just a personal preference, but I’ll take a couple of extra ends to weave in over having to cast on 200+ more than once any day of the week. 😉
Keeping the twist out, no matter which technique I use, with a cable needle, I lay the completed cast-on on a flat surface and orient the stitches around the outside of my needle. You can see the twists if there are any and position them correctly. It helps to use a long enough needle, then simply pick up the needle points and start in the round.
I like to cast-on one extra stitch and knit it with the first c/o stitch when I complete my first round, it tightens up what is frequently an unfortunate gap.
Great tips!
Using stitch markers to count cast on stitches is brilliant. I feel like such a numbskull for never thinking of it before. THANK YOU!
Definitely not a numbskull! Glad to be of help, though. 🙂