Mending handknit socks, sweaters, scarves or just your favorite knits in general is so important. They are precious to us and, with the proper restoration, can be worn and loved forever. There are several ways you can repair those worn out spots and here are some tools you will need for mending….
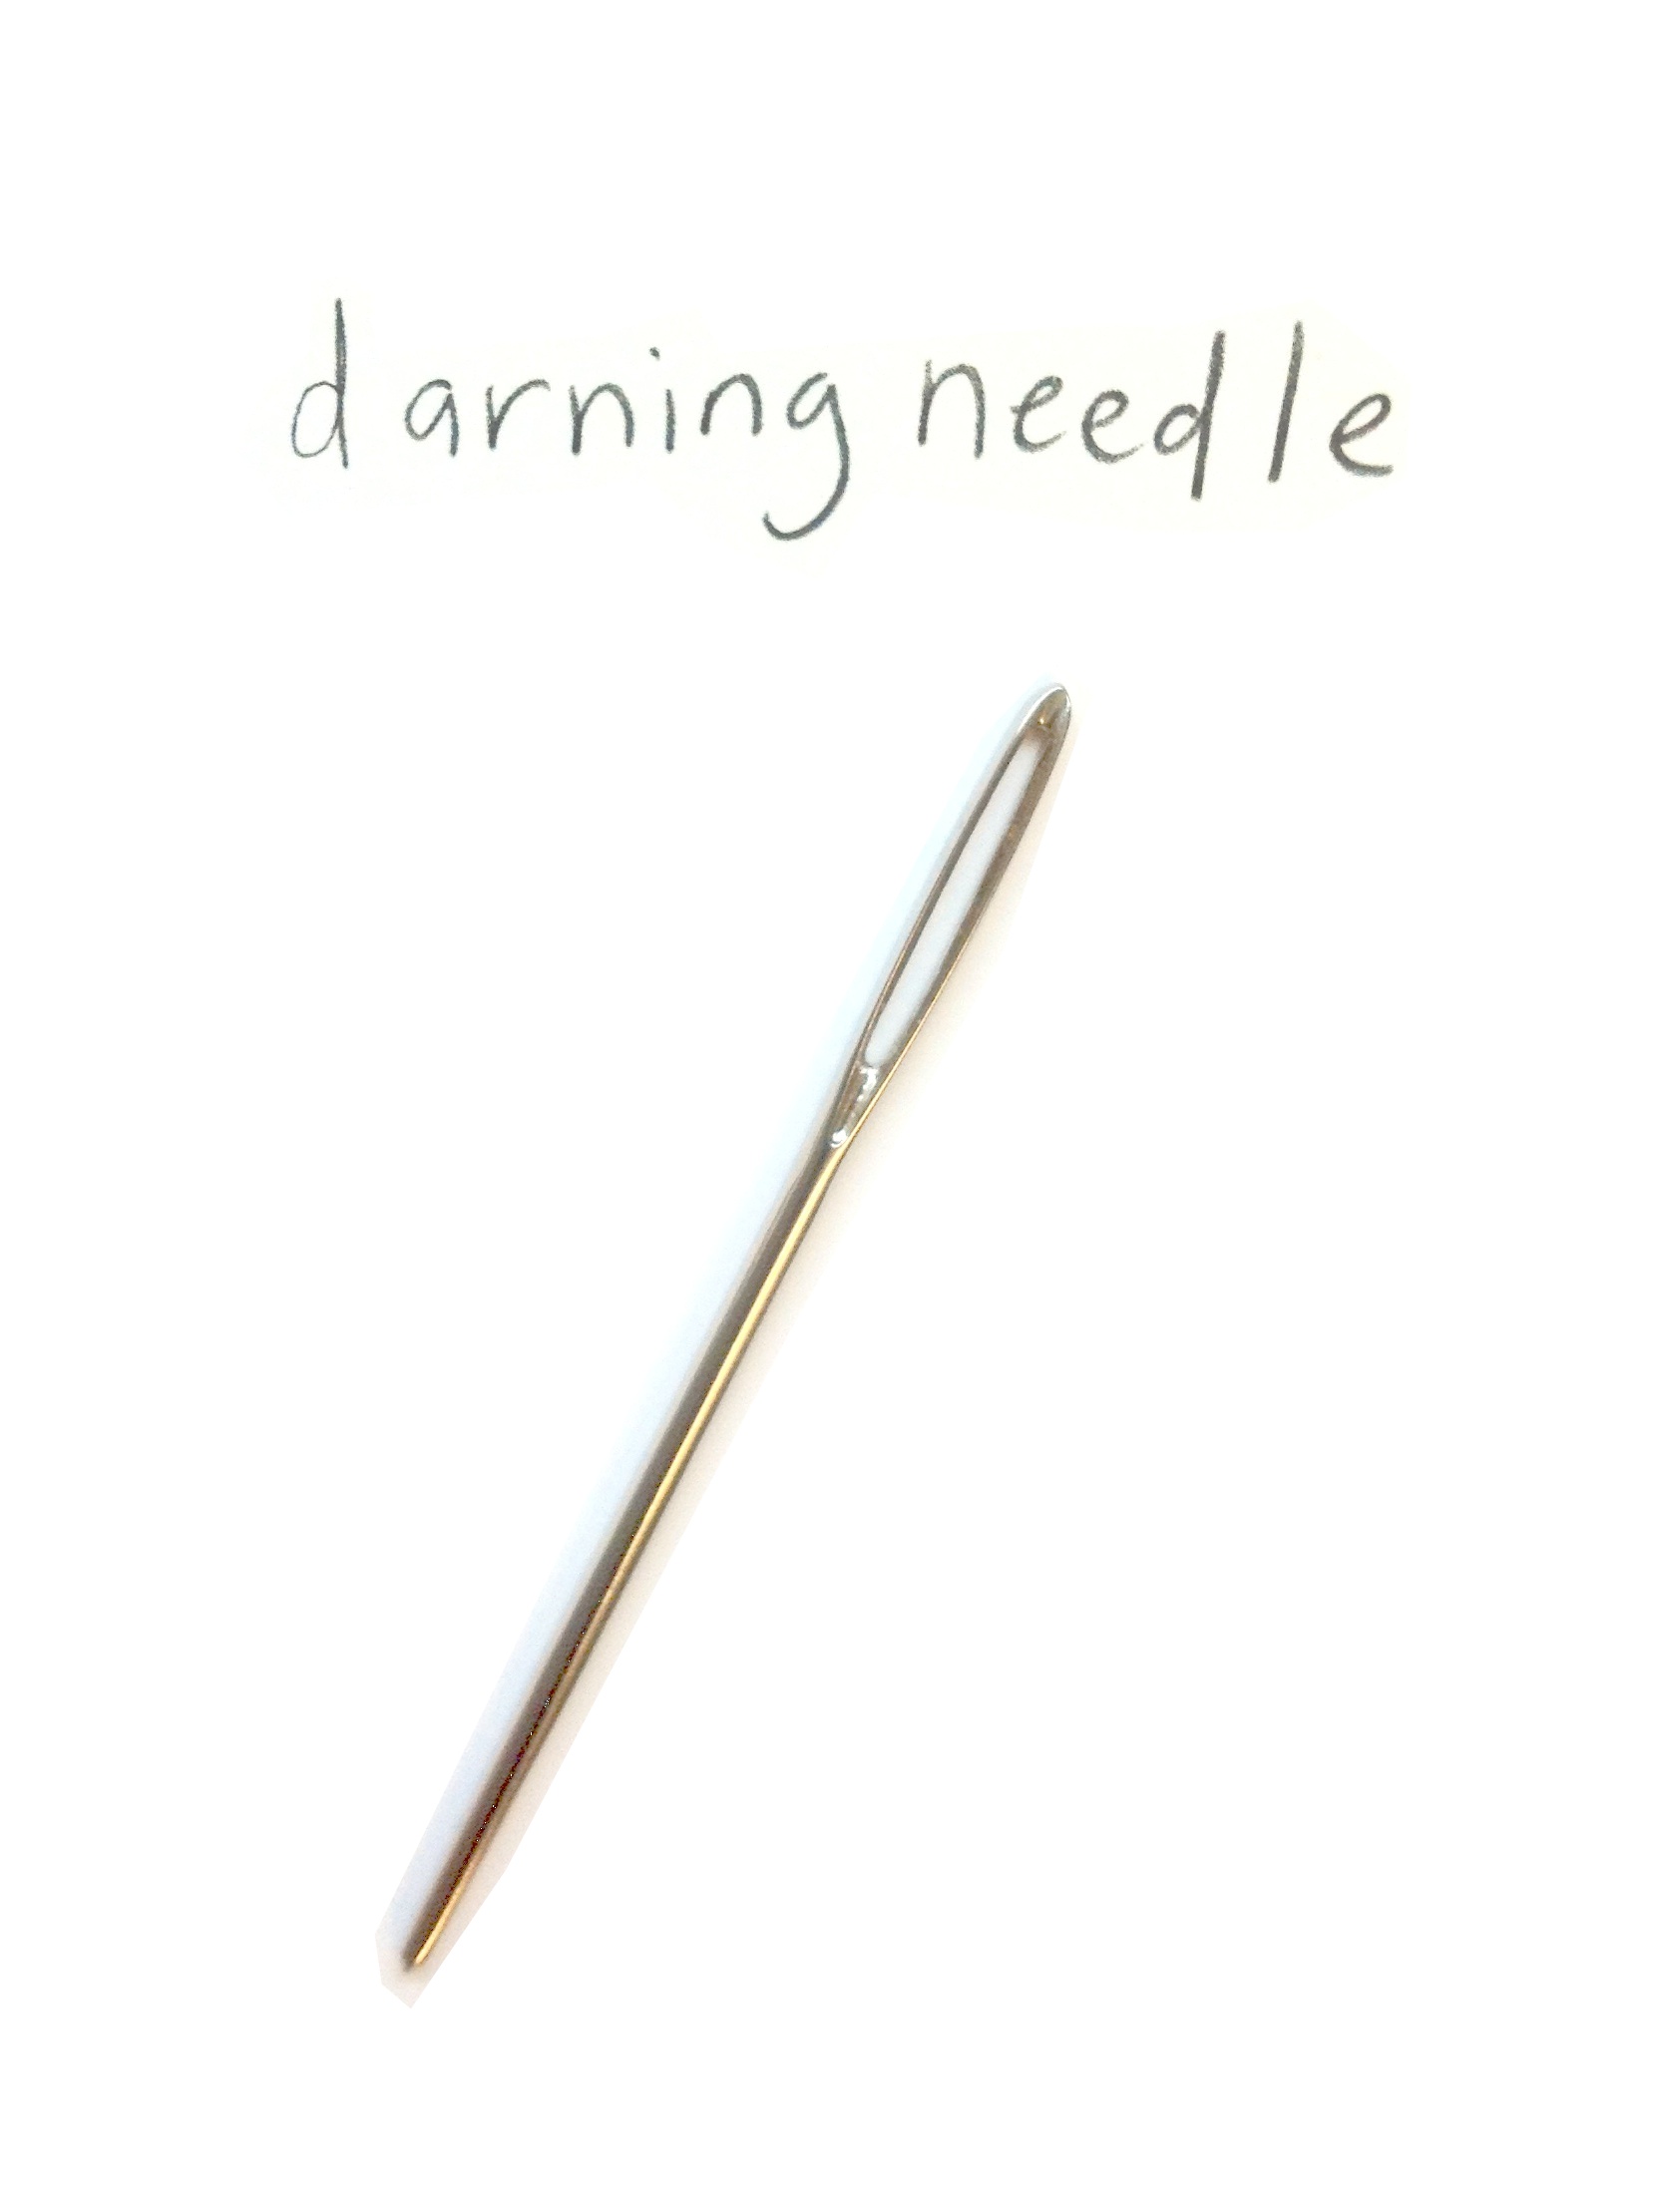
1) darning needle
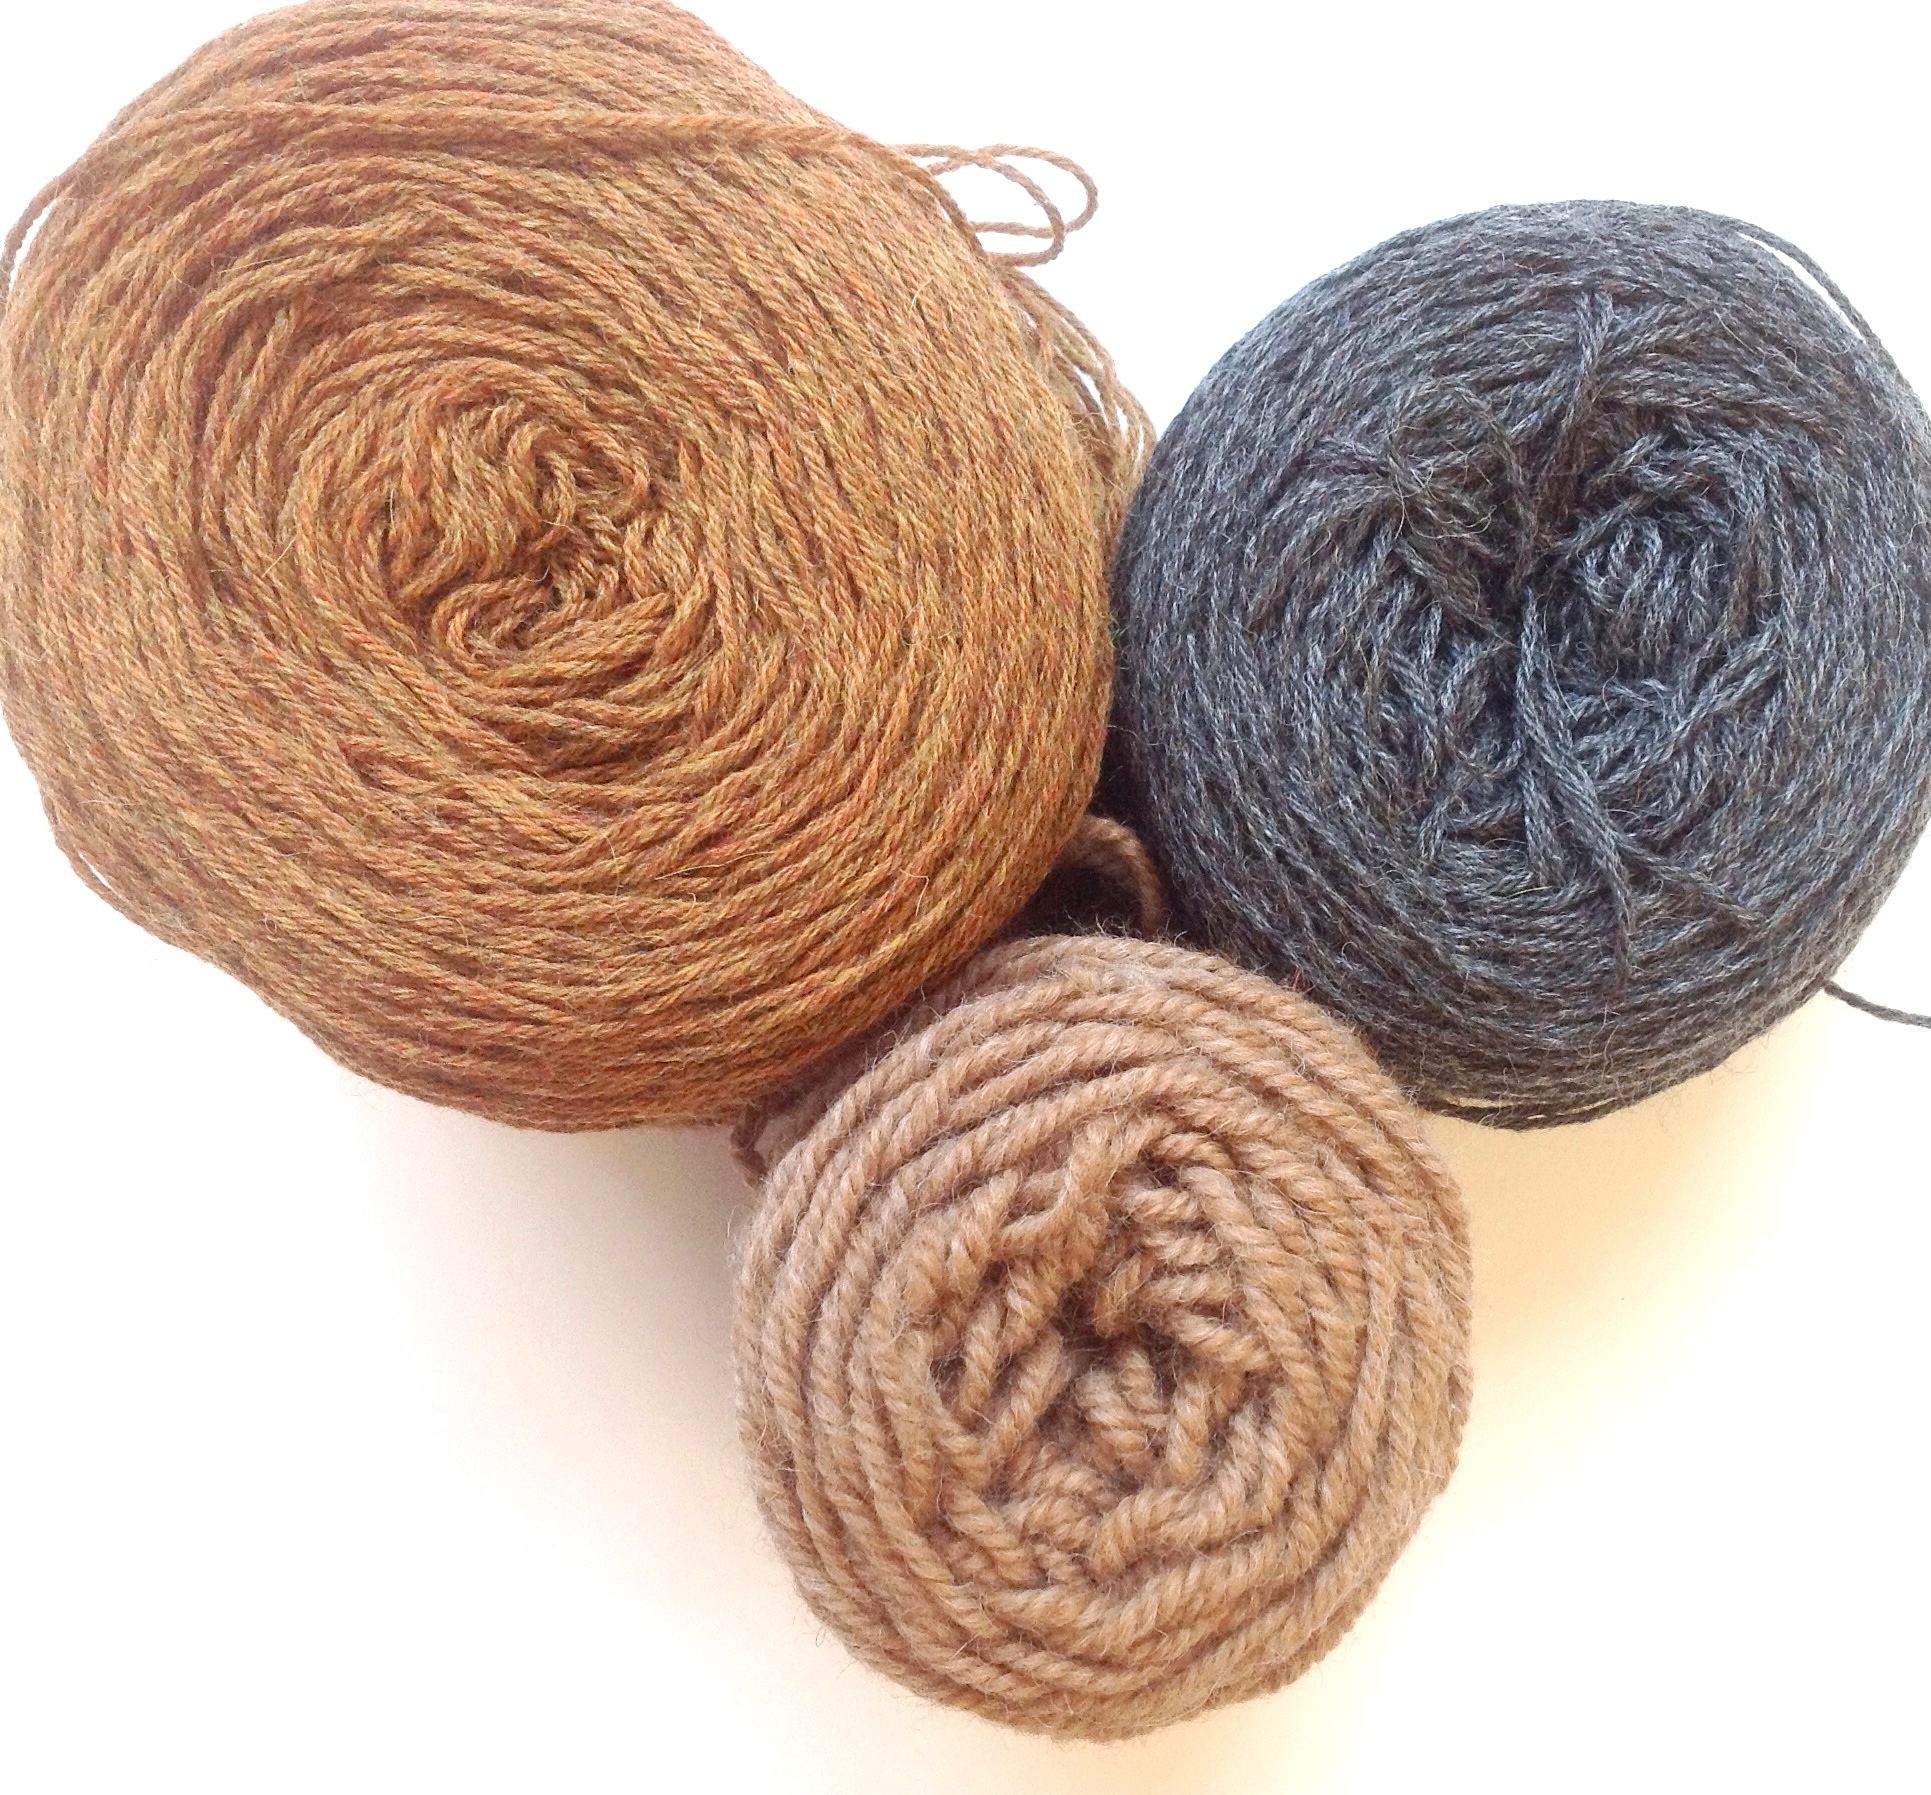
2) yarn for mending – Of all Berroco yarns, I’d recommend something from the Ultra Alpaca family – especially Ultra Alpaca Fine, which is a blend of wool and nylon.
3) support – There are beautiful tools like a wooden egg or mushroom shaped piece that you can use to support the knitting you are mending. If you don’t happen to have one lying around, you can use something you probably all have at home, a light bulb. (Remember to be gentle!)

I think a sweater with a big hole may call for a patch. You can use yarn in a matching color to make a patch or add a new color for a funkier look.
I patched a beloved sweater of mine, which was a hand-me-down from my mom. It had a big hole in desperate need of some loving. I used Blackstone Tweed (for its wonderful texture) and some small double pointed needles.

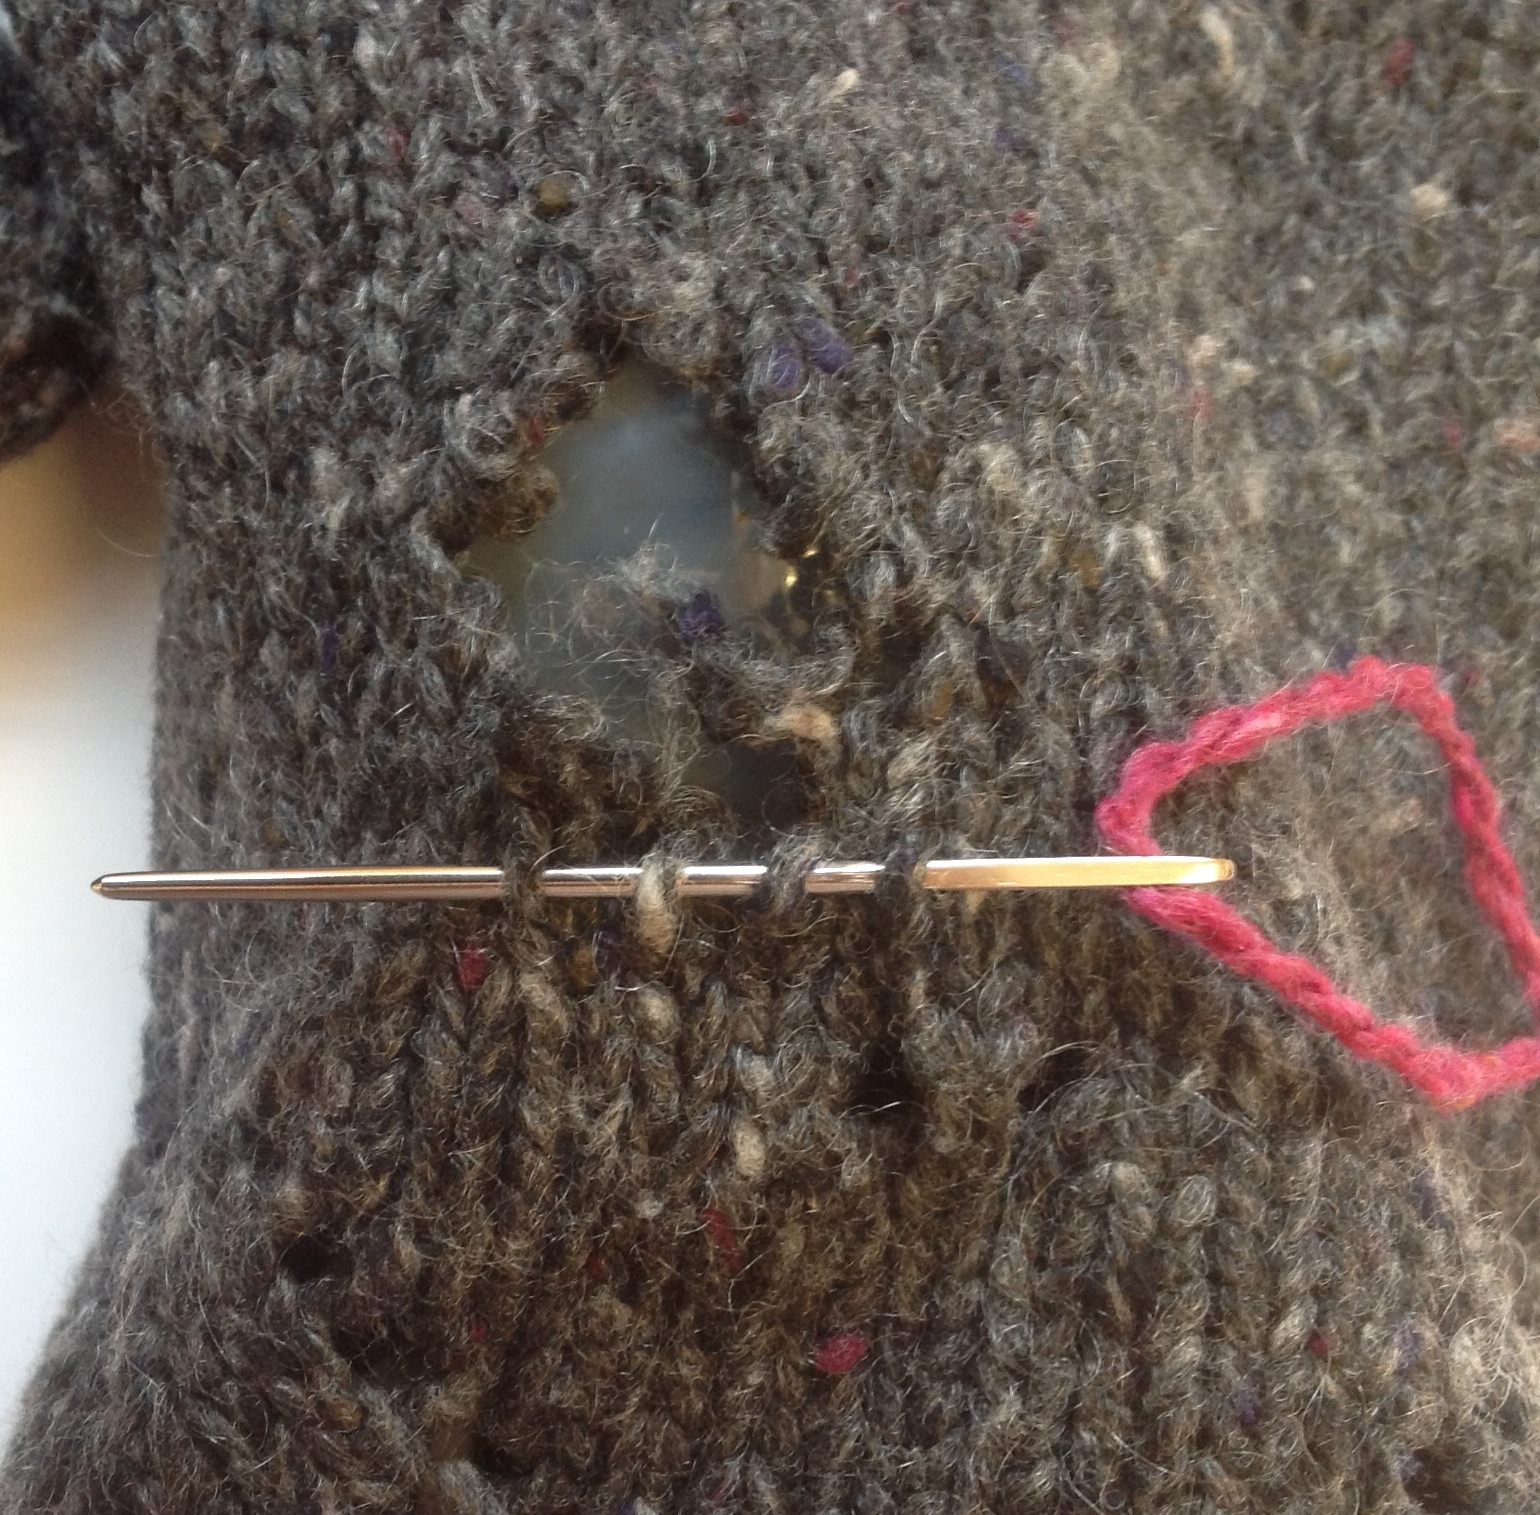


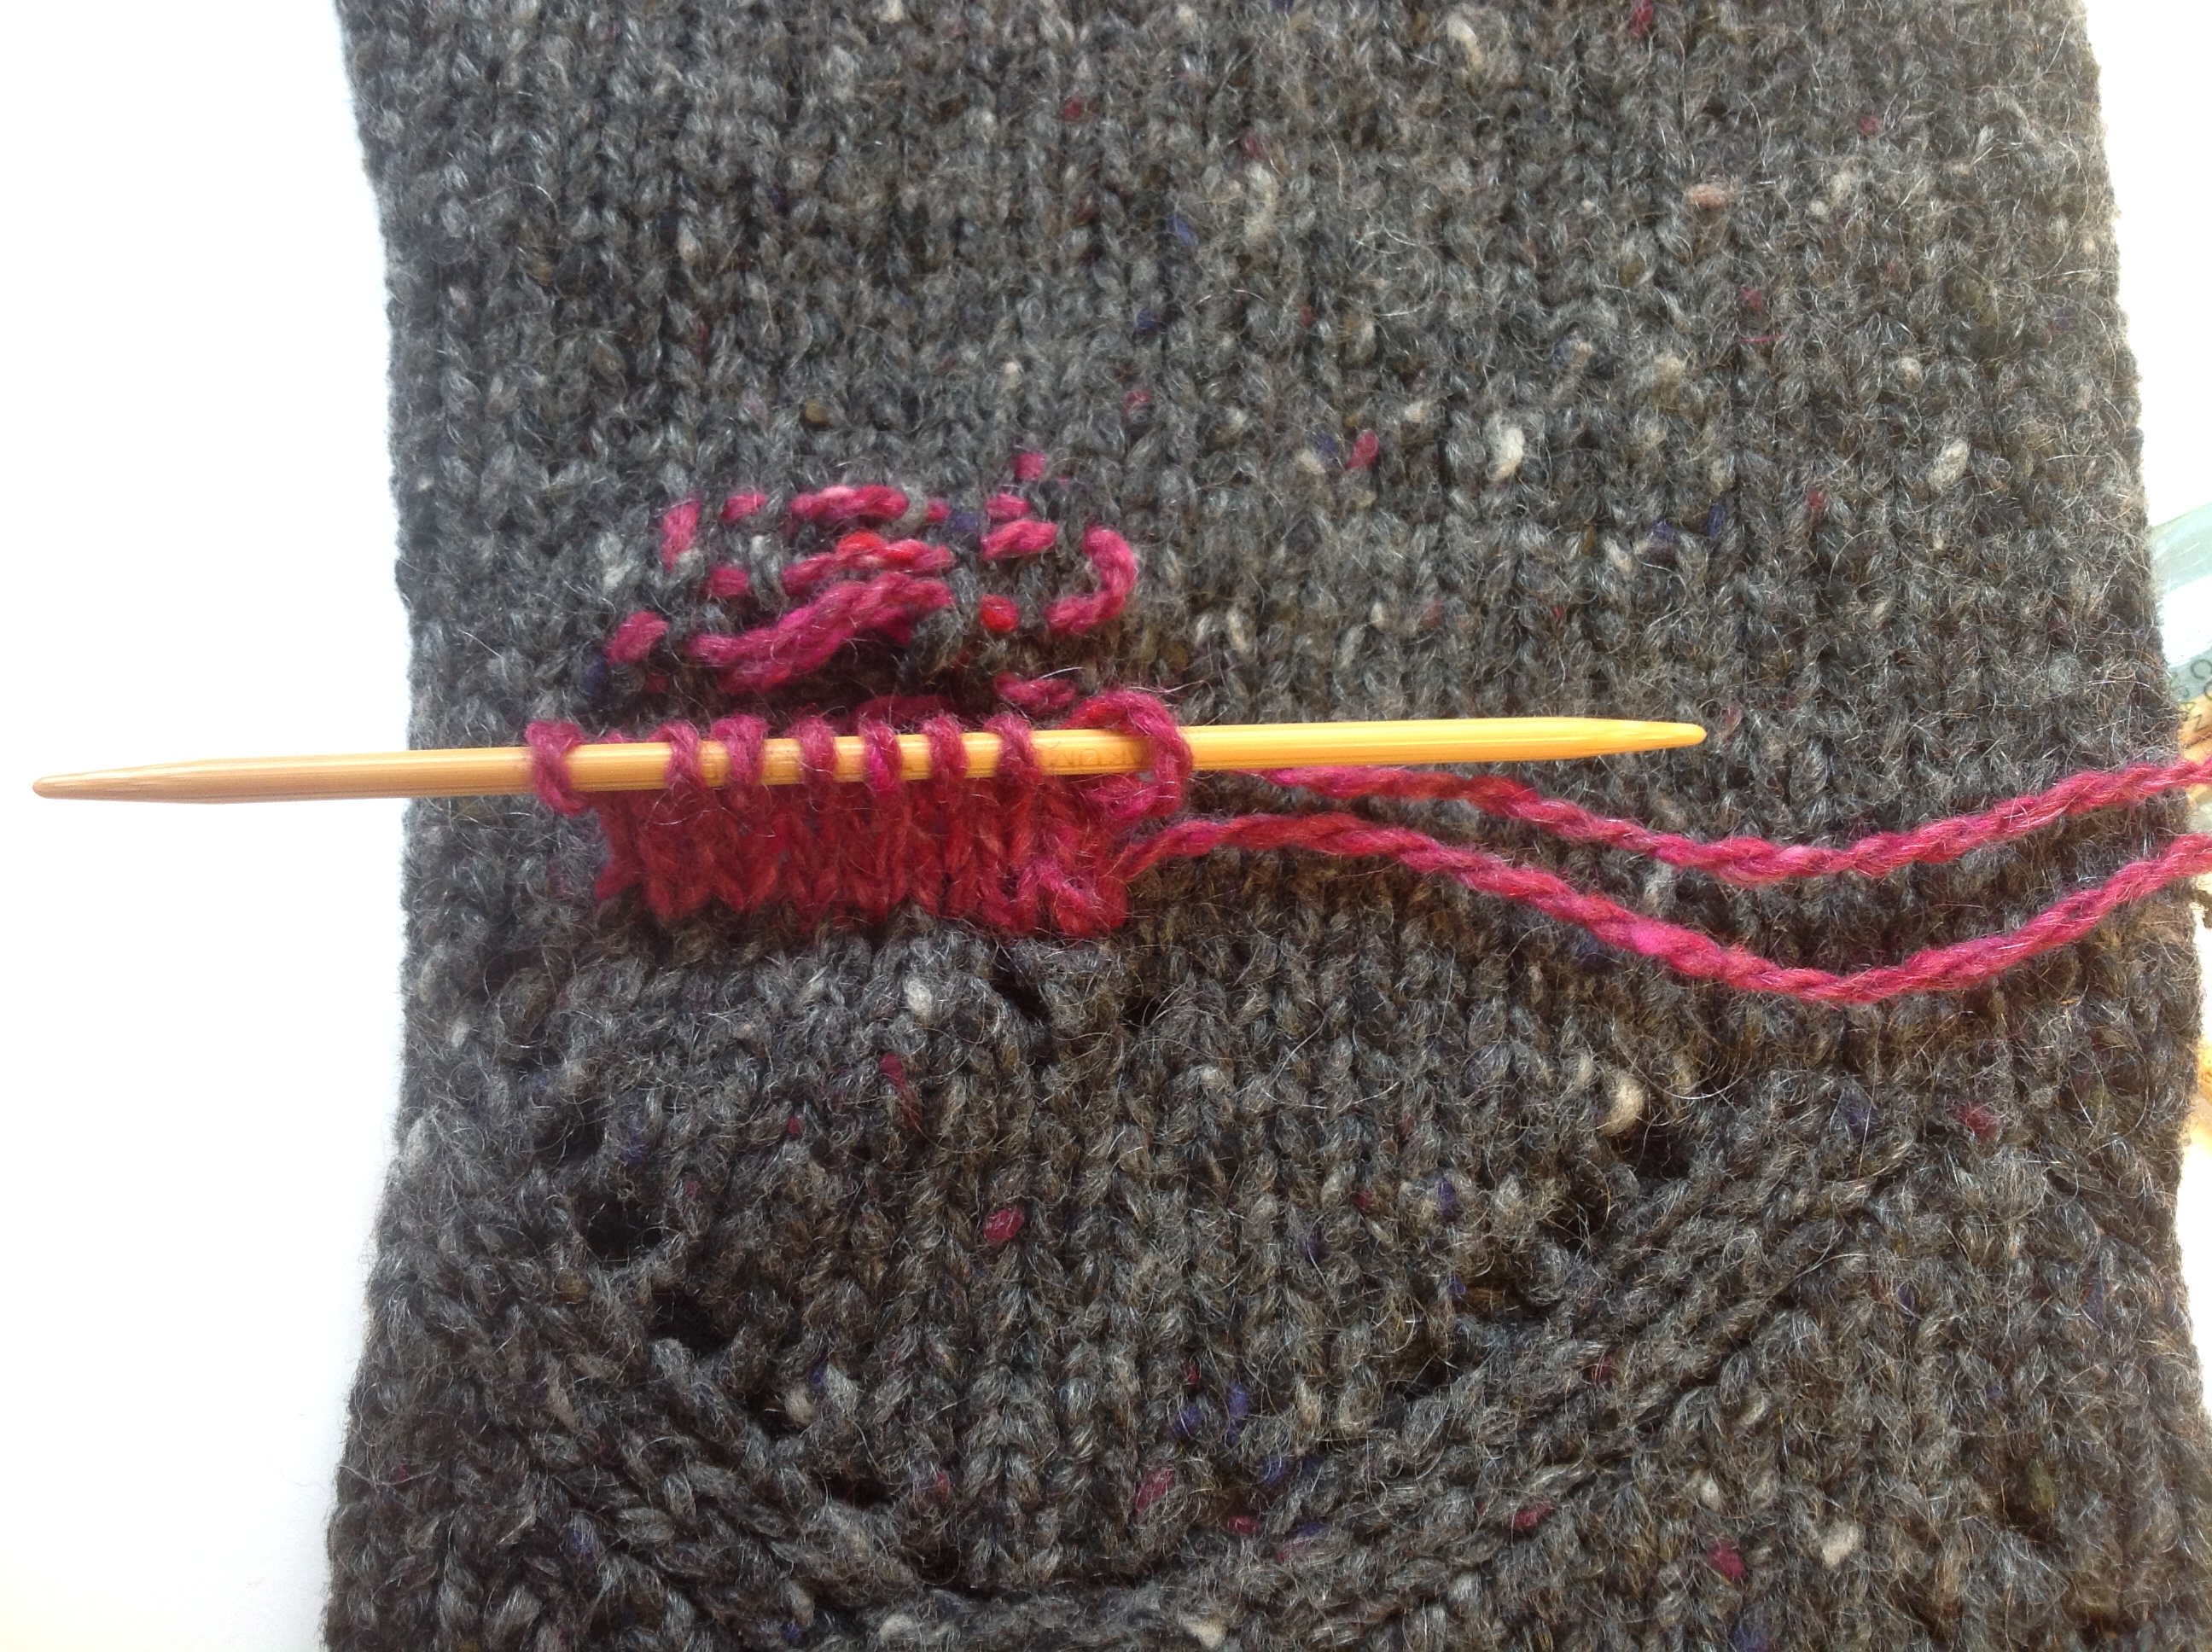

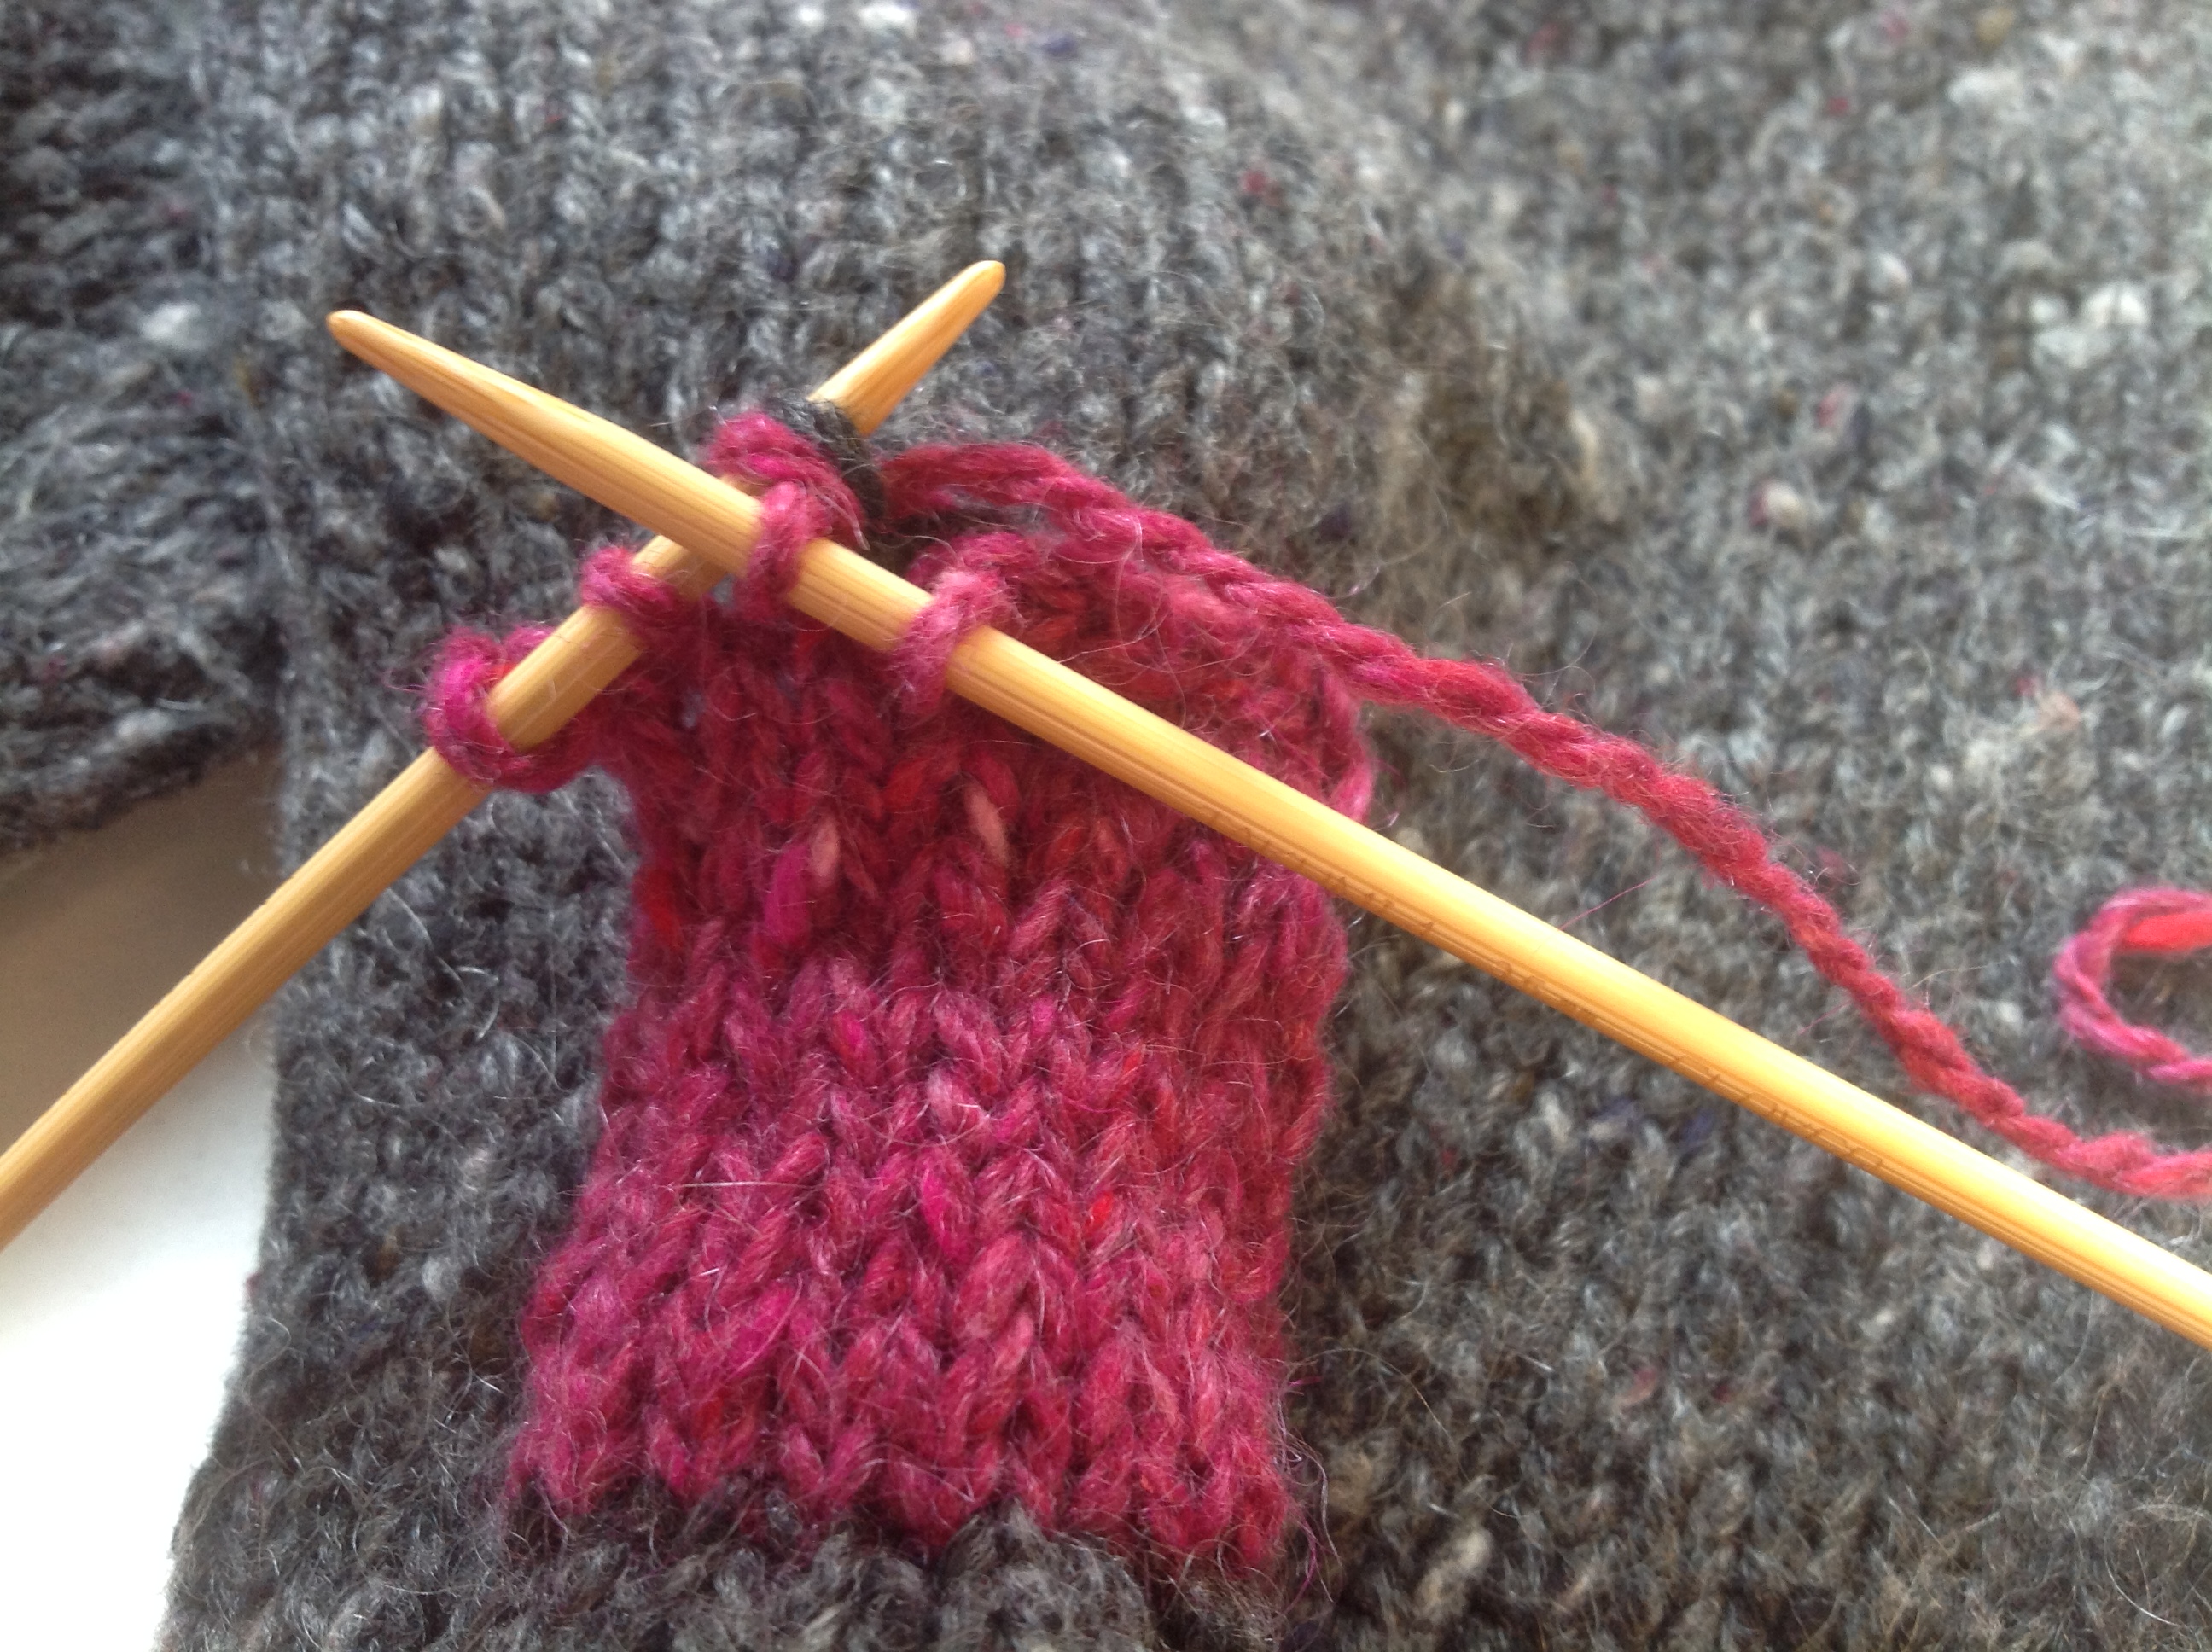
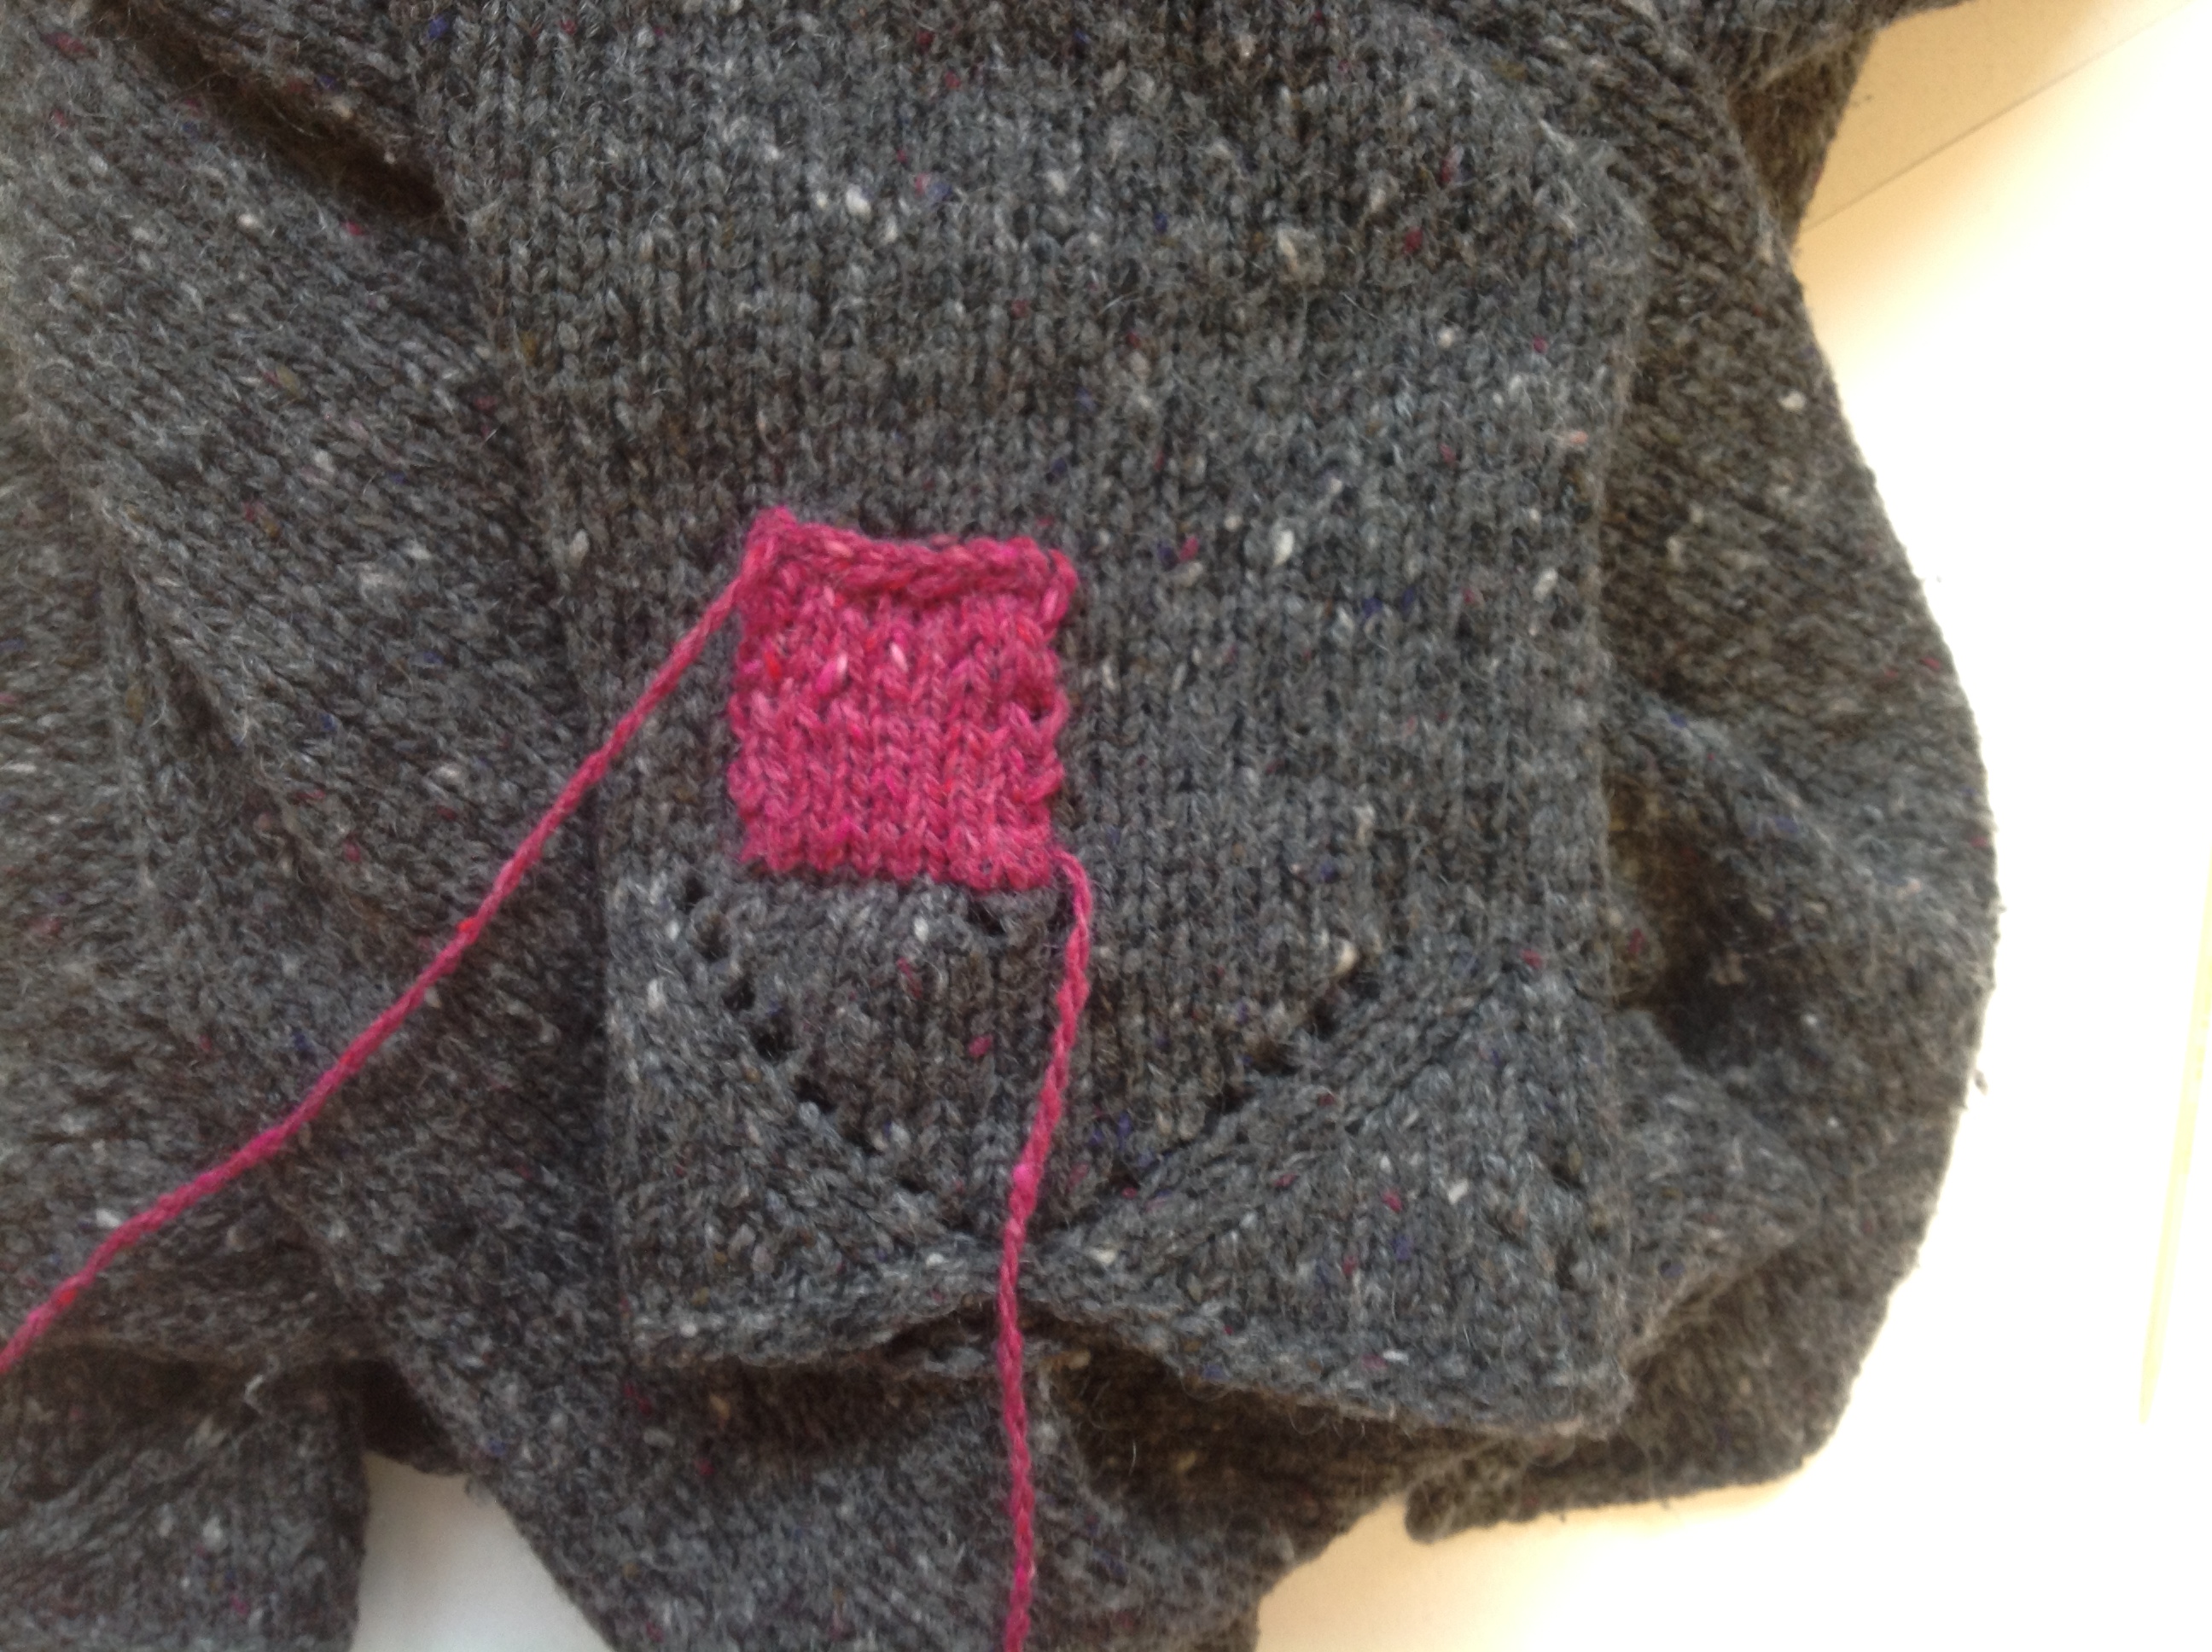
I chose to knit the patch in a fun contrasting color. I love pink. I think I am going to leave the ends of my knitted patch hanging (the threads) just for fun. The particulars of this technique are up to you, but I always encourage fun!
Happy creating,
Emily

Great tutorial with such easy-to-follow photos. You just might want to learn the correct usage of lie and lay though. Keep up the good work!
great suggestion!
Love your tutorial!! (It’s like you read my mind – I was thinking about patches just yesterday :o)
Yay! Thanks!
Have fun with yarn!
What a lovely patch……..never gave it a thought re: contrasting yarn! Very effective..thanks!
Yay! Thanks!